Anyone else remember playing with Shrinky Dinks when they were young? I must admit I was pretty excited when I found out that they were still around. I bought a couple of packs for the kids to play with way back in December and finally got a chance to bring them out during Spring Break.

For those of you who are not familiar with the magical world of Shrinky Dinks, they are basically plastic sheets that you draw or stamp on, cut out, and place in the oven for a couple of minutes. Then you watch in amazement as they shrink down to approximately a third of their original size {they also become thicker}. Okay, maybe it’s not quite that amazing but the kids thought that it was pretty cool and anything that entertains my kids that is not a TV or computer rates pretty high in my books as well.
They also now have shrinky dinks that you can run through your printer. Since the boys’ favorite game is Candyland, we made some Matthew and Connor play pieces. Sorry I don’t have any pictures of this process. I was trying to figure everything out with two boys climbing all over me.
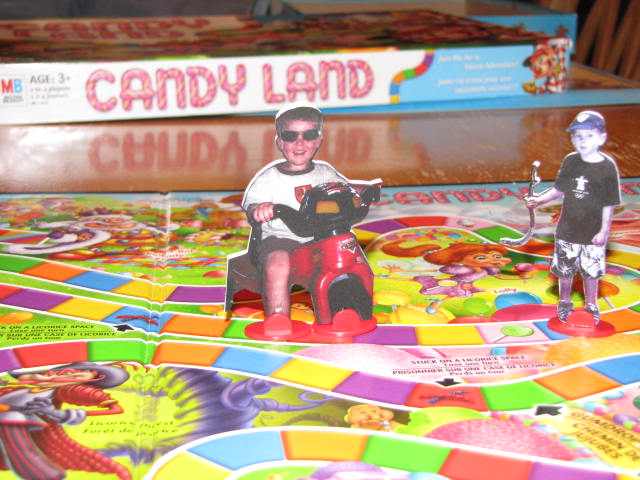
In the instructions, they recommend decreasing your photo saturation by 50% so that the ink is not too heavy. As well, the color intensifies when you put it in the oven. I did this with Matthew’s figure and his legs ended up purple. For Connor’s, I left the saturation much higher and he ended up with bright red legs. Somewhere in between would have been perfect!
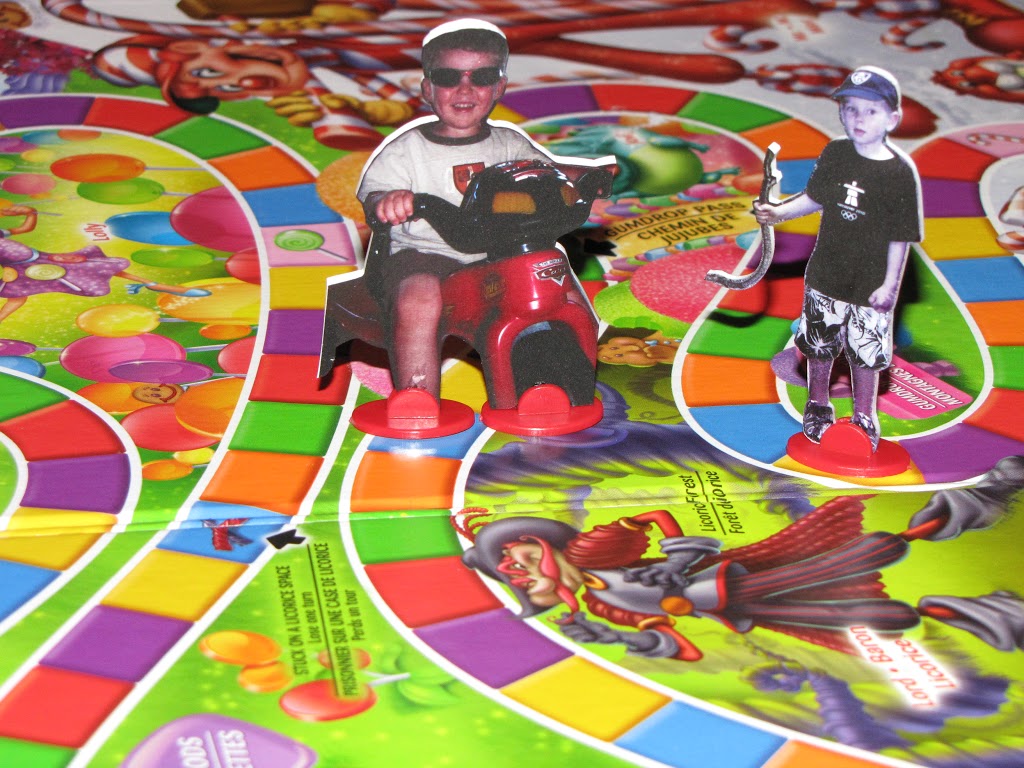
Once your photo is ready, you just print your photo on the Shrinky Dink photo sheet {make sure it is on the sticky side}, let it dry for a couple of minutes, and cut out your shape. Pre-heat the oven to 300 and place your shrinky dink on a cookie sheet covered on top of a brown paper bag. The shrinky dinks first curl up and will then flatten out after about one minute. Sometimes it gets stuck in the curled position so make sure you are standing by to help it out if needed!
Immediately after it comes out of the oven, press it flat. Remember, they are hot so use something over it! You only have about 5-10 seconds of molding time before it hardens but you can always place it back in the oven for a few more minutes and try again.
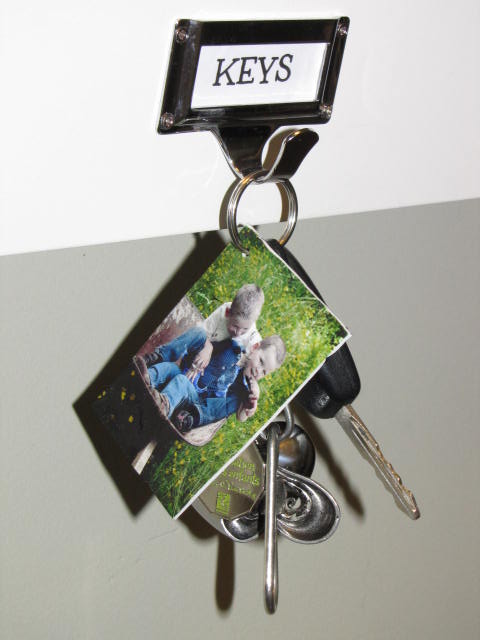
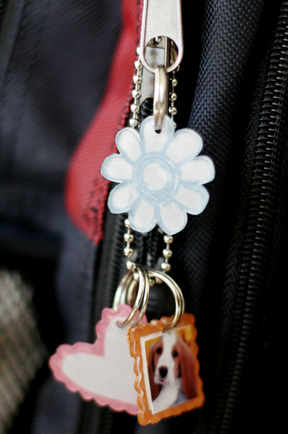
The photos also make cute key chains. Just remember to punch your hole before you shrink it {and remember that the hole will shrink too!} I had started to perfect the color saturation by this point! After the shrinky dinks have been heated, seal them with clear nail polish so the colors don’t run.
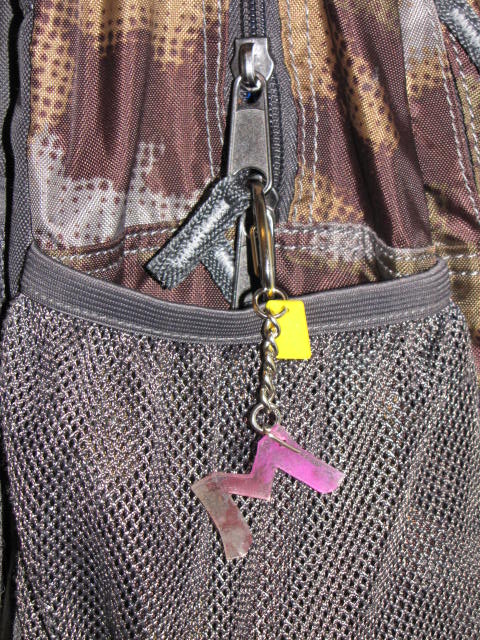
So what did the kids make? Matthew made a backpack tag:
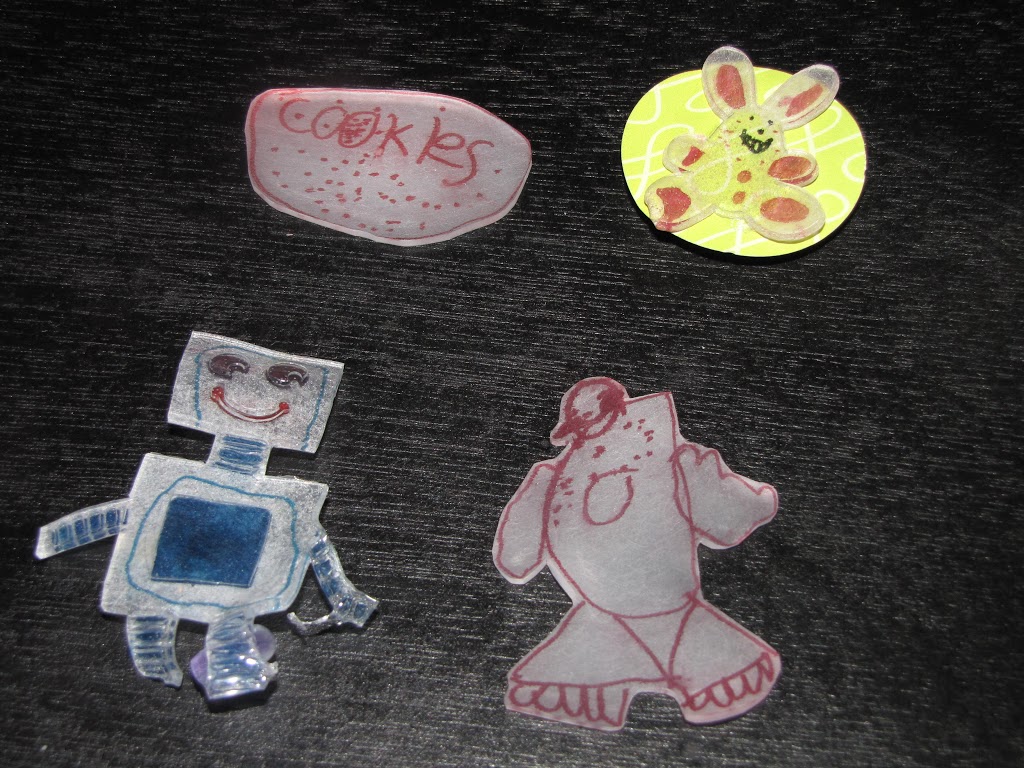
For the robot and bunny shapes, I ran the Shrinky Dink sheet through the Silouette {on the magnet setting} It didn’t cut all the way through but enough so that the lines were visible to cut out the image. The inside lines were also visible to make it easier for coloring in {you can see this more on the robot}. We added the bunny to a piece of scrapbook paper and attached one of the magnetic pins that came with the pack.
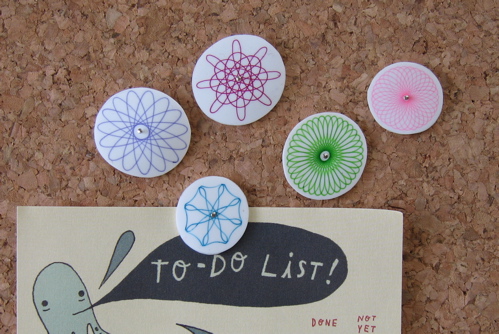
Now just in case you thought Shrinky Dinks were only for kids, check out these other great projects that I have come across. I am definitely planning on bringing the Shrinky Dinks back out one night when the kids have gone to bed!
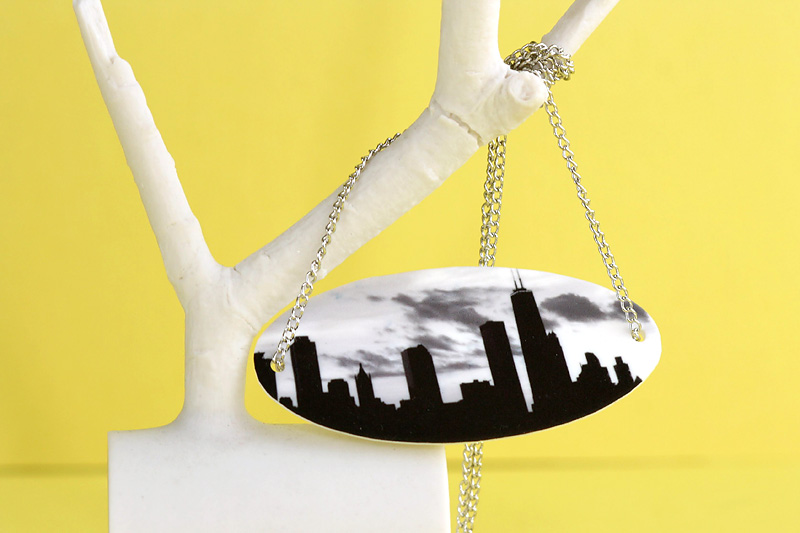
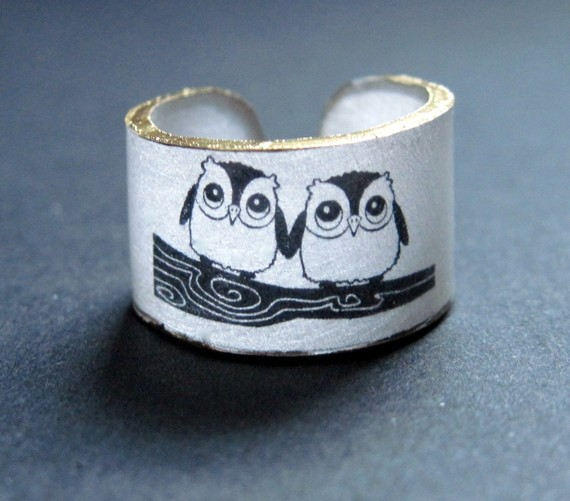
They can be used to make some awesome jewellery:




I LOVED shrinky dinks when I was little! Thanks for letting us know they are still around. My girls will love playing with them!
I loved doing shrinky dinks when I was little, too! I had no idea they were still around. I’ll have to search them out to do with the boys. Thanks for sharing.
What great ideas! Thanks for sharing!
I’m your newest follower, I would love for you to stop by sometime!
http://www.lovelaughteranddecor.blogspot.com
Warm Wishes,
Jodie
Love the Mathew and Cannor play pieces that you made. So adorable! A personalised play piece.
I am having a giveaway on my blog. $20 store credit from My Carrie Creations to get a backpack with your kids fav character ( Buzz light year, mqueen, dinosaurs and more). Check it out.
http://houseonashwelllane.blogspot.com/2011/03/20-store-credit-from-my-carrie.html
Love how you made personal playing pieces for a favorite game!
I just introduced my son and his buddy to Shrinky Dinks over the holiday break. They loved watching them in the oven. I will def. be searching for the ones that you can put in the computer..great idea. I, recently, just read that you can make your own using #6 (recycling number) clear plastic – like take out salads come in….haven’t tried it yet, but thought I would share.
Thanks so much!
Very Cool, especially the CandyLand game pieces. I saw this at Sundae Scoop by I Heart Naptime.
My blog is having it’s first linky party this weekend. I would love to have this post added: http://koolbeenz-blog.blogspot.com/2011/03/funky-fresh-friday-1.html
I loved shrinky dinks, I didn’t know they were still around! Love these ideas!
where did you buy the ones that go through the printer? Love this! As a teacher I could do so much with this idea!
We love shrinky dinks. But I would have never thought to make our own board game pieces. INGENIOUS!
Wow! So many great ideas! I love shrinky dinks… and now I have some more ideas I’d love to try!
Thanks for linking this project up with For the Kids Fridays! I appreciate you stopping by, and hope to have you back for this week’s party! I’ll be posting it later tonight.
:)rachel at SunScholars.blogspot.com