This post is sponsored by BEHR paint. As always, all thoughts and opinions are 100% my own.
*********************
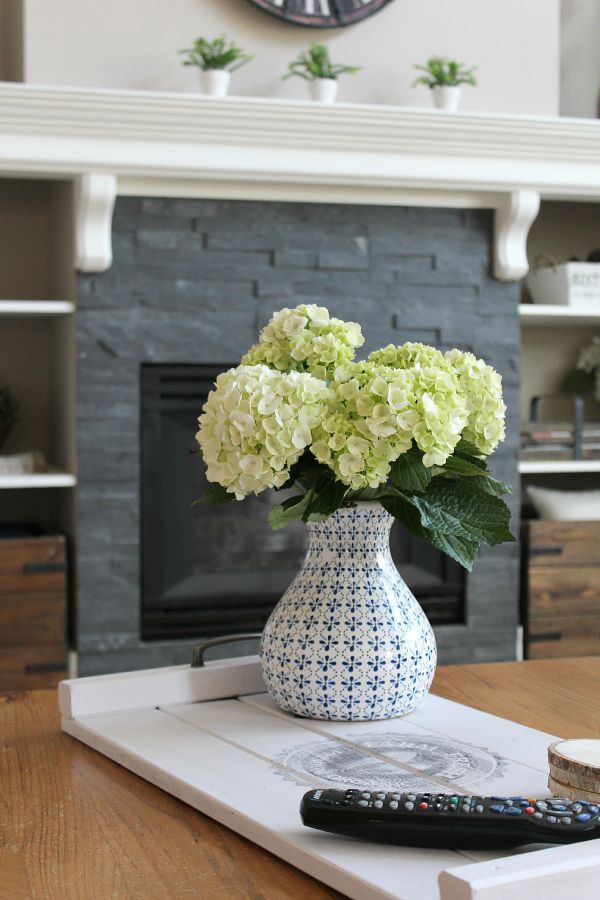
A couple of weeks ago, I showed you how to transfer an image onto wood and I promised that I would add the tutorial for the DIY wooden tray that I used in that post. Well here it is! 😉
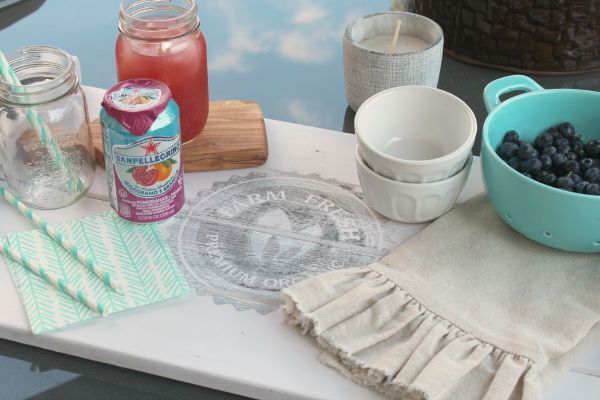
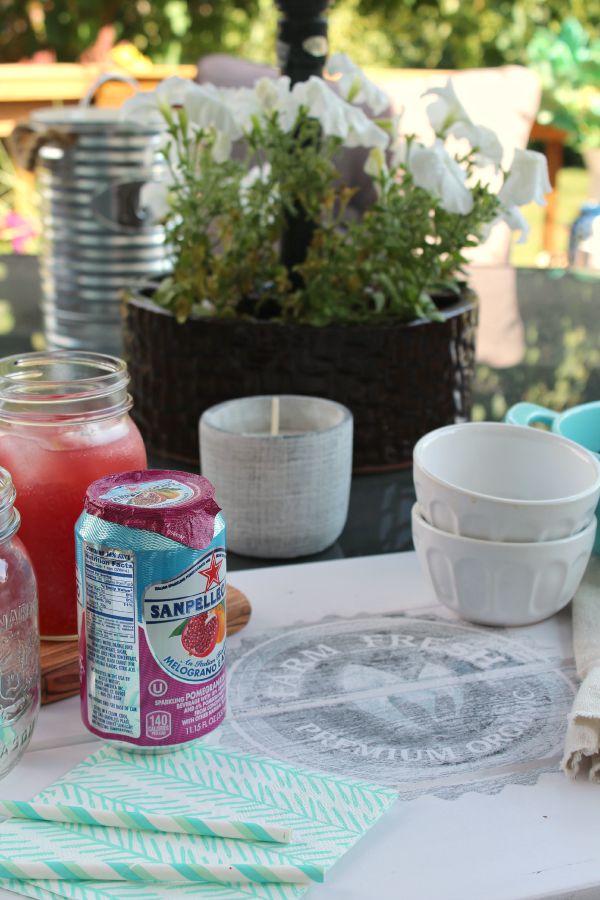
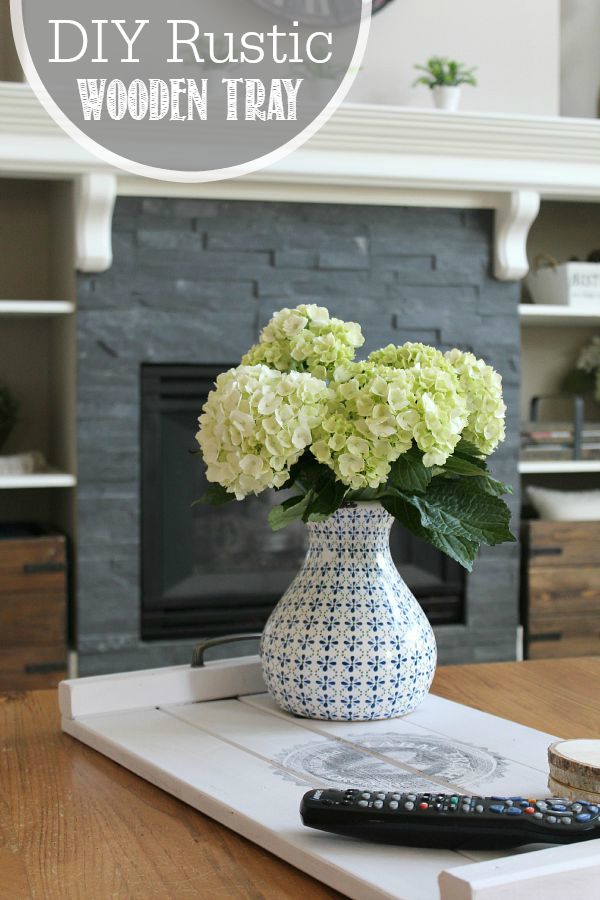 This tray is perfect for a coffee table to hold the remote and a couple of magazines and also works great as a serving tray. It would be fun to dress up for the holdays too! It’s a simple beginner project that anyone can do!
If you have been following along on The 6 Week Decluttering Challenge, you know that I have been spending a lot of time working on decluttering our basement. While decluttering is definitely not one of my favorite things to do, every once in a while I come across a few fun items that I totally forgot {or never even knew!} I had. This wooden pallet was one of those things….
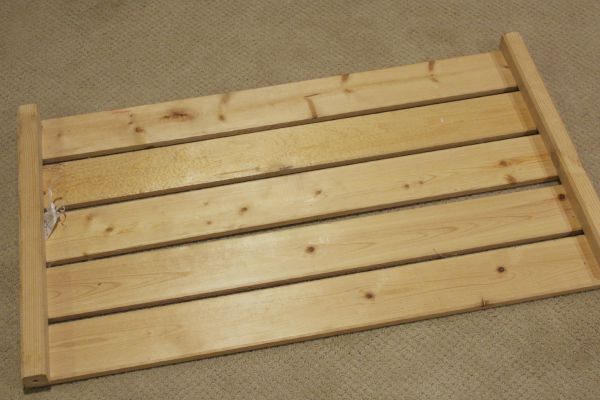
I actually have no idea where it came from or what it was used for, but it was in good shape so I knew that I could do something with it. Although it was much too big, I thought that it kind of looked like a tray already and figured it wouldn’t be too hard to give it a little makeover. I started by taking it apart and then cutting everything down to the size that I wanted {and I ended up just using 4 of the 1x4s instead of the 5}. I am assuming that you don’t have a pallet hiding down in your basement so here is the full list of supplies that you will need. If you are not comfortable doing the cuts, just ask someone at your local hardware store or lumber yard to do it for you.
MATERIALS
- 4 pieces of 1x4s {mine measured approximately 25 1/2 inches each}
- 2 pieces of 2x2s {cut these to the width of the 4 1x4s all lined up – mine measured just short of 14 inches}
- finishing nails
- BEHR Marquee paint {I used Dutch White MQ3-31}
- 2 cabinet pulls with screws {you may need to purchase longer screws rather than use the screws that come with the cabinet pull}
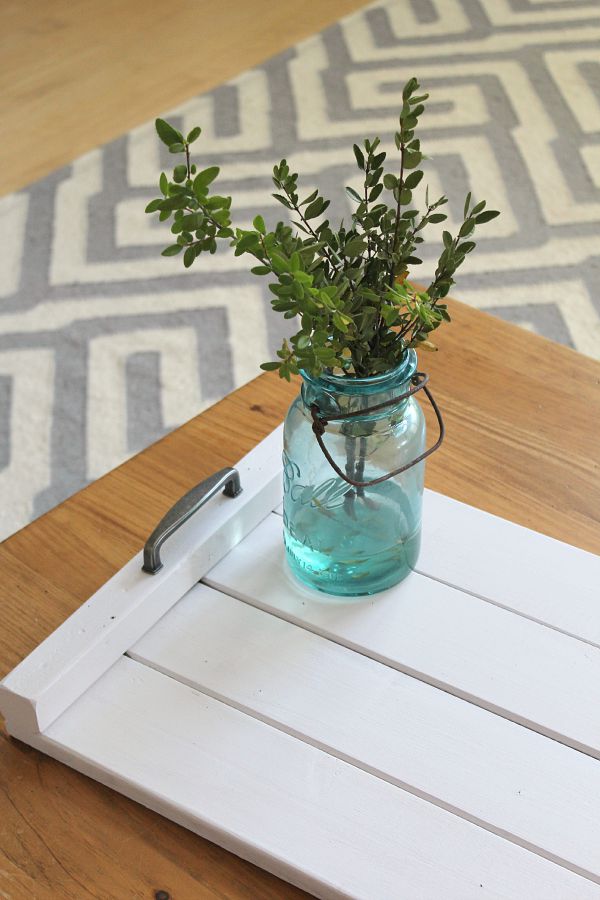
DIRECTIONS
- Sand all wood pieces. I wanted more of a rustic look so I slightly rounded my edges. I also lined up all of my 1×4 pieces and did a little extra sanding on few of them to make sure they were all the same length.
- Next you want to line all of your pieces up as you would like your tray assembled but upside down. You want to nail in the finishing nails from the underside so you don’t see them, so lay the 2×2 side pieces down first and then place the the 1×4 pieces over top. Sorry I don’t have photos of these next couple of steps, but I accidentally deleted them from my camera before I had downloaded them.
- Hammer in the nails {or better yet -use a nail gun!} to attach the 1x4s to the 2x2s. I used about 3 nails per 1×4 and just staggered them slightly.
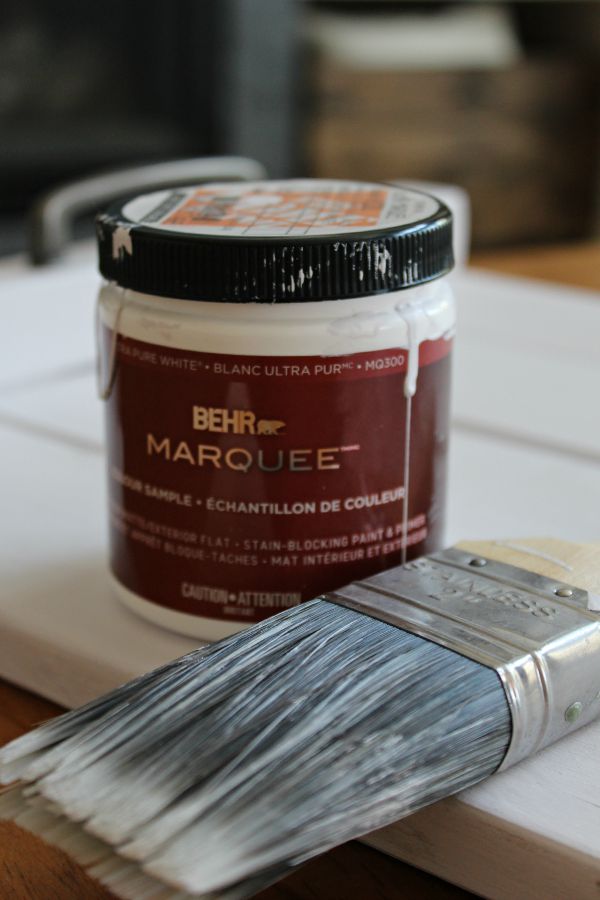
- Once the tray is assembled, it’s time for the paint. I went with BEHR Marquee Dutch White – it’s a great true white color without being too stark. The entire line of BEHR Marquee line of paint is designed to cover in just one coat {hello time saver!} and even on the bare wood, the one coat looked great. {I would still recommend priming your bare wood for larger projects though just so it doesn’t soak up as much paint!}
- If you want to add an image to your tray, head on over to the tutorial HERE to learn how to transfer any image onto wood using wax paper. Once you are done, allow the image to dry and then finish with a clear spray sealer or wax. NOTE: If you do use an image transfer, be very careful if using a wax finish as it can cause your image to smudge.
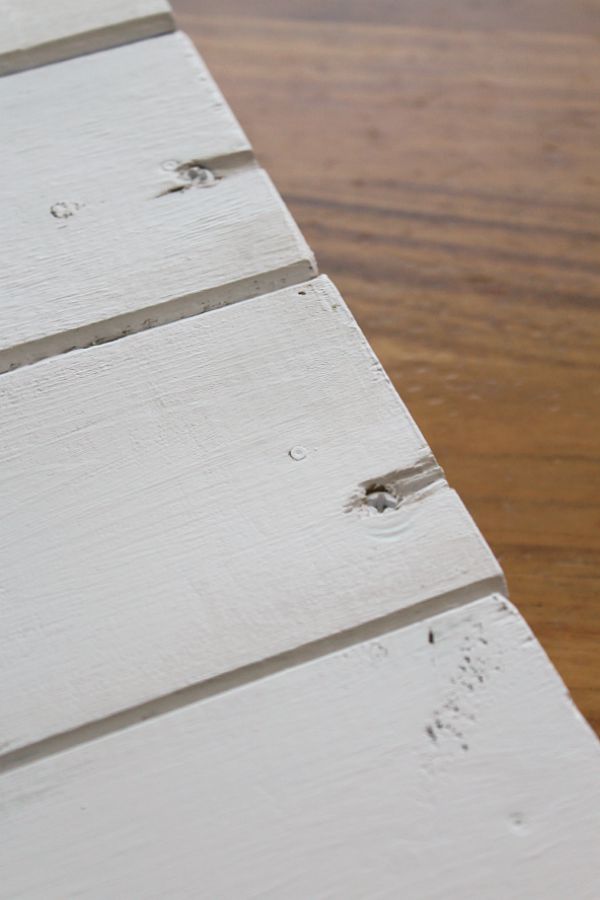
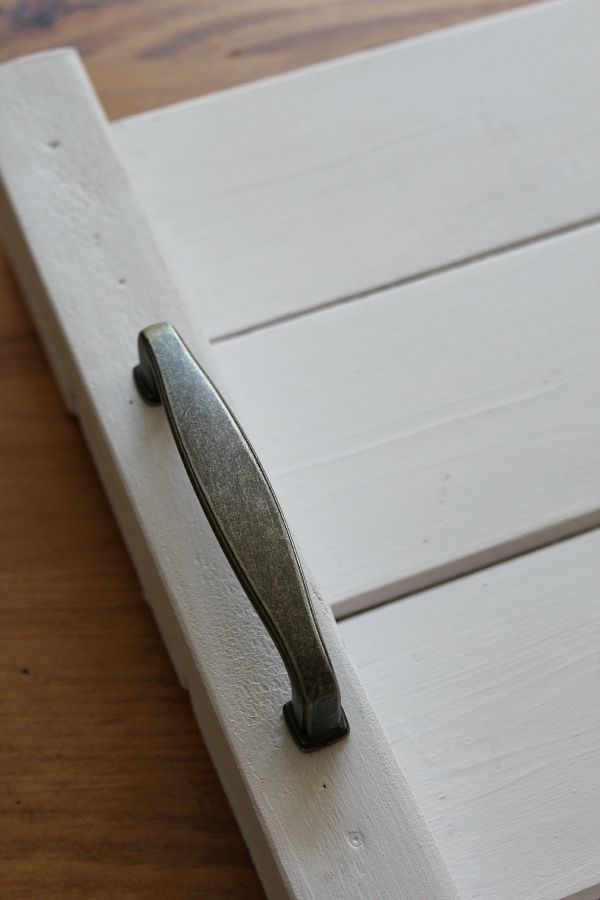
- Attach the cabinet pulls to the center of the 2x2s. If you can find pulls that you can screw in from the front, this step is super easy. Otherwise you will need to predrill your holes and countersink your screws {so the tray will still sit flat} from the bottom of the tray. Even though I pre-drilled the holes, I did have a little bit of wood splitting on mine; however, it was on the underside of the tray and was not noticeable when the tray was actually upright.
 Now it’s time to grab a drink and enjoy your new tray!
For more easy DIY wood projects, check out these posts…
I love wooden pallet trays and yours is fabulous with that awesome graphic! Did you use an inkjet printer or laser?
Just a regular ink jet printer! 🙂
Sooooooo crafty and stylish!
XO Ellen from Ask Away
http://www.askawayblog.com
Thanks Ellen!
That would be really cute in my living room. I love it! And you make it look so easy. 🙂
Thanks Jamie!
Your tray turned out so well! I need some of these! Thanks for sharing!
Thanks Ruth!
How pretty! I love that you used a forgotten item to make something both functional and pretty. Thanks for sharing on Snickerdoodle Sunday. Pinned and Tweeted.
I love this tray – so sensible and makes a simplistic statement. Thinking I may make one for my coffee table.