Create a DIY custom yoga mat and accessories for the ultimate self-care experience at home. You won’t believe how quick and easy it is to design your own personalized yoga gear with Cricut!
This post is sponsored by Cricut and does contain affiliate links. This means that I may make a small commission from products purchased directly though the links provided at no cost to you. As always, all opinions are 100% my own.
Self-Care at Home
Taking time for self-care can definitely be a challenge at times, but you just can’t under-estimate the importance of taking care of yourself. Having some dedicated “me time” can help to boost physical health, improve productivity, increase positive thinking, and and make us less susceptible to stress, anxiety and other emotional health issues. Not only will this be beneficial to you, but it will also have a positive effect on those around you. So, if you’ve been struggling with self-care time lately, here’s your reminder to schedule in some time for yourself!
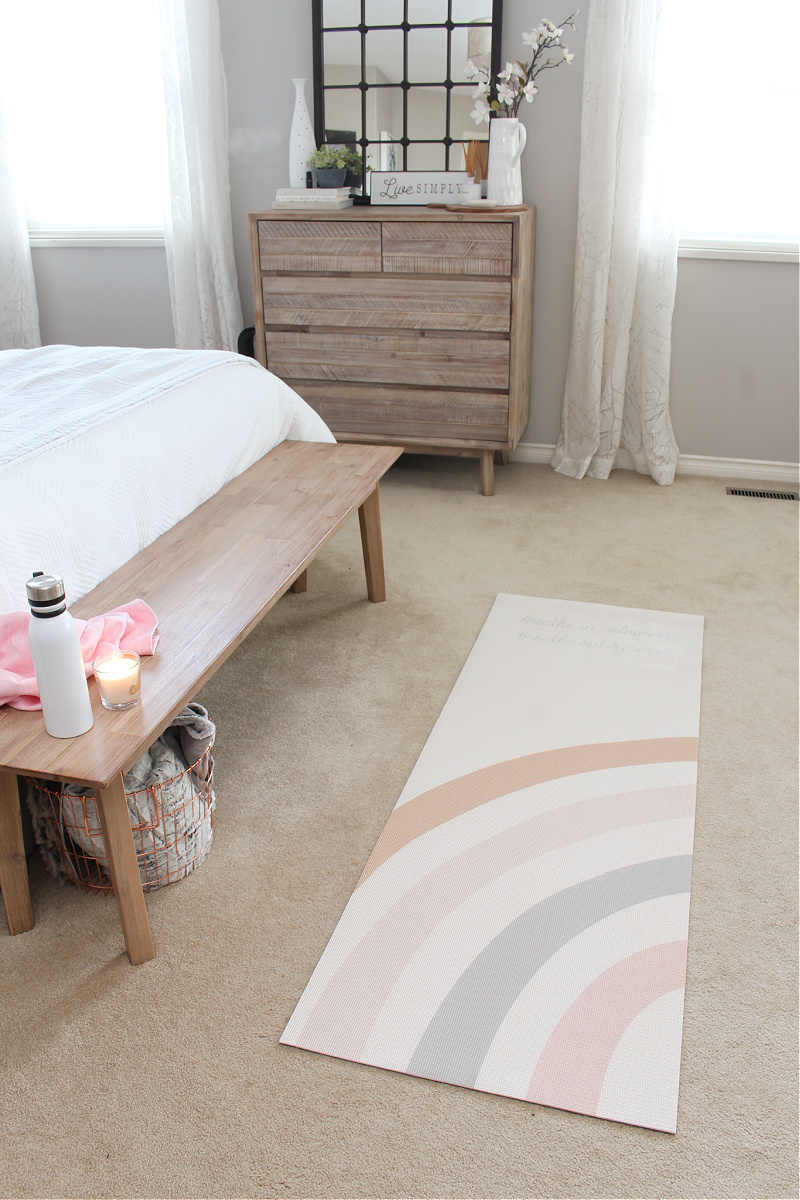
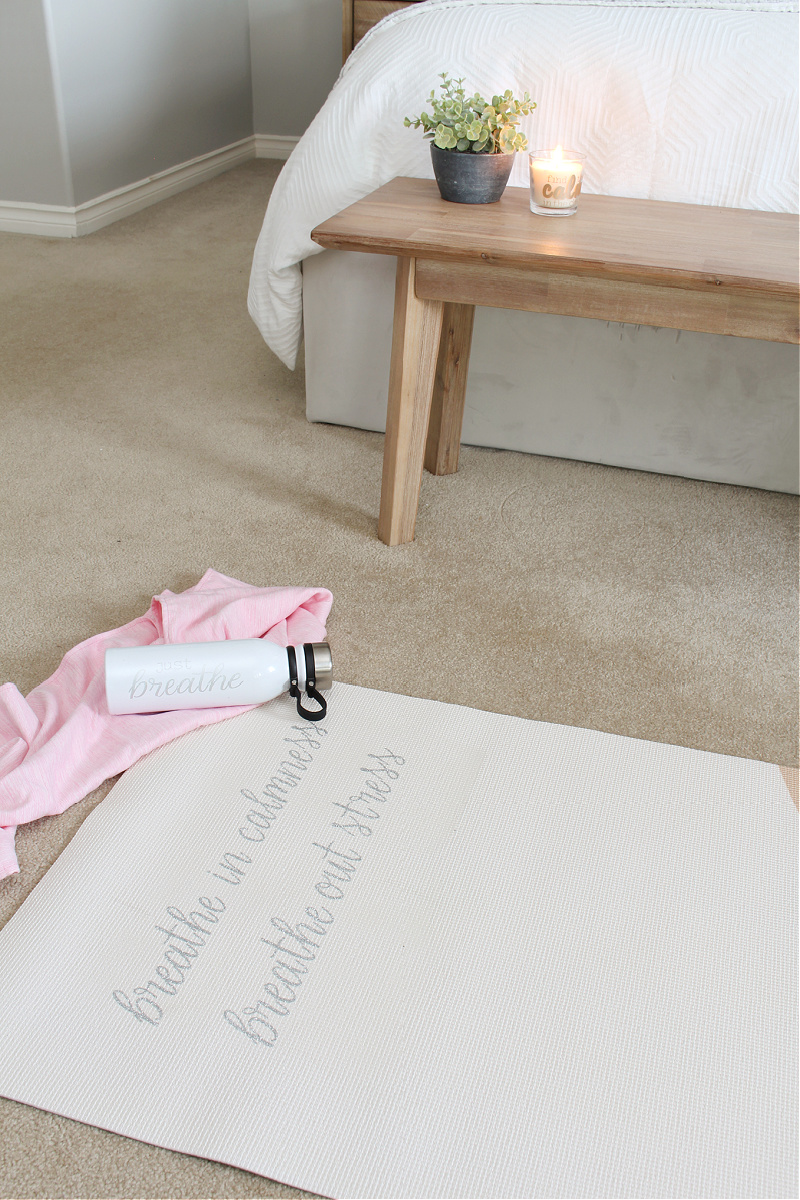
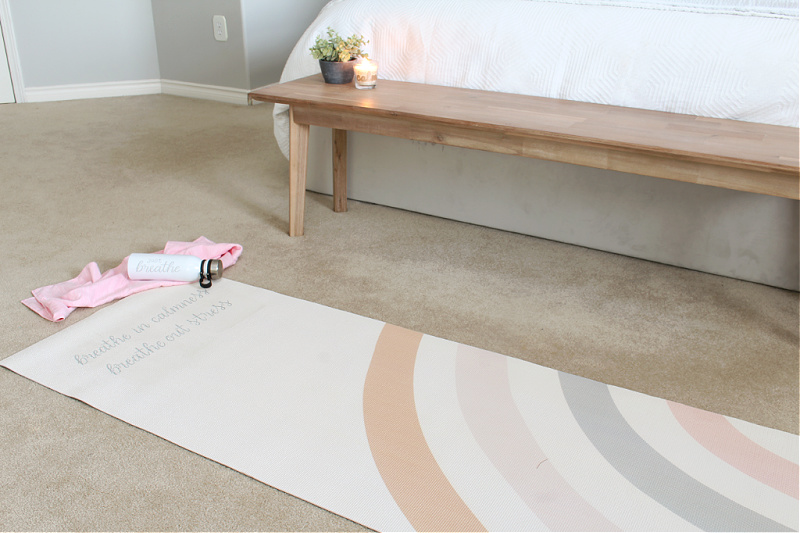
Having a calm and relaxing environment can play a big role when it comes to creating a positive self-care experience. So I decided to create a little space in our bedroom that I could use for doing yoga, some simple exercises or a little meditation. To make it even more meaningful, I customized my exercise mat, water bottle and exercise towel and made some pretty custom candles to tie it all together. Hopefully this will be the motivation I need to keep myself going!
“Self-care is how you take your power back.” – Lalah Della
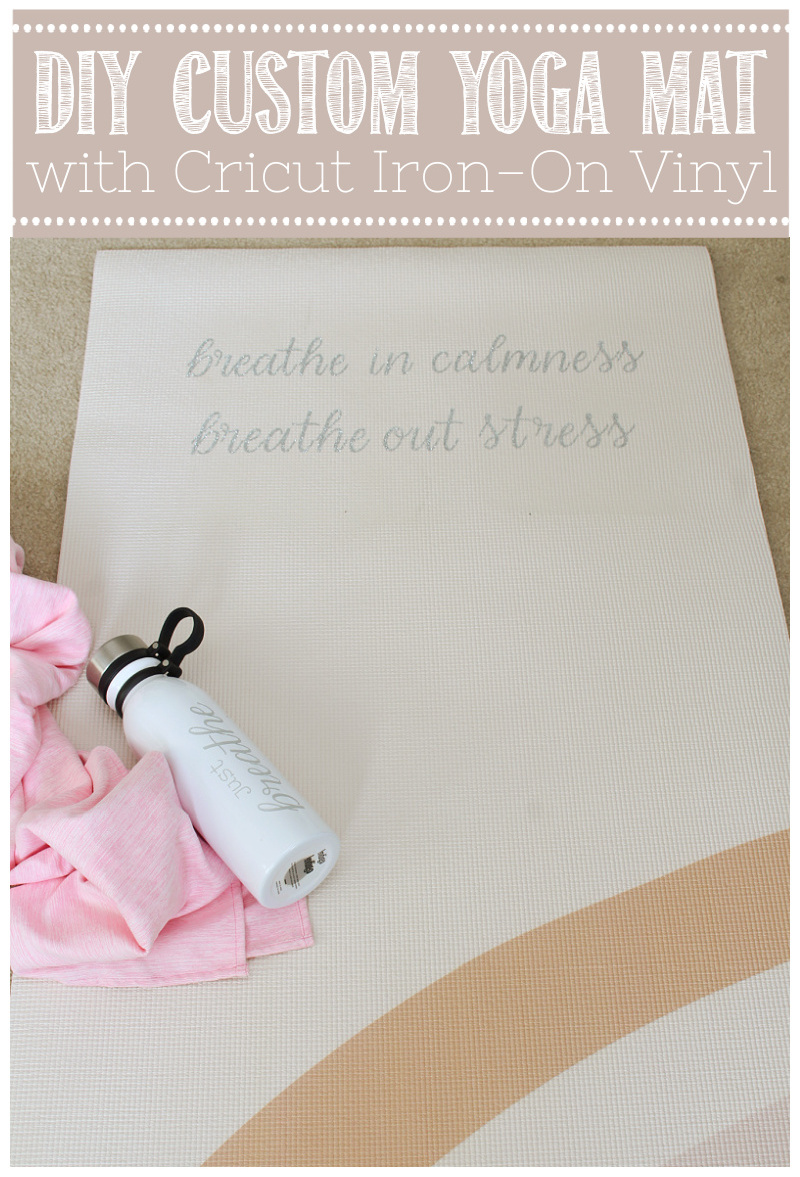
DIY Custom Yoga Mat Tutorial
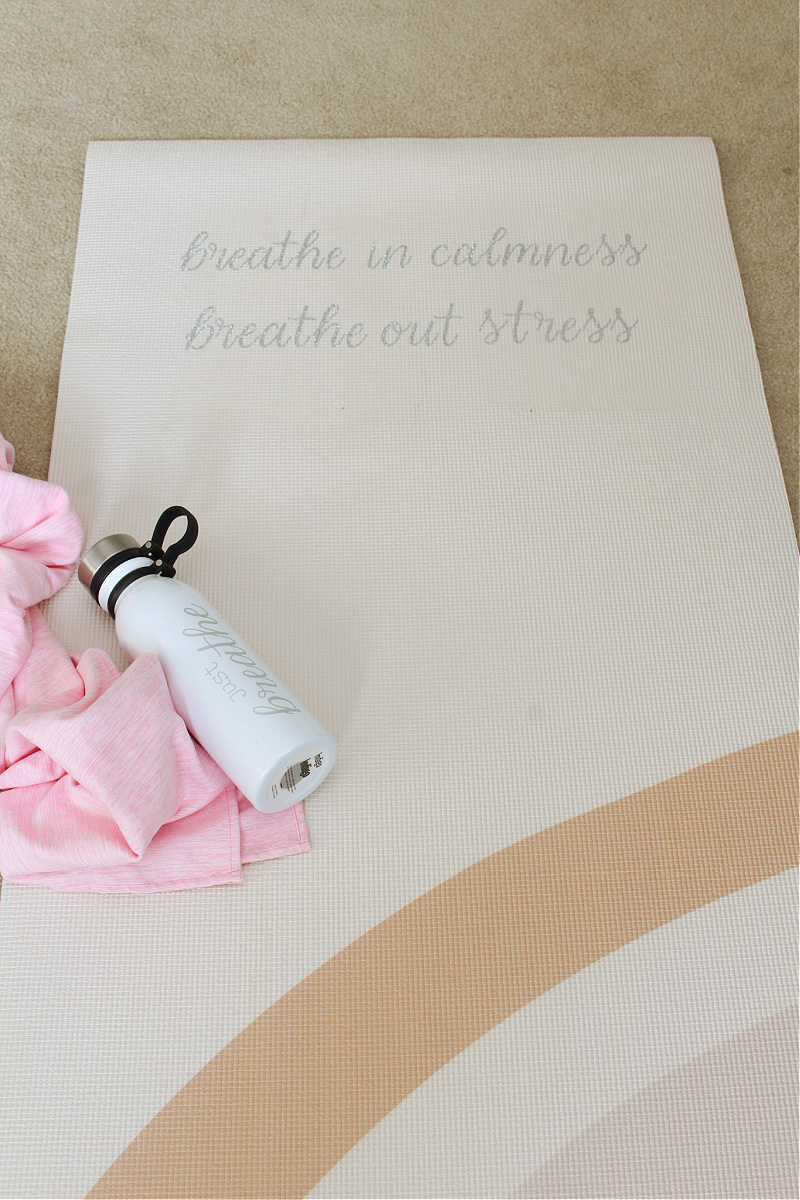
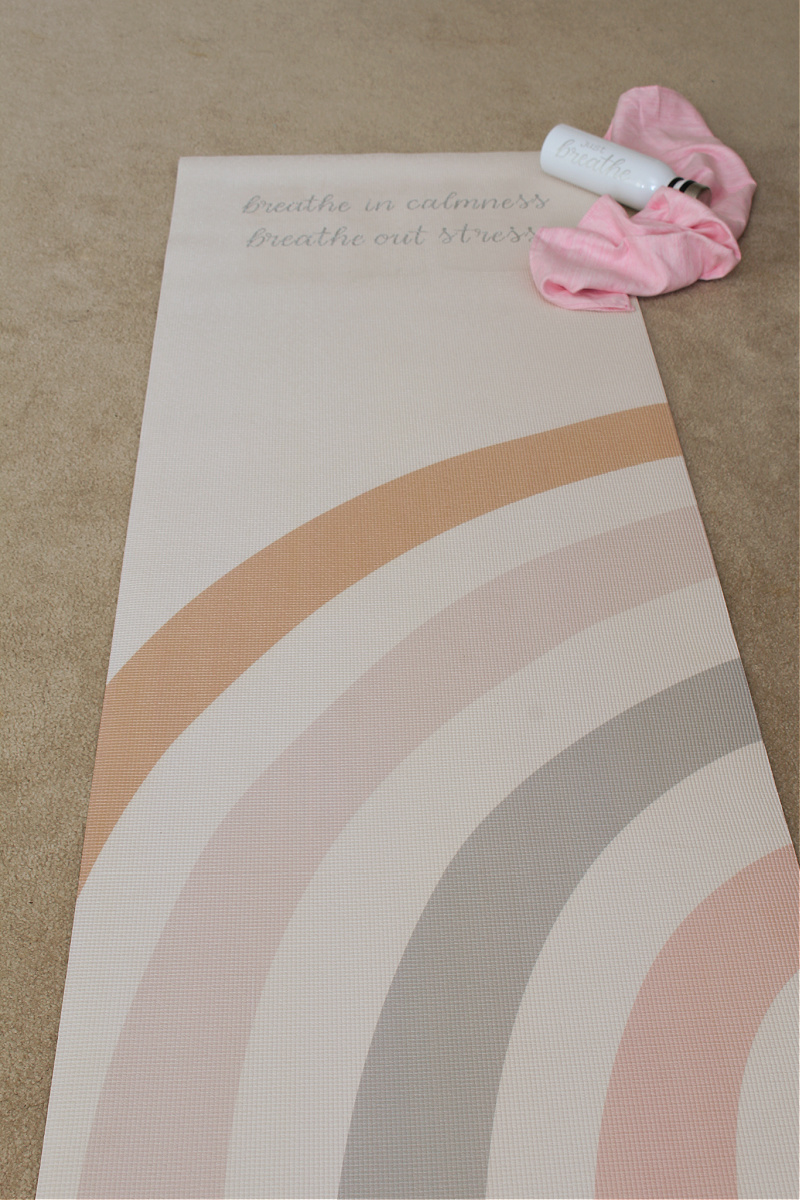
Take your self-care experience up a notch with an easy DIY custom yoga mat. Use the “Breathe in Calmness” design included or create your own!
Materials
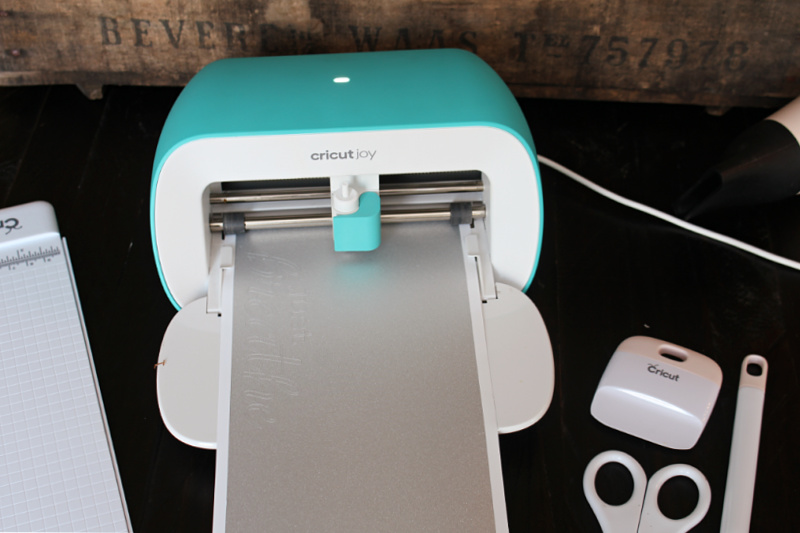
- Cricut Joy {you could also use a Cricut Air or Cricut Maker}
- yoga mat of your choice {I got mine HERE}
- Cricut EasyPress 2 {see below for instructions if you don’t have one}
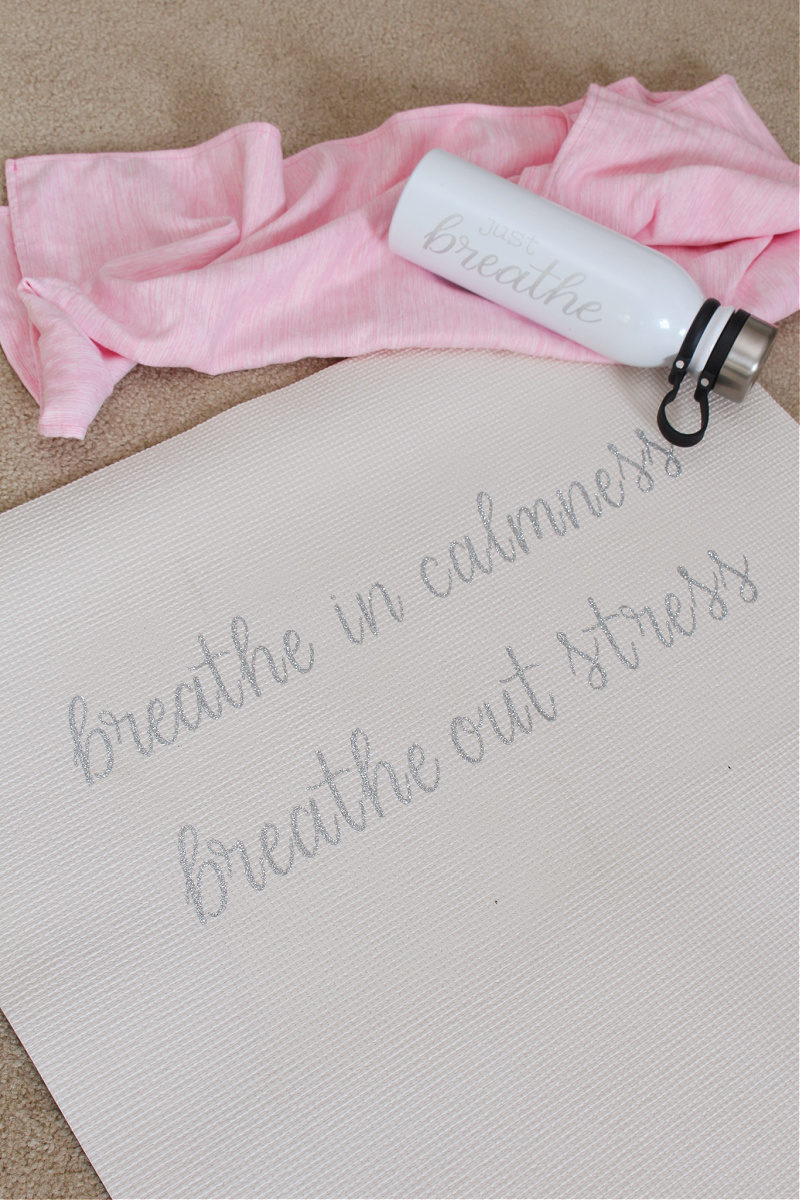
- Cricut Smart Iron-On material of your choice. I used silver glitter Smart iron-on.
- protective sheet or parchment paper
- weeding tool
Instructions
Create your design.
In Cricut Design space, create your design. You could use a pre-designed graphic, a favorite quote, your name, or design anything that you would like! Since breathing is always at the core or any of my exercise or yoga routines, I made a simple “breathe in calmness” word design using the Alexis Mattox-Emma Rae font. You can find the design HERE if you would like to use it for your own project. {NOTE: You will need to log in to Cricut Design space to see this.}
Determine what size you would like your iron-on to be and adjust the font and/or image size as needed.
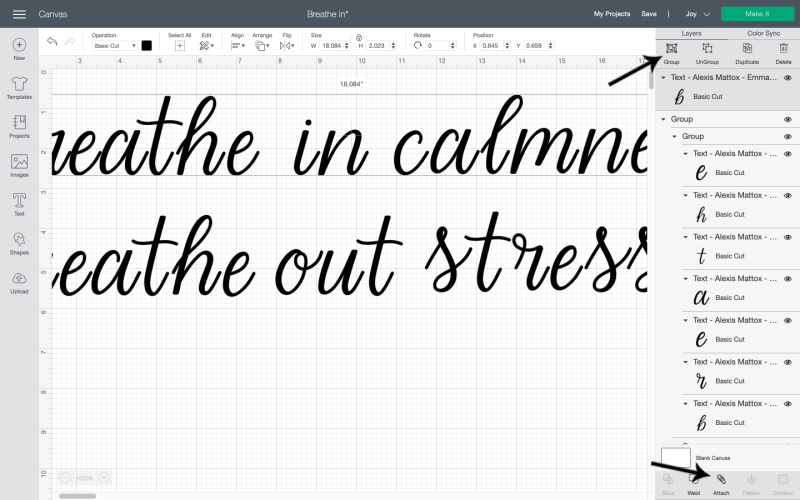
Group and Attach Each Design
If you’re creating your own design, be sure to group and attach the font/images that you want to stay together. Otherwise, the Cricut machine will separate the designs for the best cutting option when it sorts the images onto the mat. Click “Make It” when you’re ready to move on to cutting.
Cut the design.
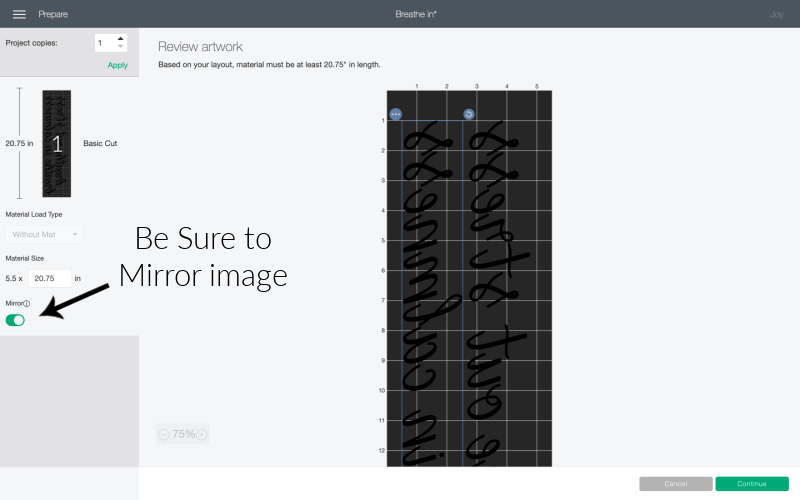
Before cutting, check the image layout on the preview mat to ensure that everything is the way you would like. The most important thing to remember when cutting iron-on is to click the button to mirror the images. Don’t forget this step!!!
Place your iron-on material shiny side down and follow the prompts to cut your image. Select the iron-on material that you’re using from the material list.
Weed the design.
Peel away the excess vinyl so you’re left with just the design. Use your weeding tool, to weed out any of the smaller details.
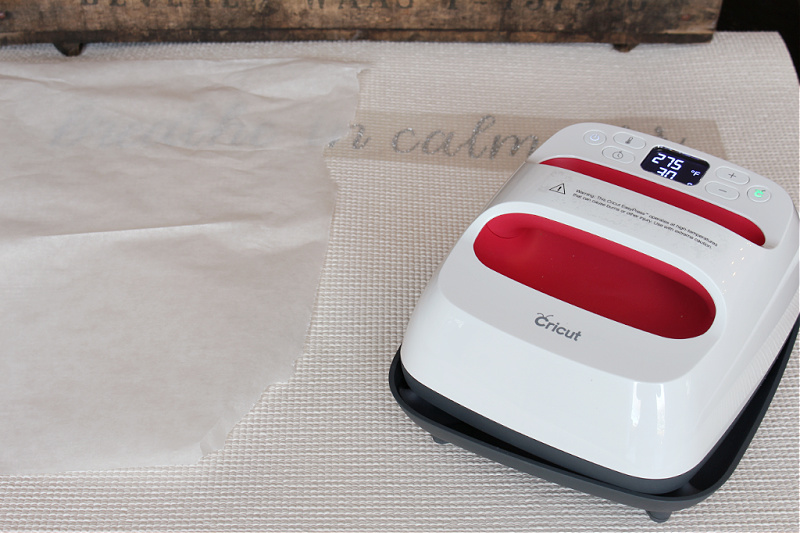
Iron on the design.
Set your EasyPress 2 to 275F and 30 seconds. Place your yoga mat over the EasyPress mat {or use a thick towel} and pre-heat the surface for 5 seconds where you will be applying the design. Next, place the design on the mat with the shiny side up, and cover with the parchment or protective sheet. Apply the heat with your Easy Press for the recommended amount of time. Allow to cool slightly and then carefully peel away the liner. If the material is not sticking to the mat, you need to apply heat for a little bit longer. {apply in 10-15 second intervals at this point so you don’t burn the mat}. Allow to cool.
And that’s it! You now have your very own DIY custom yoga mat!
Can I do this project without an EasyPress?
Yes! If you don’t have an EasyPress 2, there are 2 ways that you could still do this project. The first option is to just use permanent Smart vinyl instead of the iron-on to apply your design. Once you have your vinyl applied to the yoga mat, use your hair dryer over the vinyl to help “melt” the vinyl into the mat a little more and make it more durable.
The second option is to use a regular iron instead of the EasyPress; however, this can be a bit of a gamble. Unlike the Cricut EasyPress, a regular iron has variable heat {the front of the iron has different heat than the back}, you don’t know the exact temperature, and the surface area is smaller and irregular. This can result in more difficulty getting your iron-on to actually transfer and stick or, even worse, damage to the material. If you do want to try this method, be sure to use a lower temperature setting to avoid melting the mat and keep the iron moving around to avoid burning the mat.
How to Clean Your Yoga Mat
Yoga mats are generally pretty easy to clean and maintain with just a little TLC. To clean, fill a spray bottle with a couple of drops of dish soap and two cups of warm water. Spritz lightly over the mat and wipe the surface clean with a damp microfiber cloth. Allow the mat to completely dry before rolling back up. For extra disinfecting, lay it out in the sunshine for a few hours. {NOTE: You don’t want to keep it out in the sun on a regular basis, but a good air-out every now and then does wonders!}
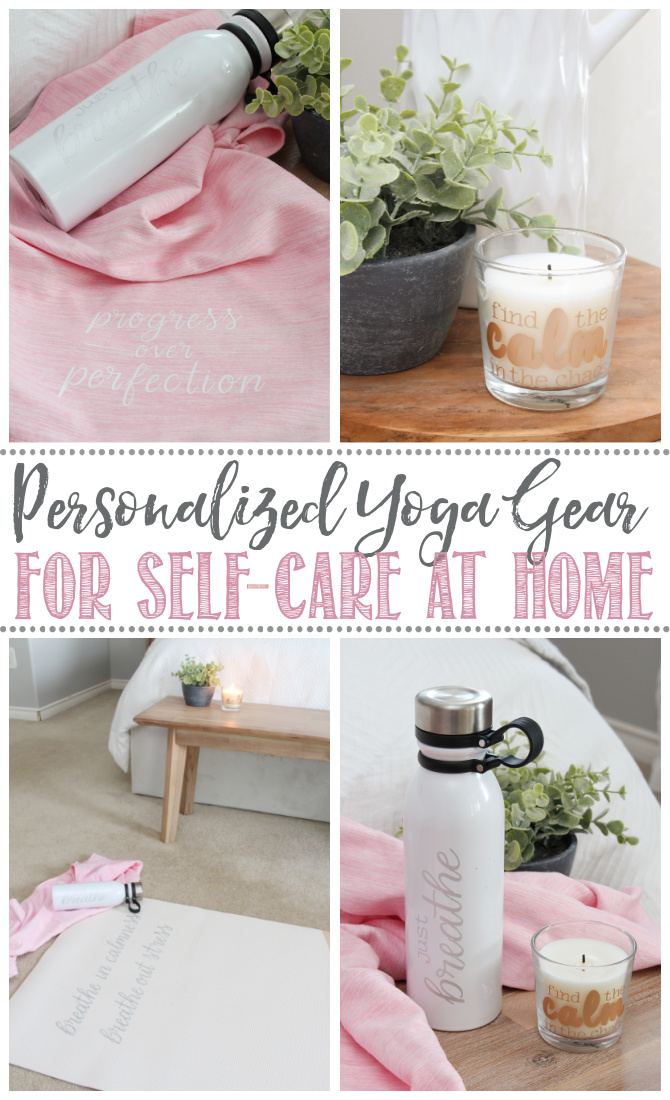
DIY Yoga Accessories
Once you have your mat done, don’t stop there! You can use Cricut to customize all of your yoga accessories too for the ultimate self-care experience. I have more designs and project ideas for you below. You can always interchange the designs and projects or just use them as inspiration for creating your own! {NOTE: To access the designs linked below, you will need to log into your Cricut Design space.}
Water Bottle
Keeping hydrated throughout the day is its own form of self-care, so keep one handy all day long! I try to remember to do a minute of deep breathing regularly throughout the day, so tying that to drinking water is a great way to remember both.
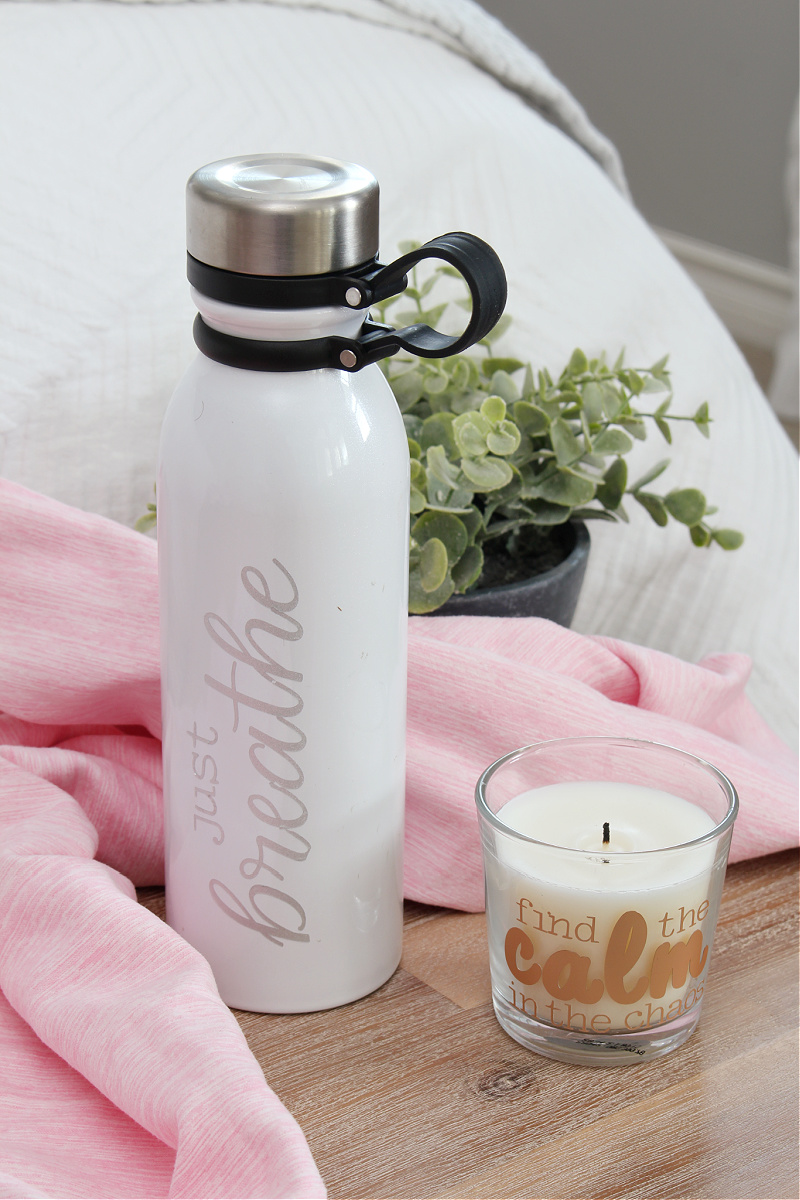
I used this permanent Smart vinyl shimmer in silver for mine. It’s hard to see the shimmer in the photo, but it’s a nice subtle sparkle! If you’d like to use the Just Breathe design, you can find it HERE.

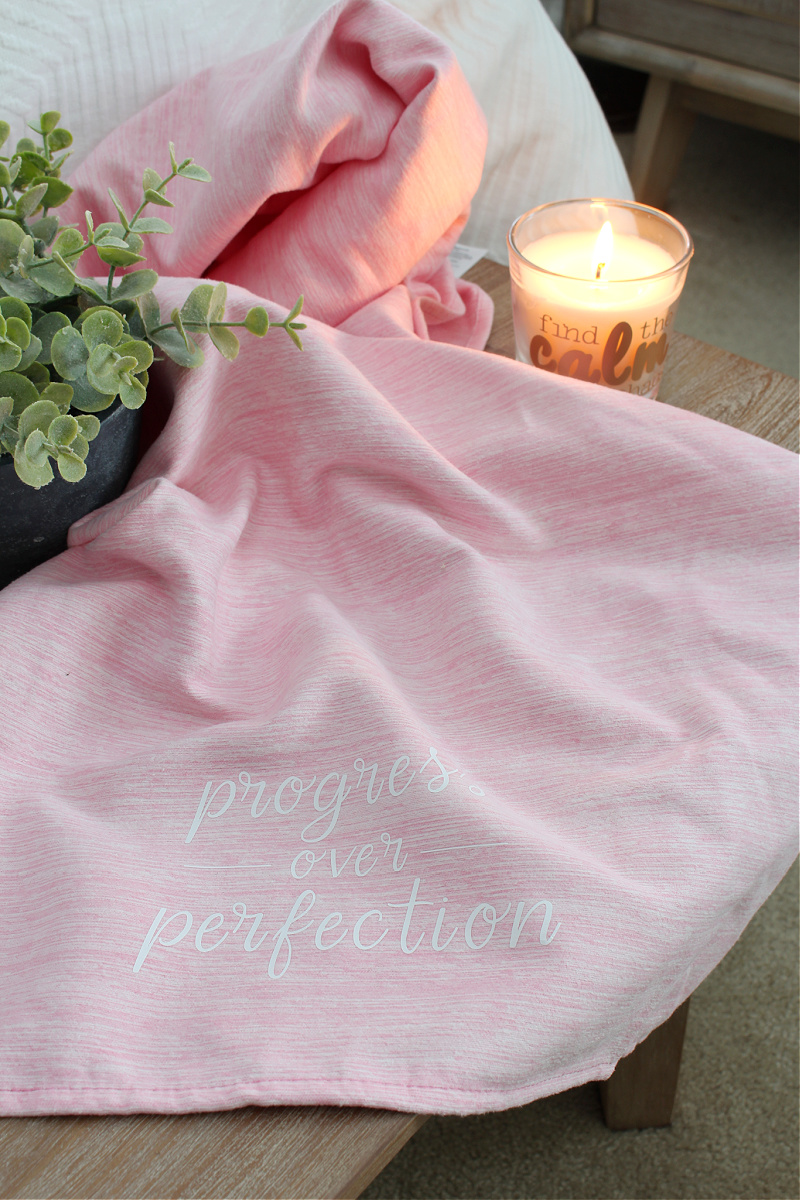
Microfiber Exercise Towel
“Progress over perfection” is a phrase that I repeat to myself constantly and it’s especially true for me when it comes to working out. A little bit of exercise, 10 minutes meditating, or a few yoga poses in the morning is definitely better than doing nothing!
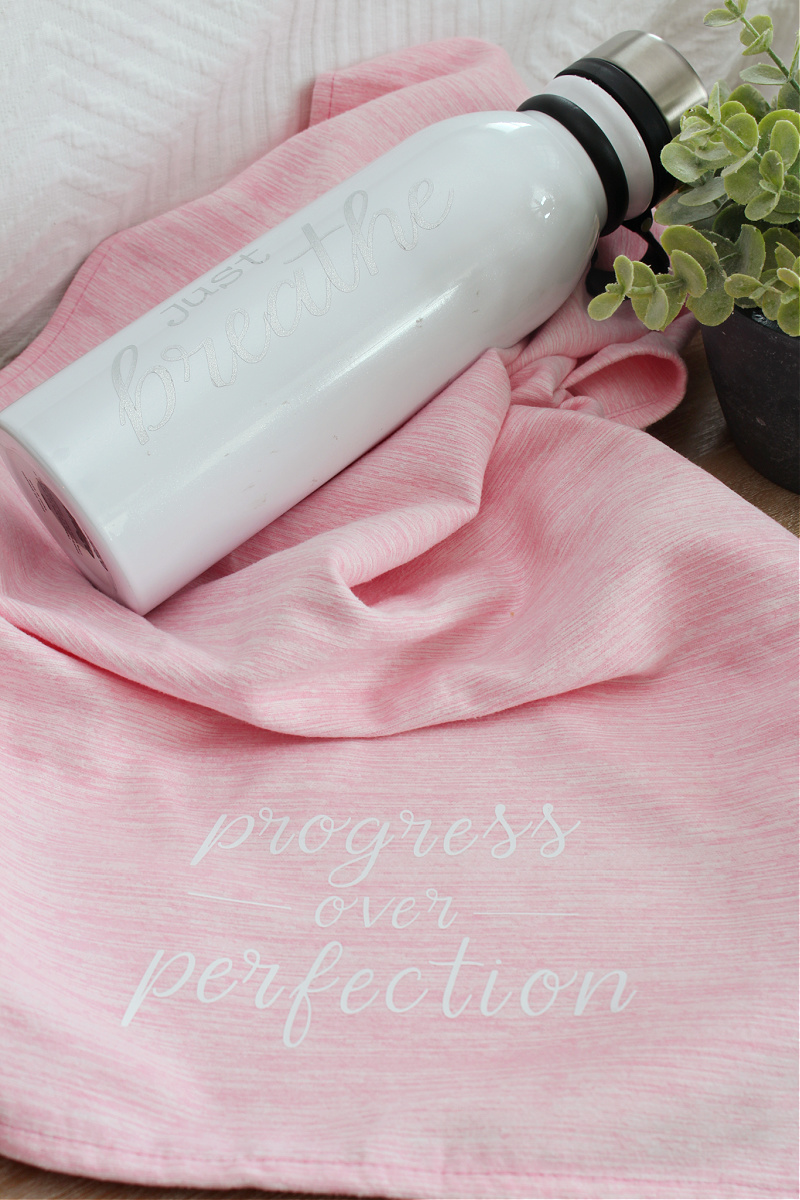
I used white Smart iron-on for my yoga towel, using the same steps as the yoga mat. If it’s a new towel, wash it beforehand to reduce any future shrinkage and remove any residue and extra fluff. Use the Cricut Heat Transfer Guide to determine what temperature and time setting you need to use on your EasyPress {based on the towel material}. You can find my “progress over perfection” design HERE.
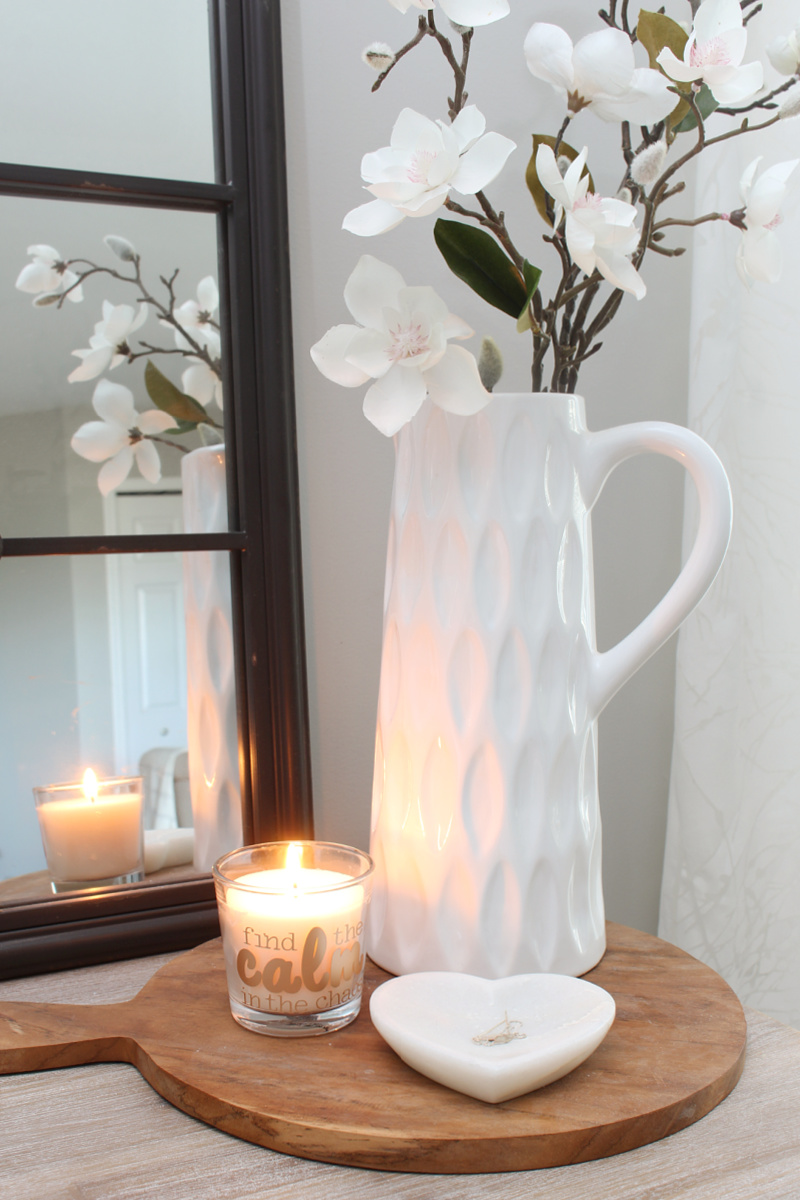
Yoga Candle
I’ve always found watching the flickering glow of a candle to be so relaxing. For an extra indulgent self-care session, light a candle and breathe in your favorite scent as you meditate or stretch. Or place it beside the bath or on your nightstand before bed for a little more relaxation time.
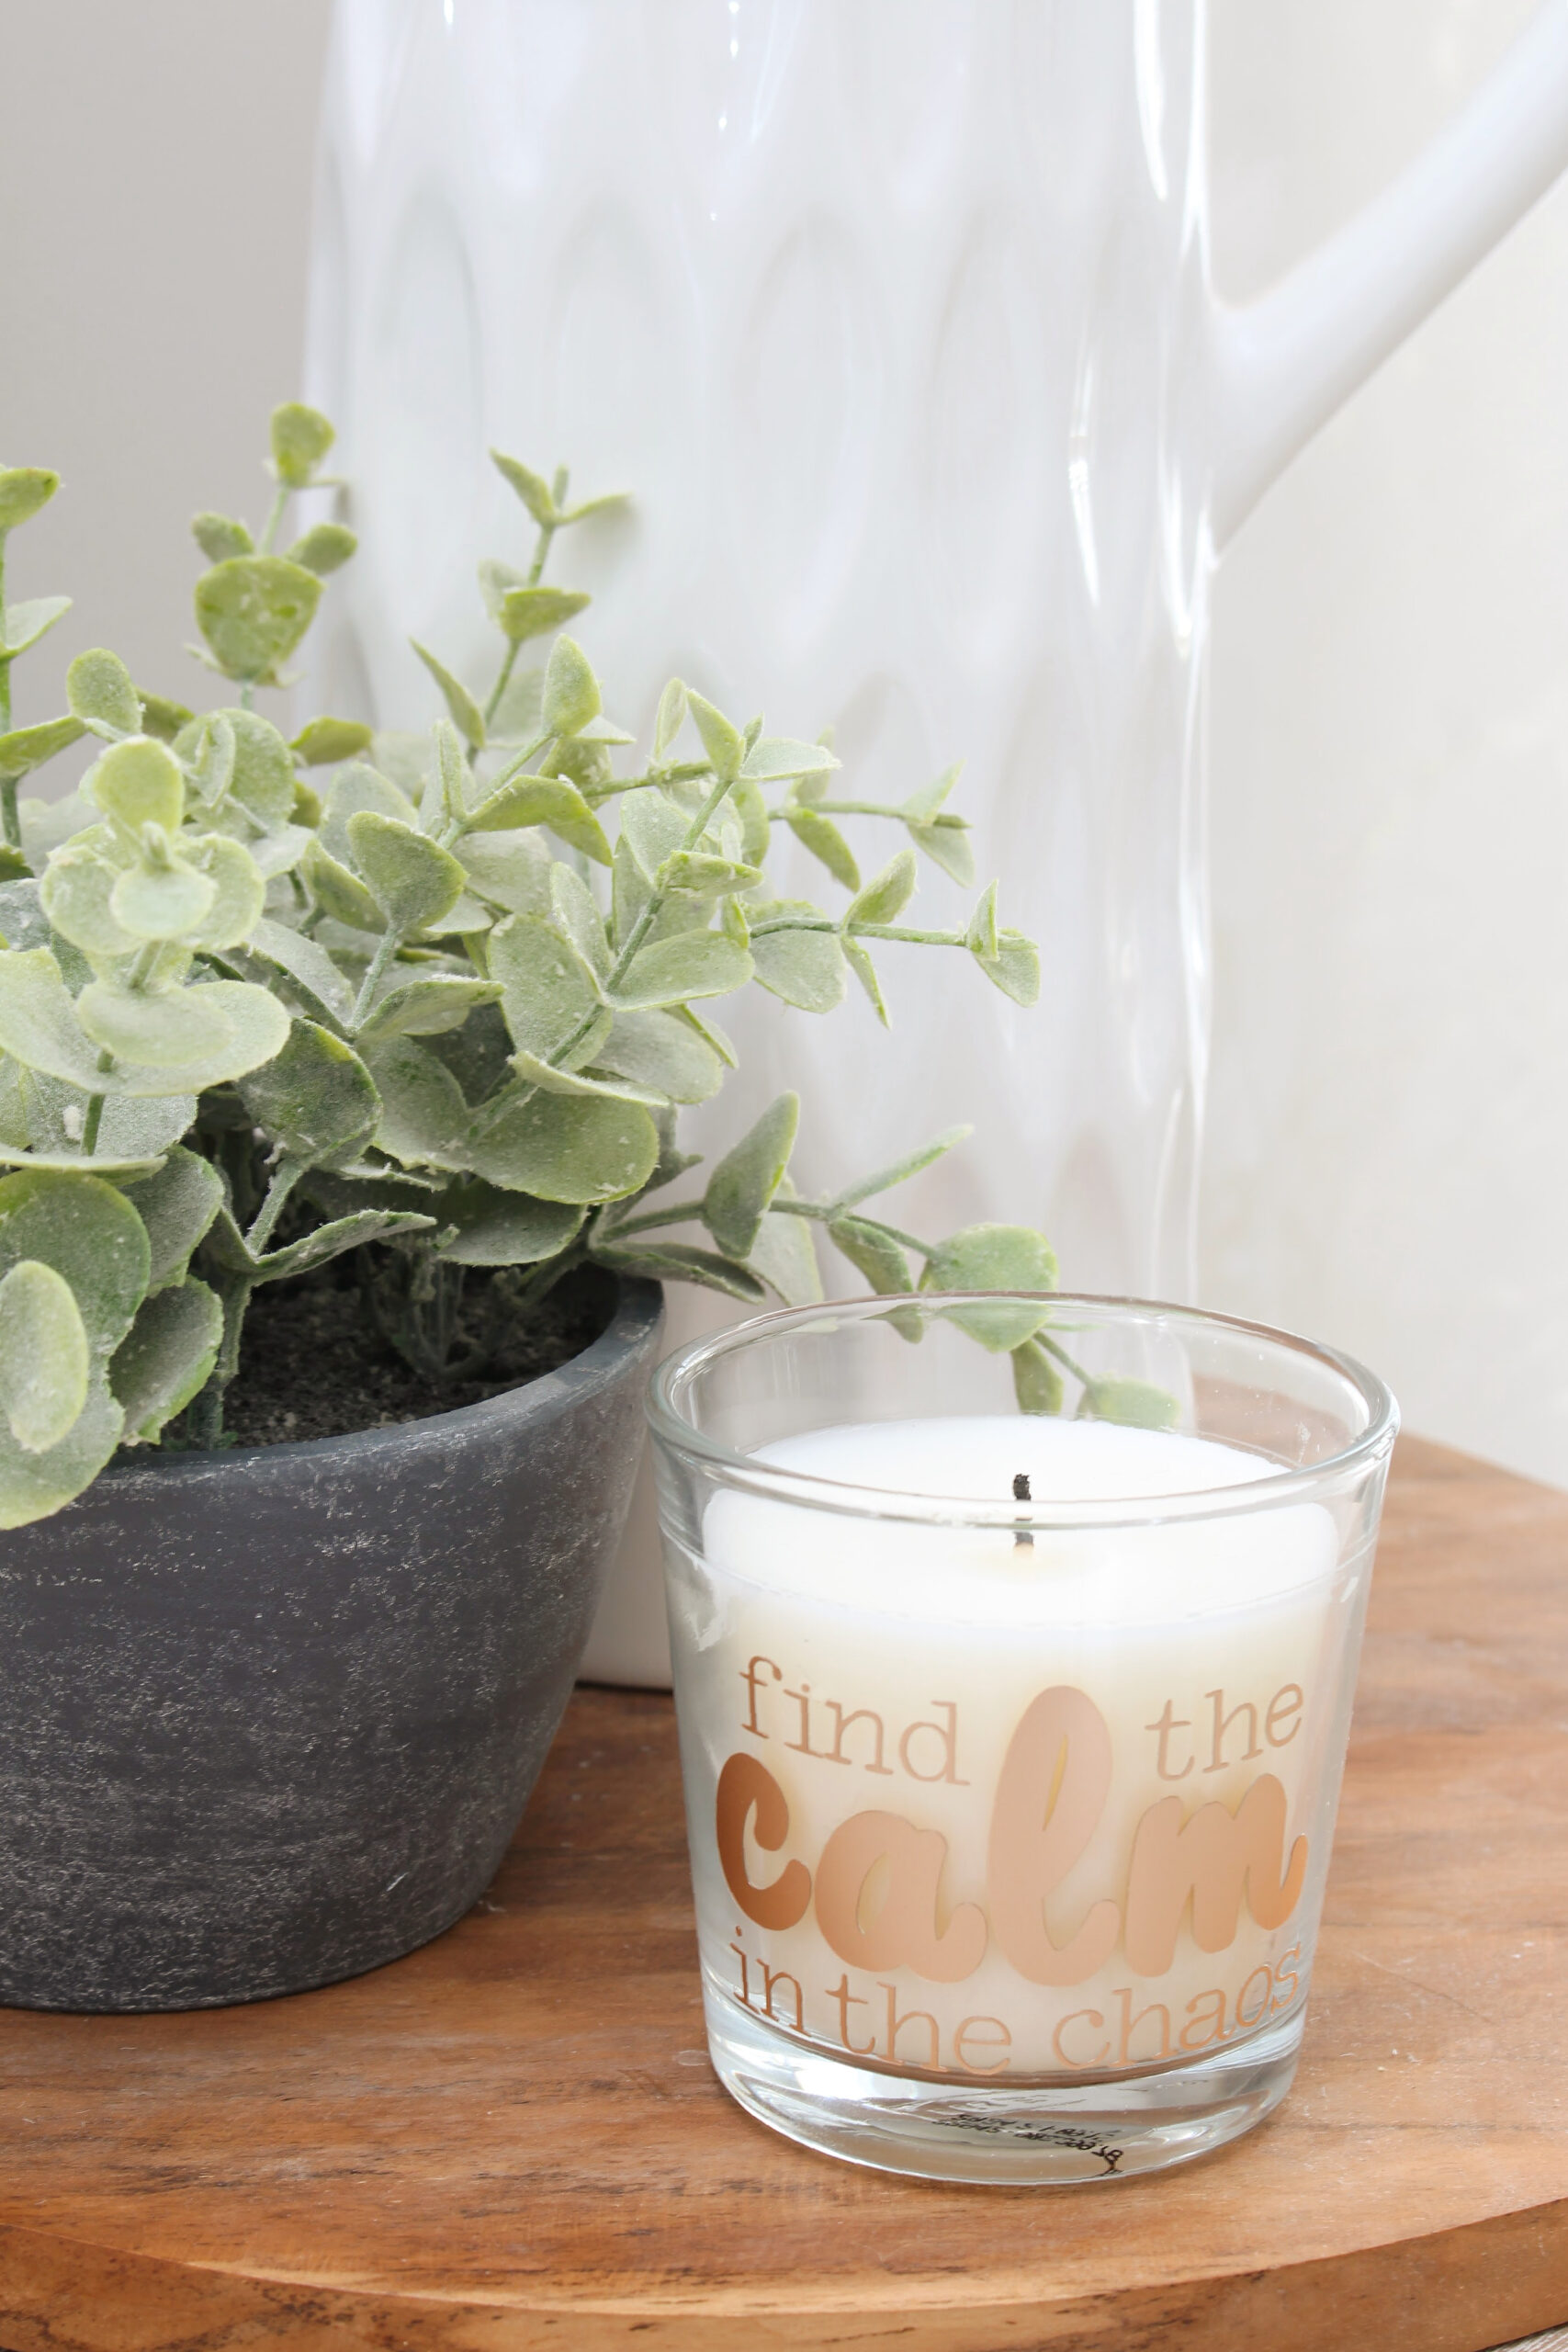
The candle was made with a simple vinyl transfer using gold matte metallic Smart vinyl and one of my favorite quotes. Life always seems to be filled with chaos, so you must learn to find your own calm somewhere in that craziness! The calmness never comes on its own. 😉 You can find the “Find the calm in the chaos” design HERE.
I hope these projects inspire you to create your own personalized yoga mat and accessories and encourage you to schedule in a little more self-care time! Enjoy!
More Cricut Projects
For more Cricut projects, check out these posts…
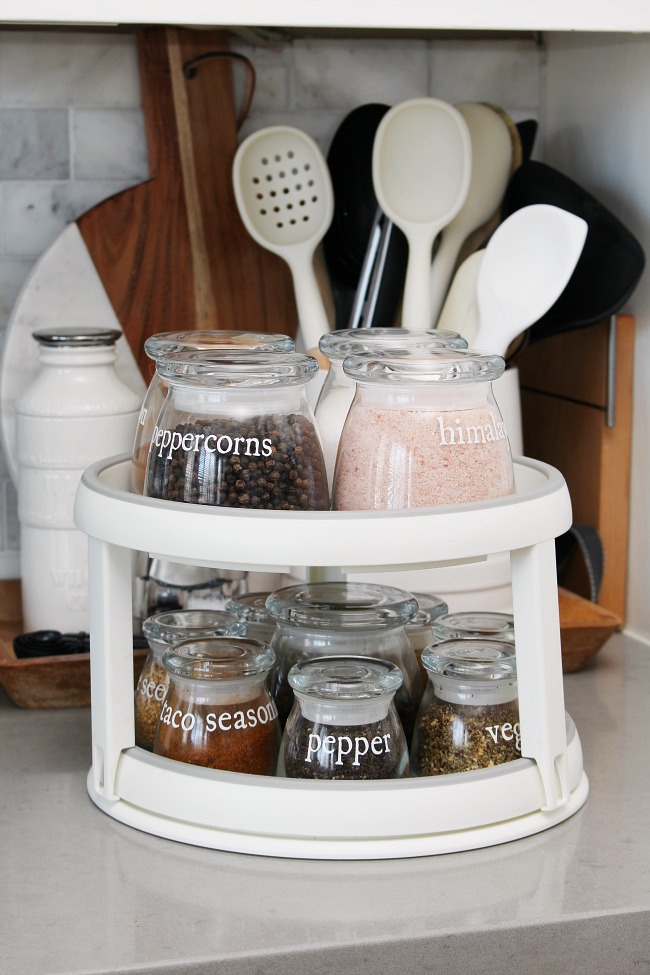
DIY Spice Labels and Organization Ideas
Im so excited to try the yoga met! I dont have the cricut heat press so Im going to try the permanent smart vinyl and hair dryer method. Have you done this method?. The hairdryer will really set it? How long do I hold the hairdryer to the design? Any other tips?? Thanks!
I’ve used it on other foam projects that are similar so it should definitely work. Once the vinyl is on, use your hairdryer over it as you press the vinyl firmly into the mat with your hands. You want to be able to see the texture of the yoga mat through the vinyl so you know that you have the maximum surface area adhered. I don’t really have a set time for the hairdryer as it will depend on how hot yours gets and how far away you’re holding it, but just until you feel that they vinyl is really sticking to the mat. Once you remove the heat, I keep pressing it in (especially on the edges) until it has cooled. Hope that helps!
Thanks so much!