One of my favorite things to decorate each season is our chalkboards. They are easy to change out, are a fun way to express some creativity, and don’t need to be taken down and stored at the end of each season or holiday. If you have been intimidated about creating your own chalkboard art or just need a little help to get going, I have put together some basic tips for you. Obviously, I am no great chalkboard artist, but I really enjoy putting them together and want to share my chalkboard love with you. I encourage you to just give it a try – it only gets easier with practice and it can always be erased!
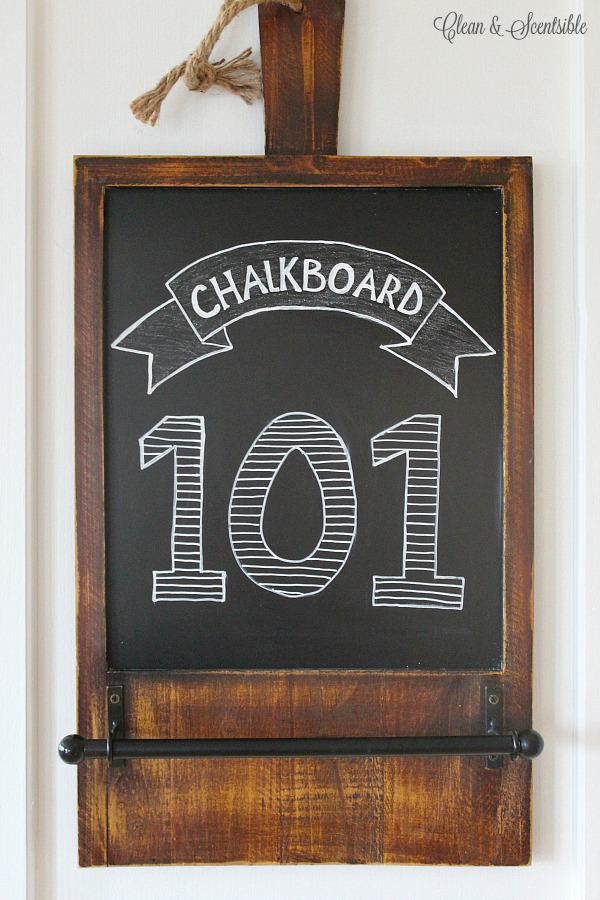
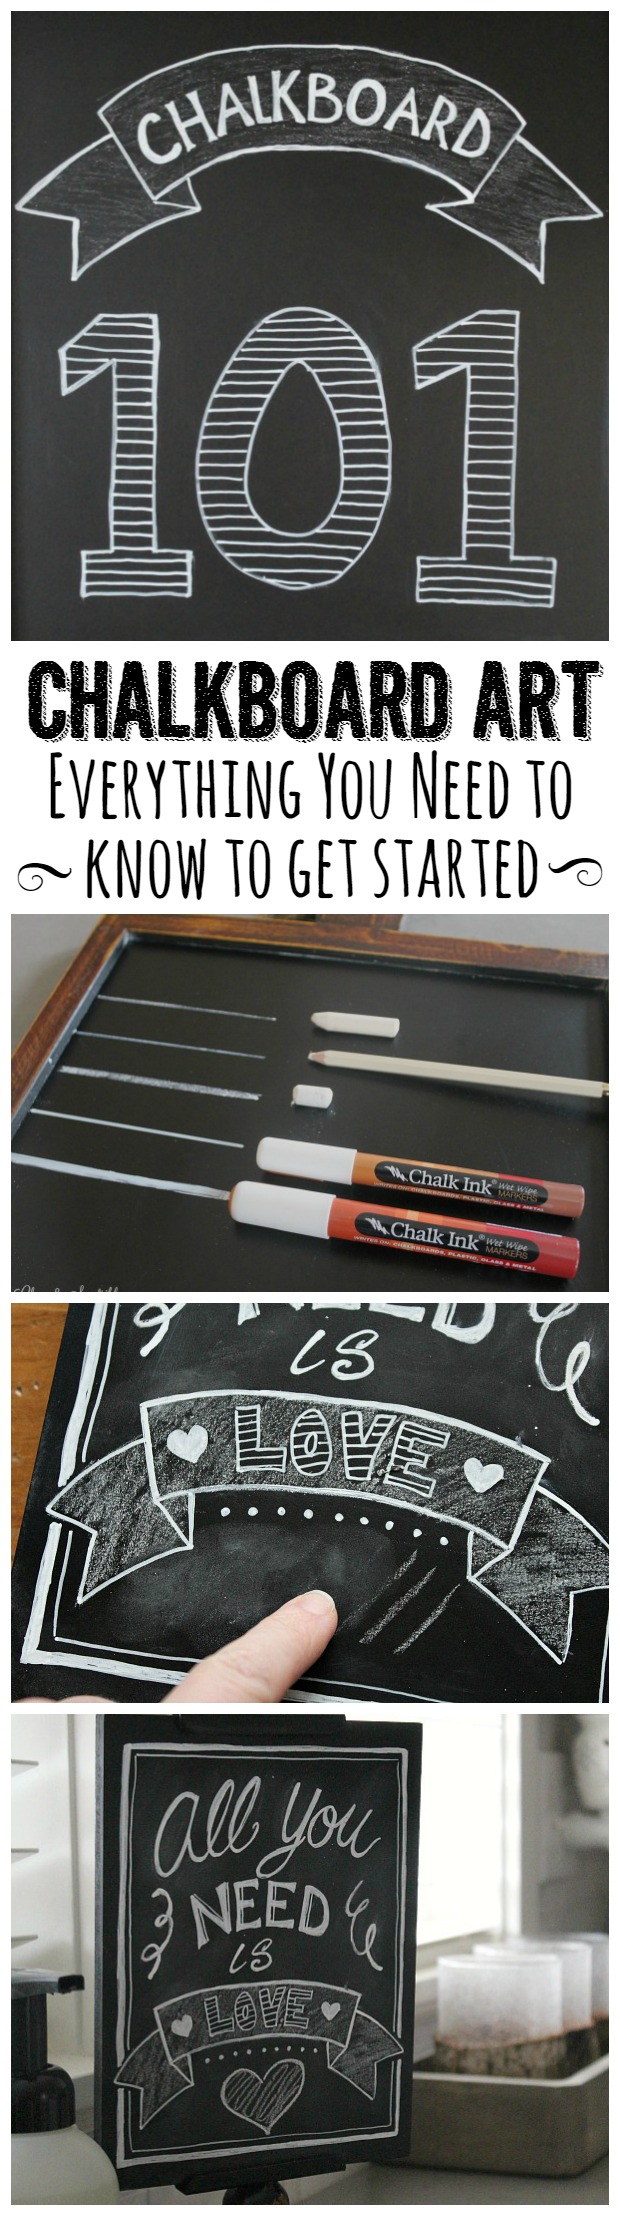
So if you are wondering how to get started, here are some basic chalkboard 101 tips and tricks to read first.
- Pick a good quality chalkboard. Obviously you will need a chalkboard for this, but remember that all chalkboards are not created equal. Many of the cheaper chalkboards are just wood that have been painted with a chalkboard finish. Since wood is porous, a lot of the paint ends up soaking into the wood. While this type of chalkboard will work okay for regular chalk, it does not hold up well to wet cleaning and can easily scratch and etch with use of chalk pens or pencils that require water to wipe clean. Non-porous chalkboard surfaces such as porcelain, laminate, metal, vinyl, etc. will be much more durable and less likely to leave those faint “ghosting” marks when you try to erase your creations.
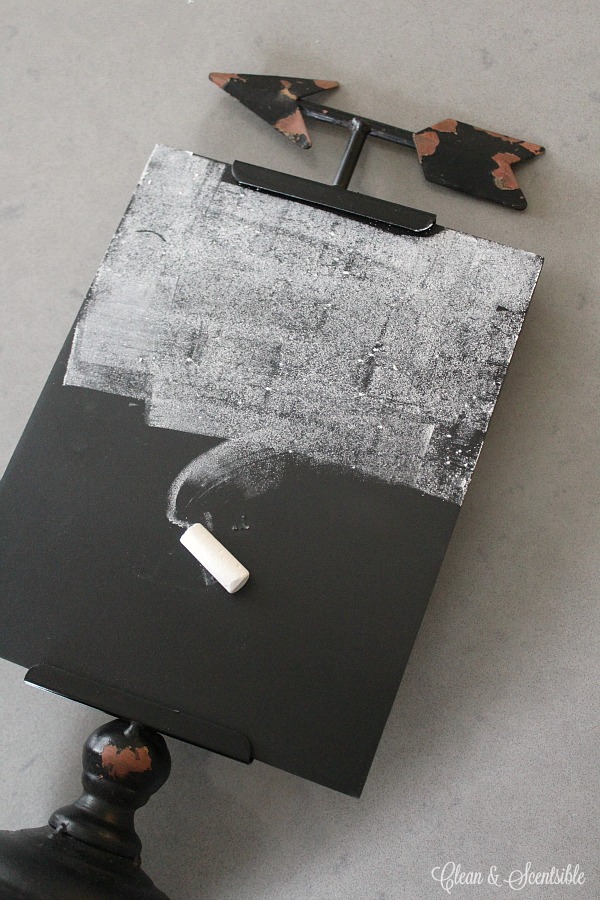
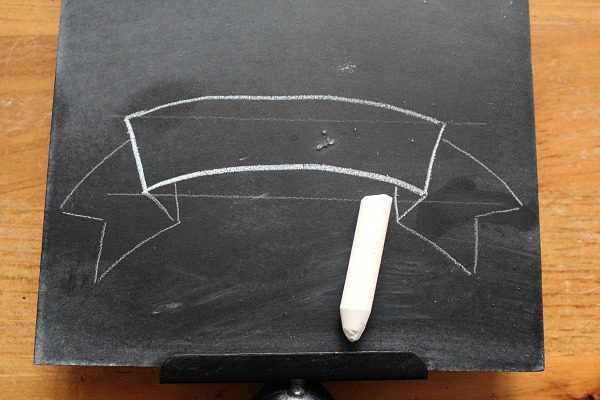
- Prepare your chalkboards. When you first purchase a chalkboard, paint anything with chalkboard paint, or use water on your chalkboard, you will need to season it before you actually draw on it. This helps to prepare the surface for handling the chalk and will help to prevent the chalk from leaving a permanent mark {called ghosting or burning} when you go to remove it. To season your chalkboard, you simply need to rub the side of a piece of chalk over the entire chalkboard and then erase with a dry cloth or paper towel. Not only does this protect your chalkboard, but it also gives it a more authentic, rustic look.
- Pick your “chalk”. There are a few choices when it comes to deciding what you are going to write on your chalkboard with. Your choice will depend on the design that you are drawing, how permanent you would like it to be, and the texture and overall look that you are going for.
Regular Chalk – If you like the classic chalkboard look, all you need is some basic old Crayola chalk. Regular chalk is great to use as you can easily shade and outline by just changing the pressure applied to the chalk. To get crisper lines, use a pencil sharpener to sharpen the chalk to as fine a point as you would like. Even if you are going to be using chalk pens or pencil crayons, always have some regular chalk on hand to roughly sketch out your design and to use for creating grids on the chalkboard.
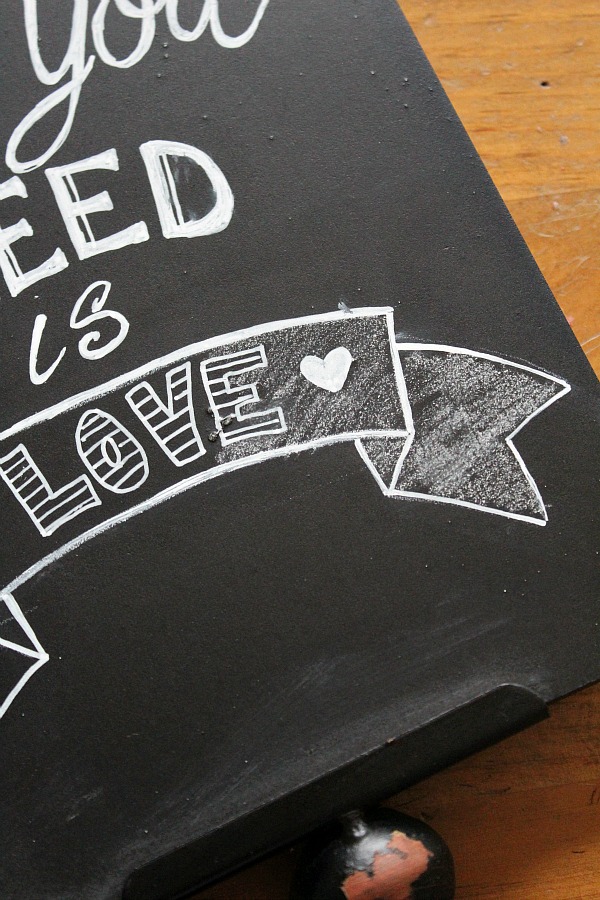
Chalk Pens – There is quite a variety of chalk pens on the market, but after trying a variety of them, I definitely prefer the Chalk Ink brand for the vibrancy of the colors and the evenness of the application. Chalk Ink markers can actually be used on any non-porous surface – glass, counters, metal, tile, etc. so you can find a lot of fun uses for them outside of the basic chalkboard. They also come in 4 different varieties of tips and a HUGE variety of colors. Be sure to store your chalk pens horizontally {not standing up in a jar} to avoid it from drying out. Be aware that there are TWO types of chalk ink pens – the wet wipes version will come off easily with water and the artista pro markers are more vibrant and designed for longer wear or in situations where the chalkboard may get wet. You can purchase the Chalk Ink markers on Amazon or you can get 20% off on their website using the code ‘CLEAN20’.
Chalk Pencil Crayons – I find that the pencil crayons are great when I am doing more of a sketch, as I can really lightly outline my design without having to worry about smudging like I do with the regular chalk. The main downfall of the pencil crayons is that they are quite difficult to remove afterwards – especially in areas that you have pressed hard. It can be done – it just requires some scrubbing power!
Combination – I usually like to use at least a little regular chalk {even if it is just some chalk dust} on most of my chalkboards to give it more of an authentic chalkboard look. Smudge some chalkboard dust around your chalk pen designs or lightly shade in some of your outlines.

- Gather additional supplies. In addition to your writing utensils, it is helpful to have a few other basic supplies on hand including a pencil sharpener {you will need on of the two-hole pencil sharpeners so you have the larger hole}, cotton swabs for touch ups or to smudge chalk for a softer look, a ruler or straight edge to draw guidelines or help with your layout, and a cloth rag. I also like to keep a little glass of water nearby, to dip the cotton swab or cloth rag in if I need a little extra erasing power.
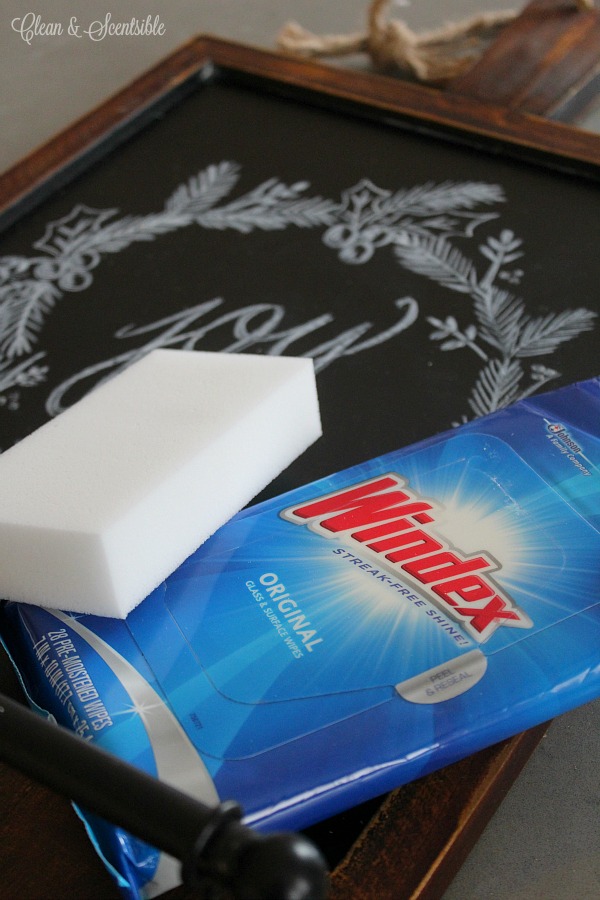
- Know how to erase your work! A slightly damp, soft microfiber cloth will generally remove regular chalk from a good quality chalkboard. For more set in chalk or other chalk mediums such as chalk pens or pencil crayons, a little more power may be needed. Start with just the damp towel and cloth, but when extra strength cleaning is required the Mr. Clean magic eraser will be your friend – it has not failed me yet! Depending on the quality of the chalkboard {and the quality of your chalk pen}, it may require a little bit of scrubbing, but just stick with it. Windex wet wipes also work quite well for erasing chalk pens. If all else fails, you can always purchase some chalkboard paint and repaint your chalkboard surface. As stated above, the wood chalkboards will gradually lose their chalkboard coating over time with wet wiping and will need to be repainted.
- Use a ruler. Depending on your design, creating grids or at least creating a line for the top and bottom of your letter heights, is often helpful. Using your ruler and a very light touch with your chalk, draw in your guidelines for your basic design. Once your are done, you can use the cotton swabs {or even your finger!} to erase what is left of them.
- Have fun. Think of favorite quotes or seasonal elements to help get you started on your chalkboard designs. There is chalkboard inspiration everywhere – cards, signs, advertisements, and, of course, Pinterest! Start simple and gradually work on expanding your own style. There really is no other medium that is more forgiving than chalkboard. I promise you will have fun!
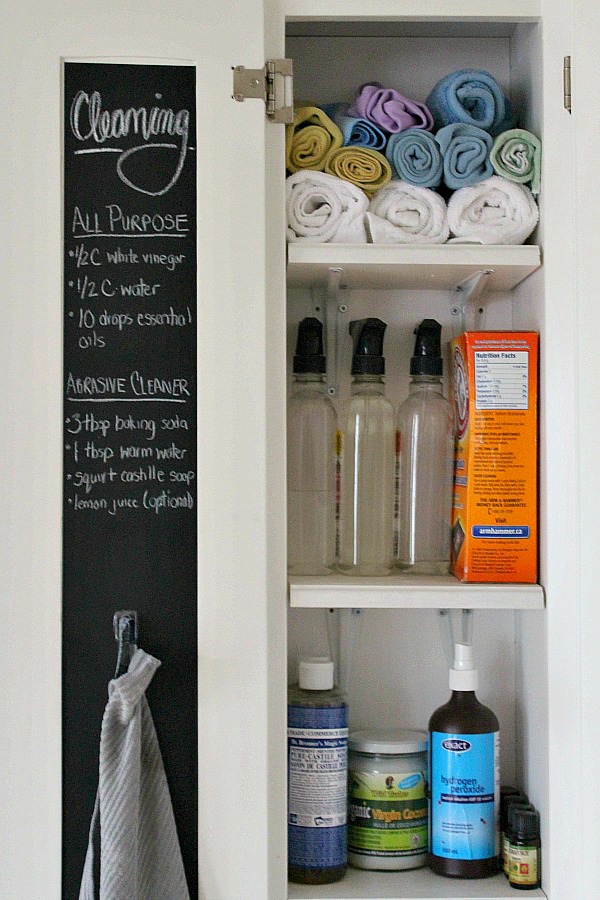
And remember that chalkboard is a great organization tool too – check out our cleaning closet!
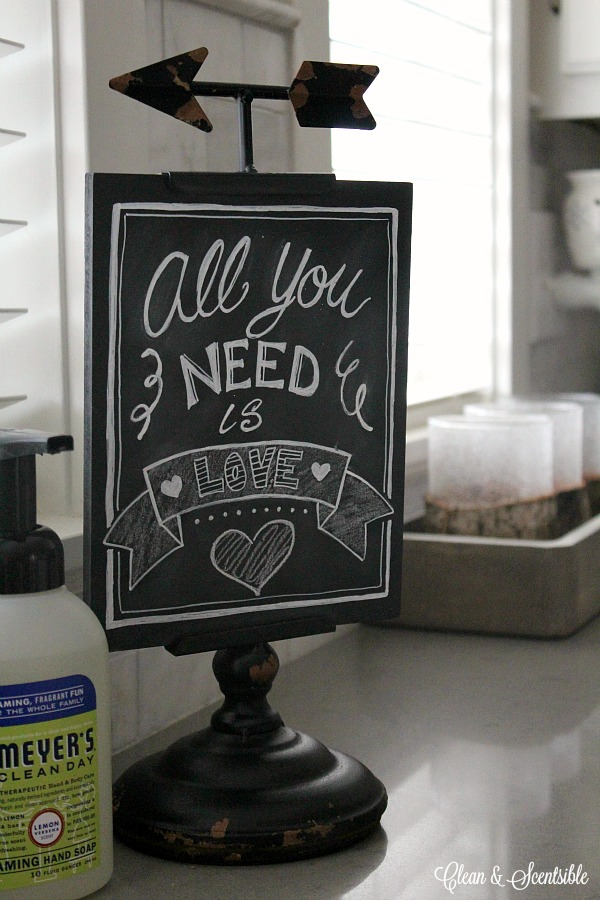
Love your chalkboard art! Could you please share where you got the cute chalkboard with the arrow on top?
I picked it up at a local store in Lynden, Washington – Grandiflora. I know they have some things available online but I’m not sure about the chalkboard. 🙂
Thanks for sharing on craft schooling sunday, i see the chalkboard craze also involves some planning and good art skills, so much fun!
Such a cool tutorial! I recently did a post on teaching yourself how to hand letter, and this would be such a fun project to try out! Thanks for sharing, tweeting and scheduling to pin!
Very cute chalkboard & post. I have a partial wall I’ve painted as a chalkboard and I love keeping it current for all the seasons/birthdays/etc.
That sounds fun!
Thank you for such a comprehensive guide. I love the way chalkboards look, but I’ve been overwhelmed by all the options, so I never got one. Now that I know a little more, I think I need to start looking for a good quality chalk board.
I’m glad it was helpful for you. Have fun with your chalkboard! 🙂
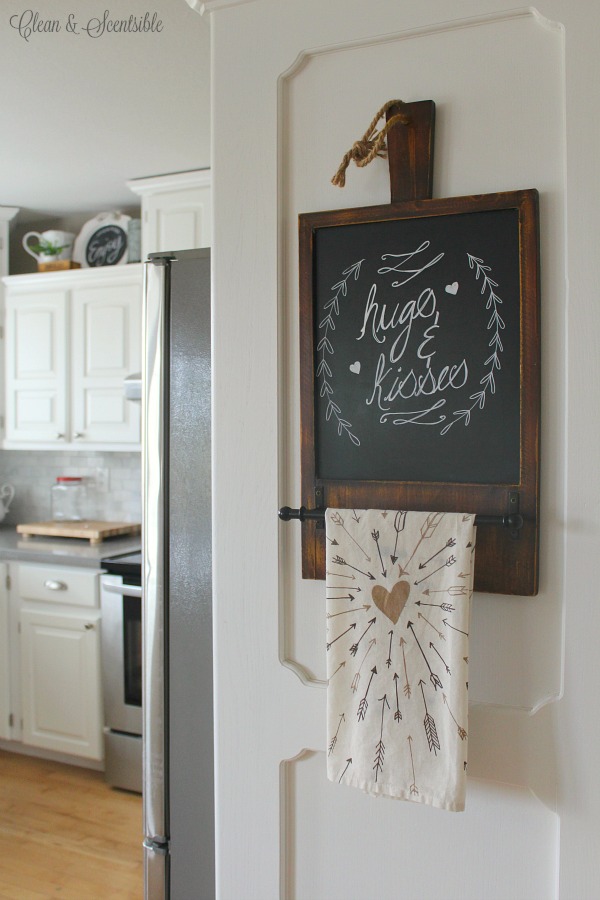
Jenn, I’m with you, chalkboards are super fun and I love changing the quotes or drawings each time! Thanks for all these tips! I bought a chalk marker the other day and used it for the first time. I love it for the smaller chalkboards, works great! Btw. the kitchen towel underneath the chalkboard is amazing!!! Love it!!!
I love your big chalkboard with the towel hanger on it! I am slowly working on my hand lettering so I can try to do chalkboard signs like this. Thanks for all the helpful tips!
Stopping by from This is How We Roll.
Thanks! That was a happy find! 🙂 Have fun creating!
I am *this close* to turning my latest thrift store find into a chalkboard piece. Thanks so much for all the great tips! Pinning!
Thanks for sharing such a great post. It’s very detailed and suggest things I haven’t even thought about.
I also really love your hugs and kisses tea-towel holder
This is a really great guide to one of my favorite decorations. Pinning!
Great tutorial with very clear illustrations. Thank you. Visiting from Diana Rambles.
Joy
Thanks!
I love this! Im actually a huuuge fan of chalkboards! Theyre great arent they?!
Hi from create – share – inspire link up!
Thanks! Yes, chalkboards are the best! 🙂
Love! Pinned and tweeted! Thank you so much for sharing this with us at our linky party. We hope to see you next Monday @ 7 because we can’t wait to see your new creations! Happy Saturday! Lou Lou Girls
This is awesome! I learned the hard way that Magic Eraser works. I must have tried everything in between! I wish I had read this first. Fabulous tips.
Good ol’ Magic Eraser! 😉
This is so silly but I didn’t know you had to prep the chalkboard! haha So glad I found this tutorial! Great pics and tips!
Thank you for linking up with the Weekend Wind Down Link Party! You have been chosen to be one of our features! We will rotate this tutorial throughout our Facebook, Pinterest, twitter and G+ and it will be posted on my blog this coming Friday! So make sure to come back and check it out as well as link up another awesome article!
Xox
-Britni
Thanks so much for sharing and hosting! I appreciate it! 🙂
I LOVE this Jenn!! Definitely needed to see this tutorial. Pinning for later 🙂
Glad you liked it Lindi!
This is a very useful post – I admit I’ve never really thought much about using chalkboards except when I see a cute one nicely done, but partially, I think it is because I didn’t know how to care for them and I was afraid they’d just be a mess! Thanks for all the hints and tips!
Thanks for sharing this with us on Throwback Thursday! Hope to see you next week!
Mollie
Thanks for sharing at the Inspiration Spotlight party. Pinned & shared. Hope to see you again soon.
Jenn,
Thanks for the easy tutorial. I will be be doing my first craft fair and I want to put my logo on a chalkboard. After reading your post I think I want to use both the barkers because I want a more permanent result. Do you know if there is anything I can use to keep the design from removing? I don’t want rain to destroy it and it would be nice if I could reuse the sign for the next craft fair.
Thanks again for sharing!
Stephanie
Chalk ink has two types of markers- the wet wipes {which I usually use because they erase easier} and the artista pro where you need an ammonia based product to remove it {so they should work for your sign}. Good luck with your craft fair!
I used this post to create the first chalkboard message I ever really loved. I found an antique frame (all scroll-y) and I’m turning it into a chalkboard. Thanks to your post I know how to! Thank you for sharing your knowledge!
This is great. I just bought some chalk boards at Big Lots. I am doing my kitchen Bistro Style and they had some really cute ones. They even had a big one with the Eifel Tower.
Awesome! Sounds like you will have a lot of fun putting it all together. 🙂
What do you recommend using on chalkboard vinyl if you DO want certain lines to be permanent? I’m making a calendar from a repurposed frame, and I want the calendar lines & boxes to be permanent. I can use chalkboard pens for the month and days so they are not permanent. Thank you in advance for any information information you can provide me!
I like Chalk Ink pens. They have two lines – the wet wipes that come up with water and the Artista Pro lines which needs an ammonia based cleaner to remove it so its more permenant. You could also look at using a paint pen for the lines although I’ve never used one before myself. Hope that helps!
I painted an entire wall in the kids room with Benjamin Moore chalkboard paint. I did 2 coats as recommended. Then I “seasoned” the wall with chalk. NOW, the dry Magic eraser just made a huge mess, so I dampened it and spent 4 hours trying to get off all the dust. It still looks messy and I’m afraid I’ve ruined the days of work I spent on this project. HELP!!!
Sorry you’re having troubles! Is your wall textured at all? I know chalkboard paint does not work well on these surfaces. Did you wait three days to allow the paint to cure before seasoning? When I use the magic eraser, it’s more to erase “hard” areas where the chalk has set – I generally find I don’t need it for just the light seasoning. I lightly dampen it, rub it over the areas that are stained with the chalk, allow to dry, and then wipe away any excess with a cloth. What kind of mess do you have now? Chalkboard walls are EXTREMELY dusty so hopefully you are prepared for that! I always think that part of the charm of chalkboard walls is the light chalky background so don’t be too concerned with getting everything off. Once you have your design on there it will look great!
This is awesome! I was just asked to be in charge of writing announcements on the chalkboard at my son’s school. People think I am artistic because I make cards – but I really rely on my stamps and ink to make things look good. You have come to my rescue with this wonderful tutorial.
Glad it was helpful! I used to do cards and stamping too. It was always lots of fun – just haven’t been able to find any time for it in recent years. Hope you have fun with the chalkboard art!
Thanks for the info!!! I finally found a scrolly frame and excited to get started!! Hi I am a little confused about the chalkboard. Do you find a non_ porous item to paint that chalkboard paint stuff onto, or is a Special non porous chalkboard Something you have to purchase??? I really want to use the chalk markers and be able to wipe them clean so I won’t use Artista. Thanks for any help! I’m excited!!! Love these boards for weddings!!!
Your frame sounds cute! I was talking about using a non-porous material if you were making your own chalkboard and using chalkboard paint. It does still work with other materials but you may need to touch it up with new paint if you use it a lot. I use the wet wipes version of the chalk ink and it has worked well on all of my chalkboards when it comes to erasing it. I do usually use a Magic eraser though instead of just water. Have fun with yours!!
I have to return a couple of chalkboards I am using for a wedding but don’t want my art to smear… what do I use to keep it from smearing but isn’t permanent?
Once the chalk ink pens are dry they won’t smudge. If there is a possibility of it getting wet, use the artista pro line instead of the wet wipes. It’s waterproof but can still be removed with an ammonia based cleaner (like Windex).
I’m not sure how to tell if I have a porous or non-porous chalkboard.
It just depends what it’s made of – wood would likely be the most common which is porous. Plastics, glass, metals, etc. would be non-porous. Don’t be too concerned with this for regular use. If you’re not sure, just use as little water as possible to erase and dry well. 🙂
Hi Jenn,
I have been put in charge of designing the chalkboard (painted with chalkboard paint on a wall) in our newly built church. It is big! Like 16ft wide x 6 ft high. I would like to use chalk markers but am afraid that they may not clean easily as the wall is porous. Would the wet wipe marker ink clean off easily or would that require a magic eraser and lots of elbow grease?
Thanks for your post! and your help!
That will be a fun project! The chalkboard paint quality can really vary so, while the wet wipes should come off fairly easily, I would probably still give it a test go in a smaller area first. A chalkboard that size would look lovely with the ink markers! Be sure to give it a good seasoning first with regular chalk. 🙂
My friend does chalkboard signs all the time. To save time, and get everything evenly balanced she designs it on her computer than uses an overhead projector, or even a small phone projector to project the design onto the board, then traces it with chalk.
Yes! I’ve tried that too. Works great!
lots of great tips for making my first chalkboard paint sign. i didn’t know chalk markers were a thing. it certainly will make it easier for me to draw the words.
Yes, they definitely are helpful in giving brighter, sharper lines. I haven’t experimented a lot with the different colors, but they look fun too. I still often use some light regular chalk to outline things as the pen markers are a little harder to erase.
Great post! Love your designs. So I have purchased 3 table-top chalkboards and used chalk paint and they all have ghost images. Where can you purchase good quality chalkboards that you can use chalk paint on? Thanks!
Kelley
I’m not sure what you mean by using chalk paint on them. Are you referring to the base chalkbaord paint or what you’re using to put on the images? I think of chalk paint as something more permenant. You can always re-paint the black chalkboard background with some chalkboard paint to freshen them up. Otherwise, be sure that what you’re using on the chalkboards to add your images is meant to be easily erasable – there’s often a big difference in quality of these products as well. The chalk ink pens give a nice crisp look and come off easily {use the wet wipes version}. I always use a Mr. Clean magic eraser and it works well to erase any ghosting.
Hi,
Do you know of a way of making chalk board writing resistant to rain, but not permanent? Any tips are most welcome!
Thanks,
Amy
Hi Amy,
If you use the Chalk Ink markers they have two versions – wet wipes which come off easily with water and the artista pro ones that need some scrubbing. Those artista pro ones should work for being resistant to rain. I’m not sure if they would last forever in wet weather but definitely for an event or two!
I’m curious, do I need to re-season my board every time I “erase” or wipe off the chalk pen?
No, not every time. But if you give it a good cleaning (i.e. you use water and/or chemicals rather than just wiping off the chalk), you should season it again.
i’m getting chalkboard paint for my concrete wall, will this then be non-porous?
The chalkboard paint should definitely work on the concrete {just check the surfaces recommended for the brand that you’re using}, but it won’t make it non-porous. You could try putting a sealer on the concrete first if you were worried about that.
I am wanting to use chalkboard paint on the side of a pantry in my kitchen to use for grocery items needed etc. Would this work well for this particular use? If so, what kind would you recommend?
It should work but you will probably need quite a few coats. I don’t have any particular brands that I would recommend. If you want something really easy (and removeable), try just adding some vinyl chalkboard. You can see how I used it in our kitchen here…
https://www.cleanandscentsible.com/kitchen-cabinet-organization-ideas/
I am obsessed with your chalkboard with the towel rack on it and have been looking everywhere for one similar since before we moved in our home. Can you please tell me where you found this?!
Thanks! I bought it at a local store a number of years ago, however, I have seen one floating around HomeSense stores every now and then. I know that’s not very helpful but hopefully you’ll have some luck!