Happy Wednesday! I hope you are all having a great week! Thanks so much to all of you who joined in on our Progressive Spring Dinner Blog Hop on Monday! It was lots of fun and I can’t wait to see who is going to win the big prize pack! Today I am going to be showing you one of the projects that was featured in my Spring Tablescape…
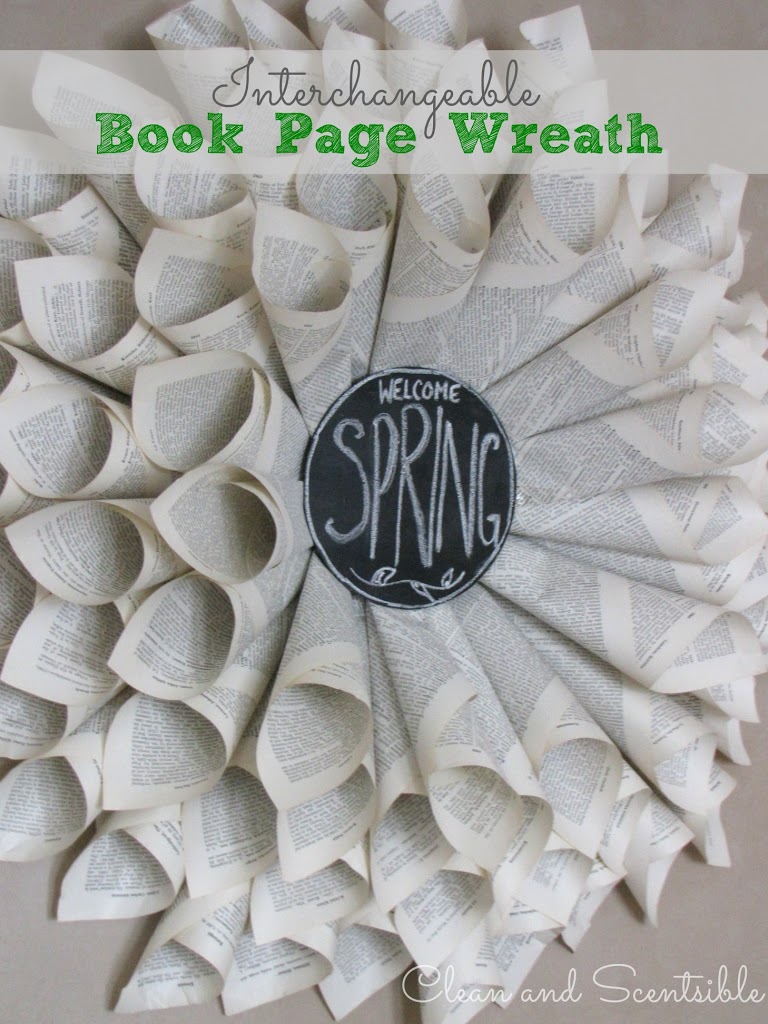
This is actually a bit of a cheater project for me, as I bought the book page wreath from a friend of mine at her Christmas craft sale. Since she doesn’t have a blog, I will give you a quick run down on how they are made and show you the changes that I made to mine so I didn’t have to pack it away with my Christmas decorations.
MATERIALS
- foam board or cardboard {slightly smaller than the size you want your wreath to be}
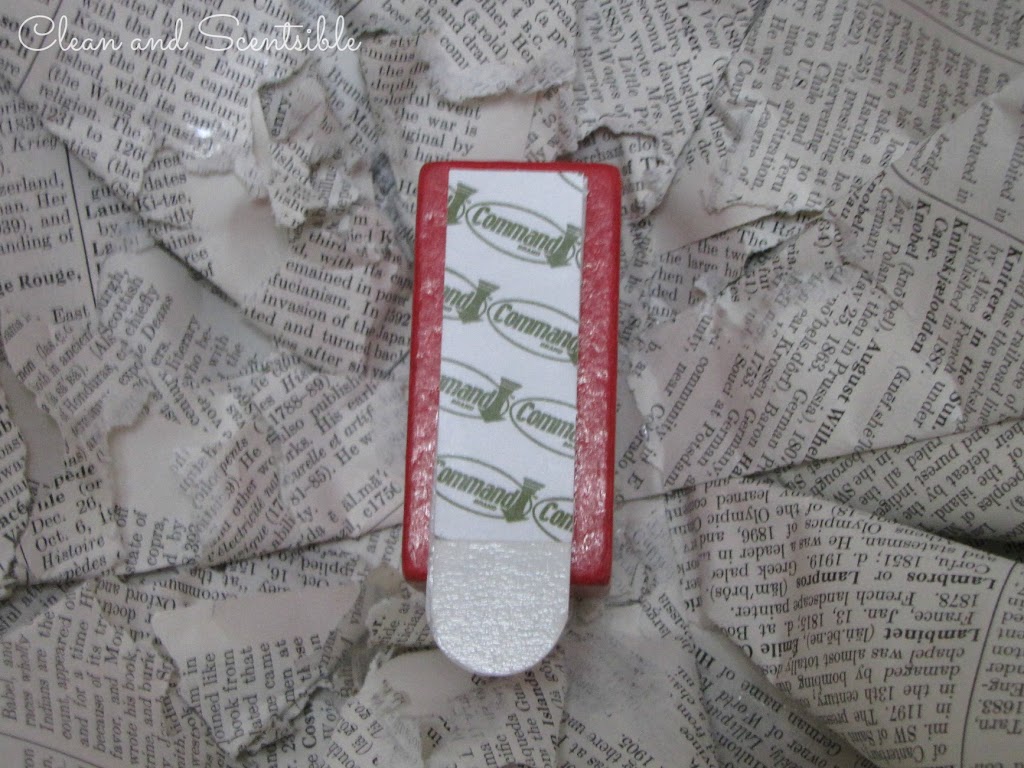
- bulldog clip
- book pages
- wood circle {mine is 6 inches in diameter}
- Command Strips
- wood block {I took one from my kids’ building blocks!}
- chalkboard paint
TO DO
- To create the base for your wreath, cut a foam board {or cardboard} slightly smaller than the size that you want your wreath to be and attach a bulldog clip to the top for hanging.

- Roll up individual book pages into a cone shape and secure with tape or hot glue at the base. Begin with the outer boarder of the wreath and lay out the cones until they are arranged the way you would like and completely cover the backing. Glue down the ends of the cones.
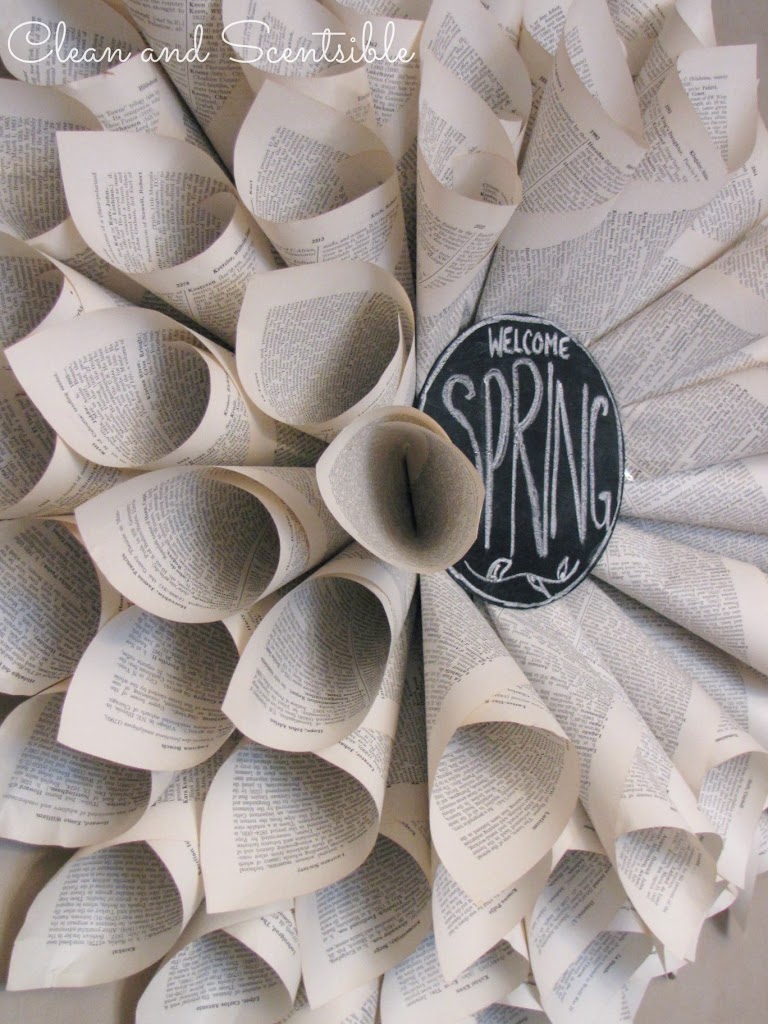
- Continue adding layers around the wreath, making sure to fill in all gaps. As you get more towards the inner layers, you will need to flatten the ends of the cones a bit to get good contact with the glue and the foam board.
- The middle of the wreath initially had a large red glitter foam ball with some Christmas ornaments around it. Cute for Christmas but definitely not working for Spring! Since the ball was hot glued to the book pages, I had a few fix ups to do once I pulled the ball off.
- For the center of the wreath, I spray painted a 6 inch wooden circle with chalkboard paint {about 4 layers}. I then attached a wooden block that I took from my kids’ building blocks to the center of the wreath using Command Strips. This just lets the circle sit off from the back of the wreath so it doesn’t squish the book page cones. I then used one more set of the Command strips to attach the chalkboard circle to the wreath.
- Now I can either just change up the writing on the chalkboard each season or completely take that down and attach something else to the center.
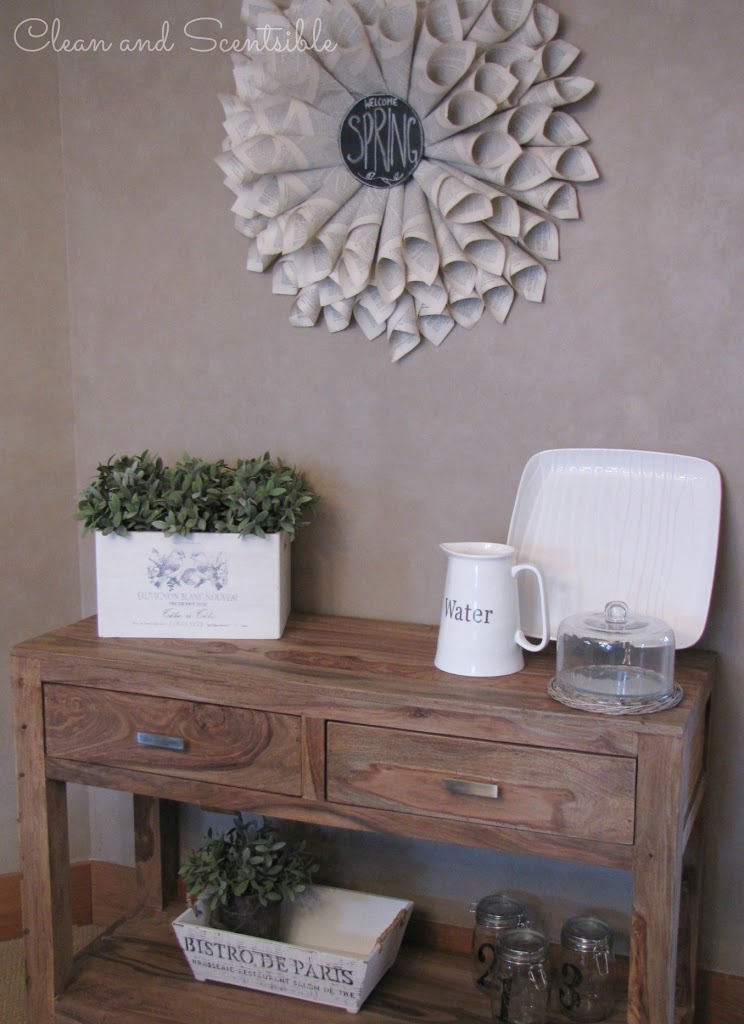
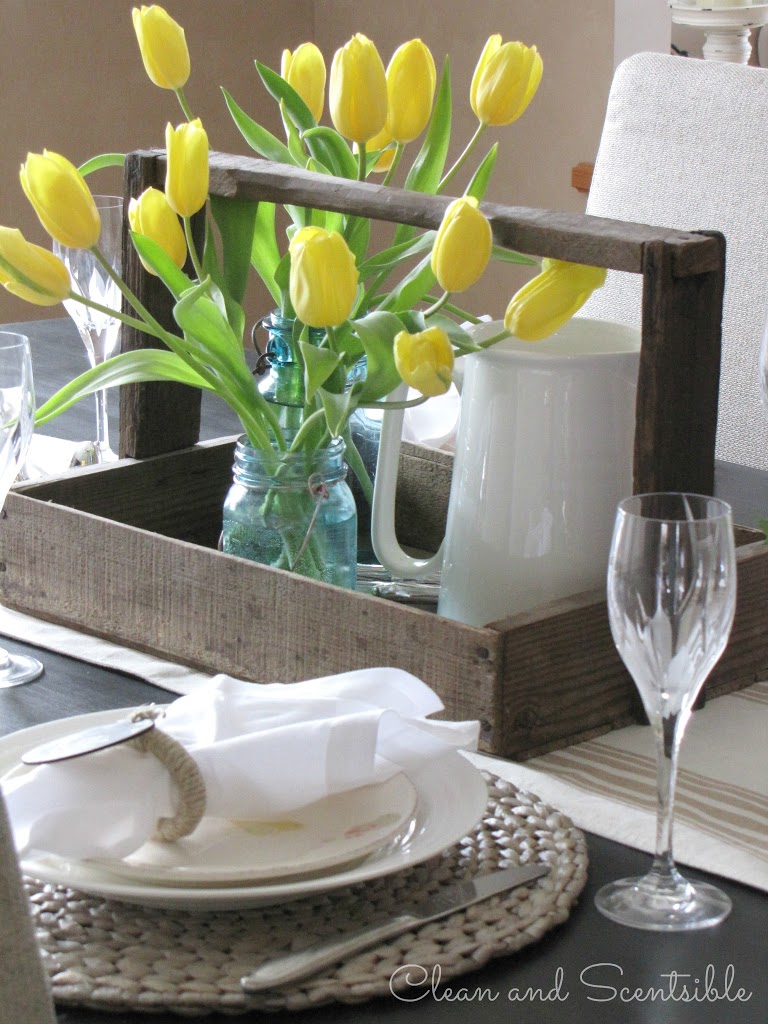
If you want to see more of the Spring Tablescape you can check out the post here.
Have a great day!
I linked up with Liz Marie Blog, Design Dining and Diapers, Jennifer Rizzo, Somewhat Simple, The 36th Avenue, Whipperberry, Becoming Martha, Stone Gable, Lil Luna, Savvy Southern Style, Home Stories A to Z, Love Grows Wild, Lolly Jane, Today’s Creative Blog, Not Just a Housewife, Under the Table and Dreaming, I Heart Naptime, Uncommon Designs, Craft-O-Maniac, Flamingo Toes, Funky Junk, Tatertots and Jello, 30 Handmade Days, 504 Main, Tidy Mom, Live Laugh Rowe, The Shabby Creek Cottage and Mom on Timeout.

Pretty!! Hope you will join our party! http://www.thevintagefarmhouse.com/2013/04/creative-things-thursday-link-party.html
I love these kind of projects done with vintage book pages. Thanks for sharing 🙂
What an original idea- VERY cool!
Wow. I love the idea of putting something in the middle. I wish I’d of thought of that when I made mine. Check it out here….
http://creatingamazing.com/676/
What a great idea. I love making things from old book pages. http://craftwithcartwright.blogspot.co.uk/
I love the wording in the center with the pages around it. It turned out beautifully!
~Emily
A Tossed Salad Life
I love that wreath! I have been wanting to make one for awhile now but my husband is such a book lover that he cringes at the thought of cutting one up to make this project. Anyway thanks for a great tutorial!
Go to goodwill and grab a couple books there 🙂
Also I would love it if you would check out my blog:
http://www.joseandcharityspemberley.blogspot.com
this is so cute! I have a few book lovers in my family that would love this!
I’d love it if you share this on Much Ado About Monday with Huckleberry Love!
Karla
http://www.huckleberrylove.com/2013/04/much-ado-about-monday-no-5.html
So cute. I love the idea of making it on something flat. I’ve made one before but on a bought dollar store wreath. This was seems better 🙂
I’d love if you had a second to check out my first ever room makeover.
http://sweetserendipitydesign.blogspot.com/2013/04/office-makeover.html
This is beautiful! I want to make one with pages from some of my jane austen novels!
Love this!
I would love for you to share this and link up to my TGIF Link Party! The party is open every Friday and closes at midnight on Wednesday night. Who knows, you just might be featured next week!
I follow back: bloglovin, Facebook, and Twitter. =)
http://apeekintomyparadise.blogspot.com/2013/05/a-peek-into-my-paradise-tgif-link-party.html
Hugs, Cathy
Surely, there must be a way the local recyclers can recycle them…….have as anyone tried negotiting with them ,
or maybe brita needs a new design
German Shepherd Puppies
As an avid book reader, I love, just love this idea! What a creative & wonderful way to repurpose a book we dearly love! Making it in such a way to enjoy every season was fabulous! Thanks for sharing! I just may have to make this for my new place!