Happy Thursday! I hope all of my American friends had a fabulous July 4th!! For those of you that missed it, I “worked” as a camp counsellor over at Design Dazzle’s fabulous Summer Camp a few days ago. If you are looking for some fun summer activities for your kids, it is definitely the place to go!
For my project, I came up with this Summer Time Capsule for the boys to work on. I think we all know that kids grow up way too fast and I love projects that help to preserve all of those wonderful childhood memories. I created this Summer Time Capsule Album to capture a “snapshot” of our life in Summer 2012.
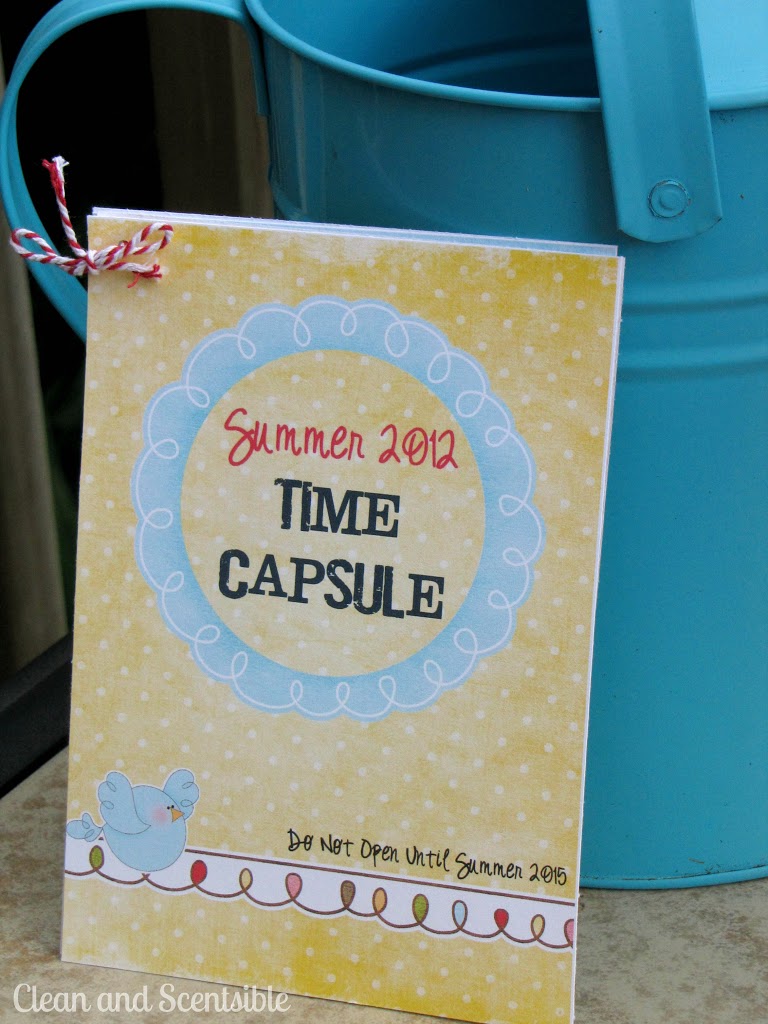
I kept the album fairly simple as the boys don’t have the longest attention span for projects. Since kids change so quickly {and we have no patience!} we decided that we would only close our capsule up for three years. Depending on the ages of your kids, however, you might want to choose a different time frame.
To begin your own album, download and print out the album pages on to light cardstock. I have included the free downloads below. They are designed to be printed as a 5×7 so you can fit 2 on a page when printing on standard 8 1/2 x 11 paper.
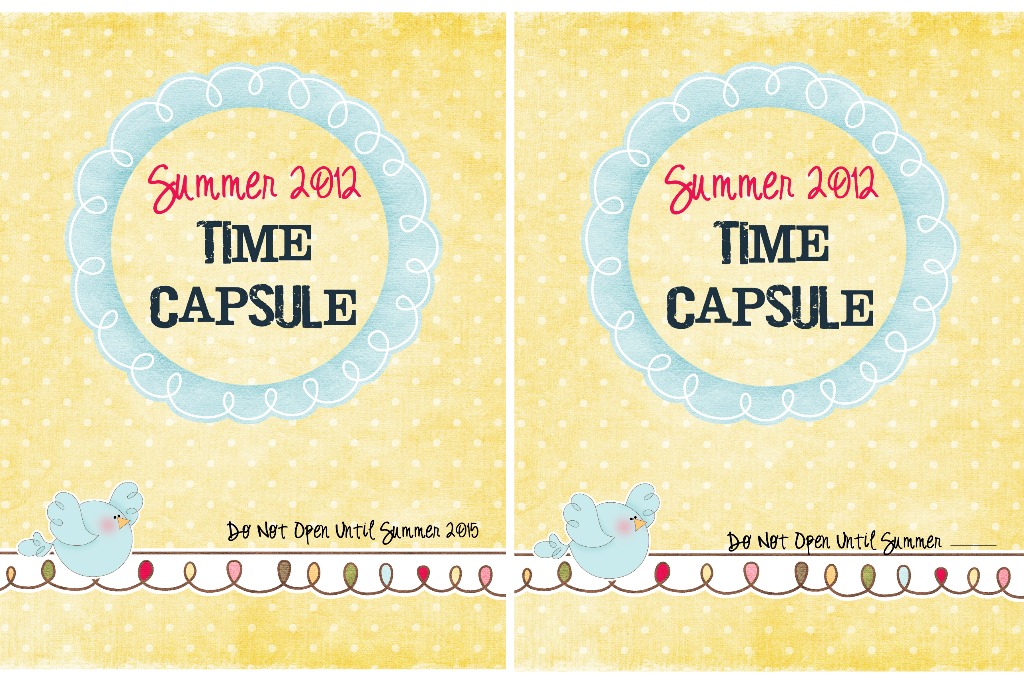
{download Summer 2015, download a blank year}
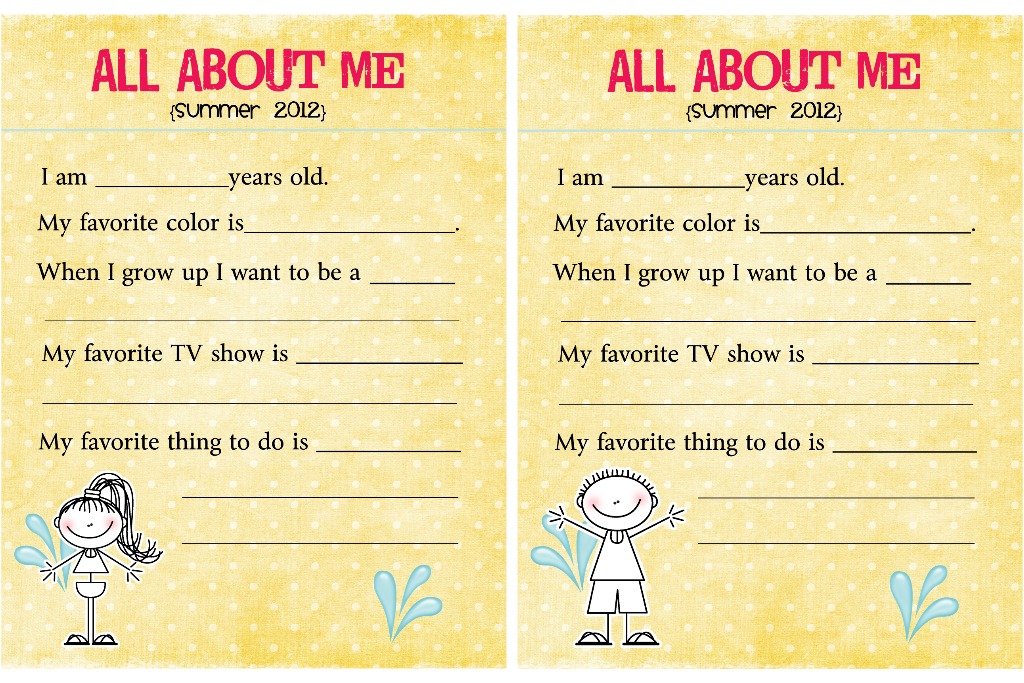
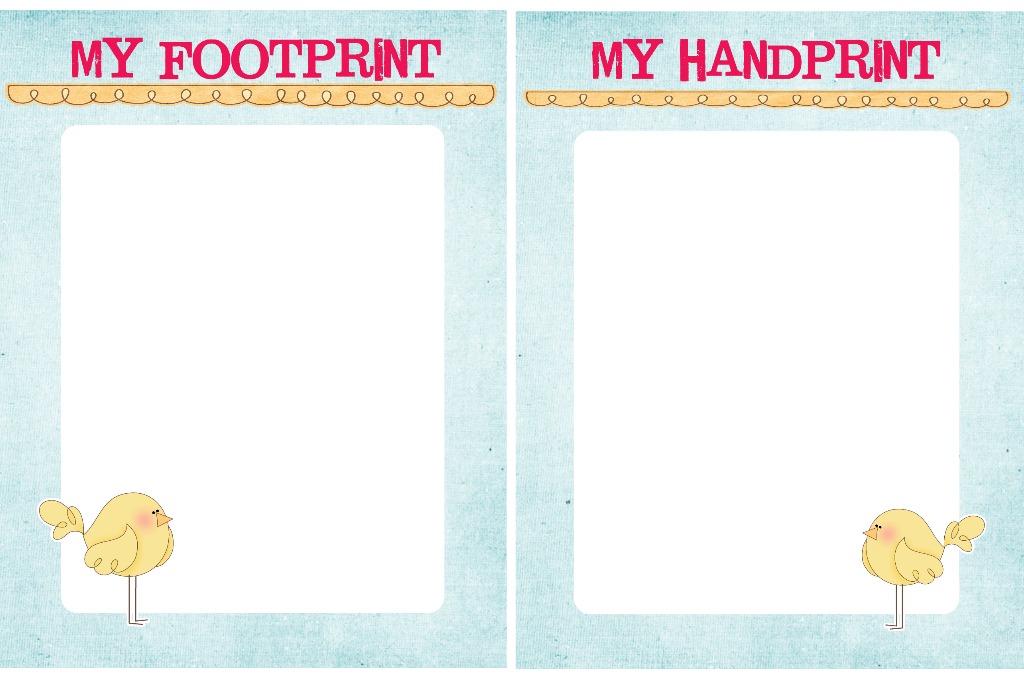

{download Summer Fun}
To do the hand prints and foot prints I used blue acrylic paint. This part would have been much easier if we could have done it outside but unfortunately it was pouring rain out. Just keep some baby wipes handy if you are doing the project inside! I find it is easiest to paint on the paint with a foam brush rather than have the kids dip their hands and feet in the paint itself. It can be a little tickly going on the feet!
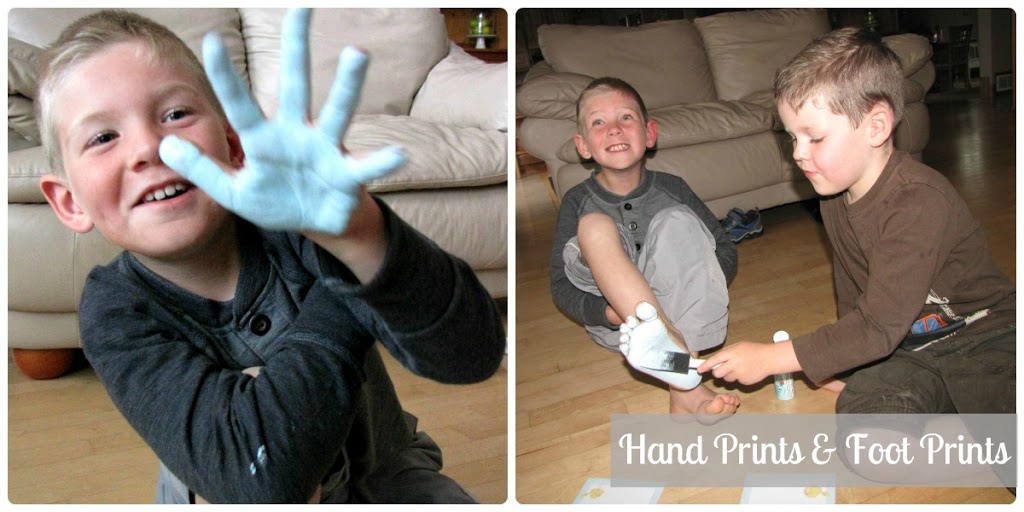
For larger feet, place the footprint on an angle – the 5×7 should fit up to about a size 3 shoe size. If you have a larger foot, you can always do the footprint on another page, cut it out, and then glue it on with the toes sticking off the page.
Then grab some pencils and crayons and start filling in the book! Little ones will obviously need your help to answer the questions. If they are able, have them print their name on the handprint page.
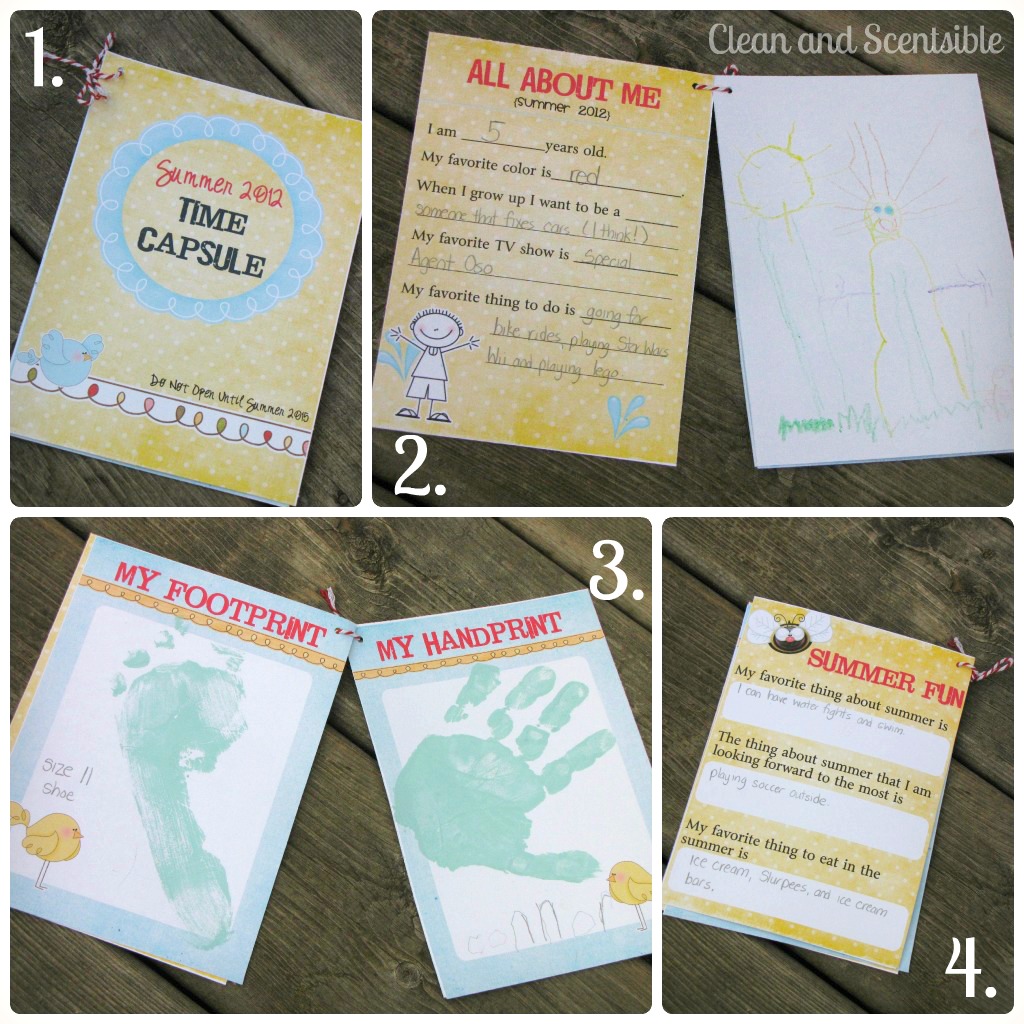
Include their shoe size on the footprint page.
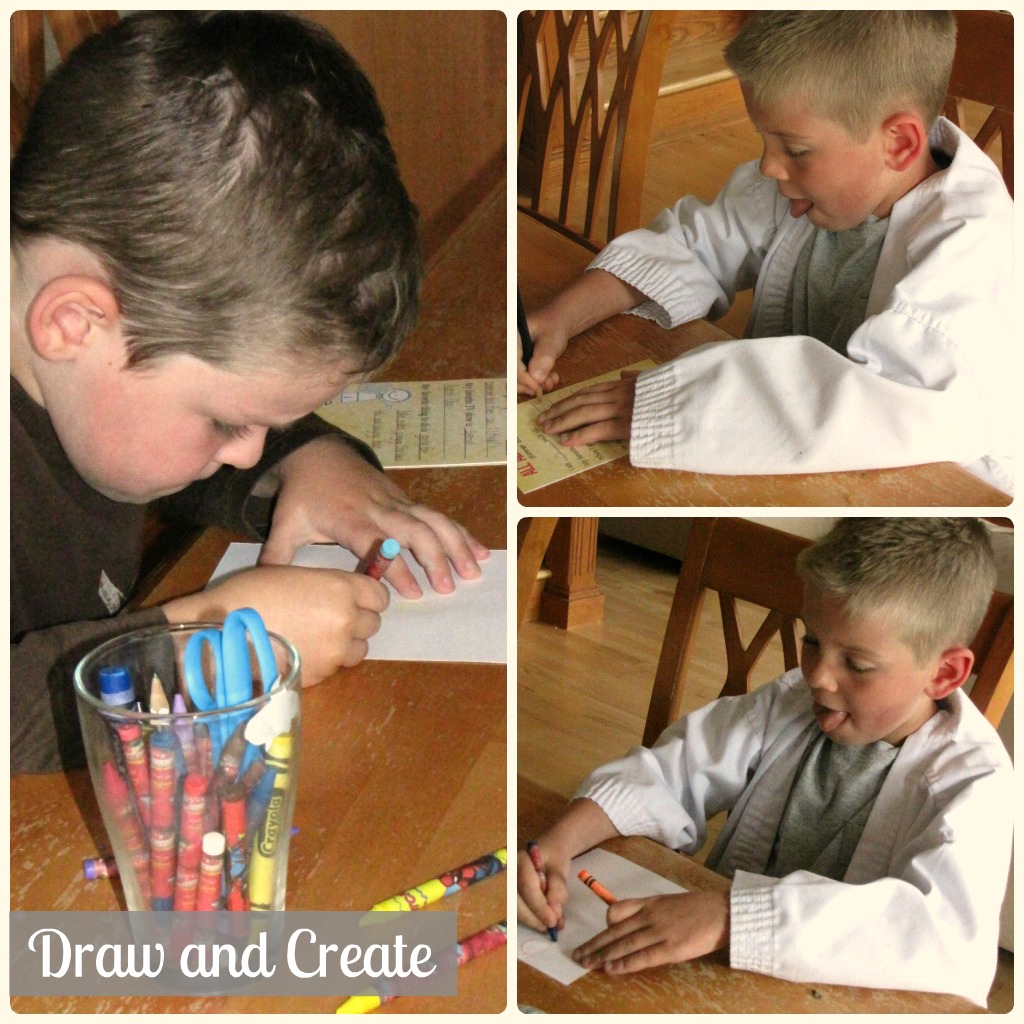
{Love the tongue sticking out!}
To assemble our album, we glued the All About Me page to the back of the cover and glued the Summer Fun page to the back of the Handprint page. The back of the Footprint page was left as a blank page for the boys to draw their self portrait. I punched a hole in the top corner and used some baker’s twine to tie it all together.
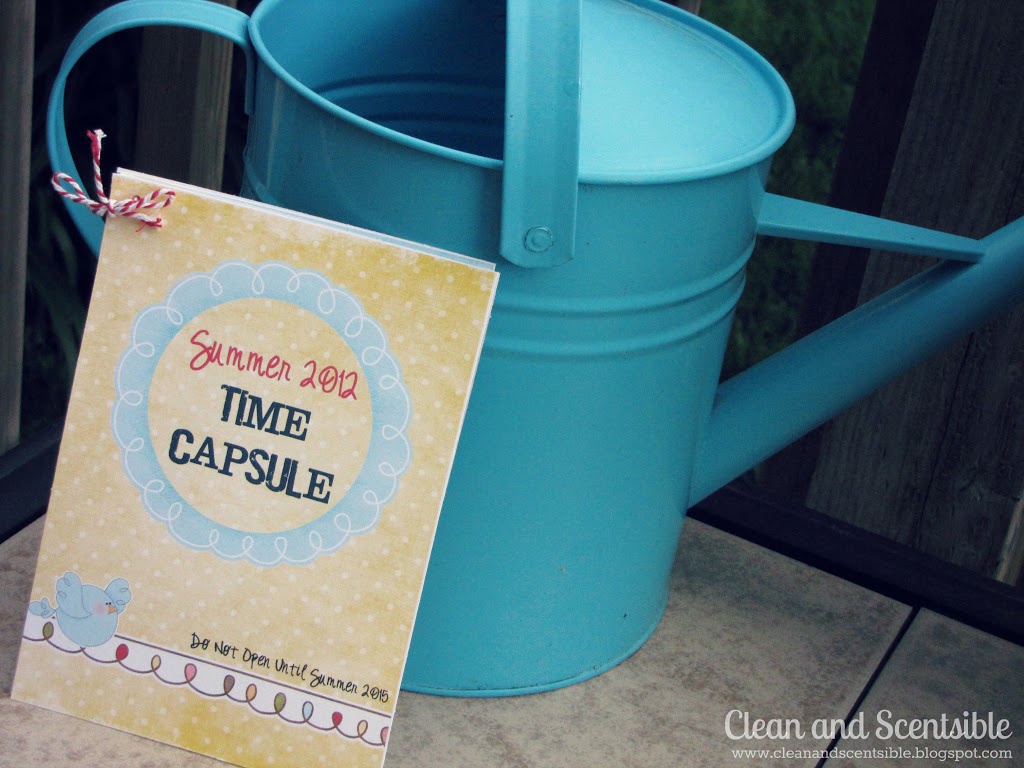
In addition to the little book, have some fun collecting other little items that you can add to your time capsule.
Here is what we included:
Here is what we included:
-
a family picture
-
a letter from Mommy to the boys
-
a favorite item from each of the boys {Connor chose one of his Lego men and Matthew put in a small Vancouver Canucks towel} Make sure this will be an item that has meaning but will not be missed over the next three years!
-
the front page of the newspaper from the first day of summer
-
a photo of each of the boys doing one of their favorite activities
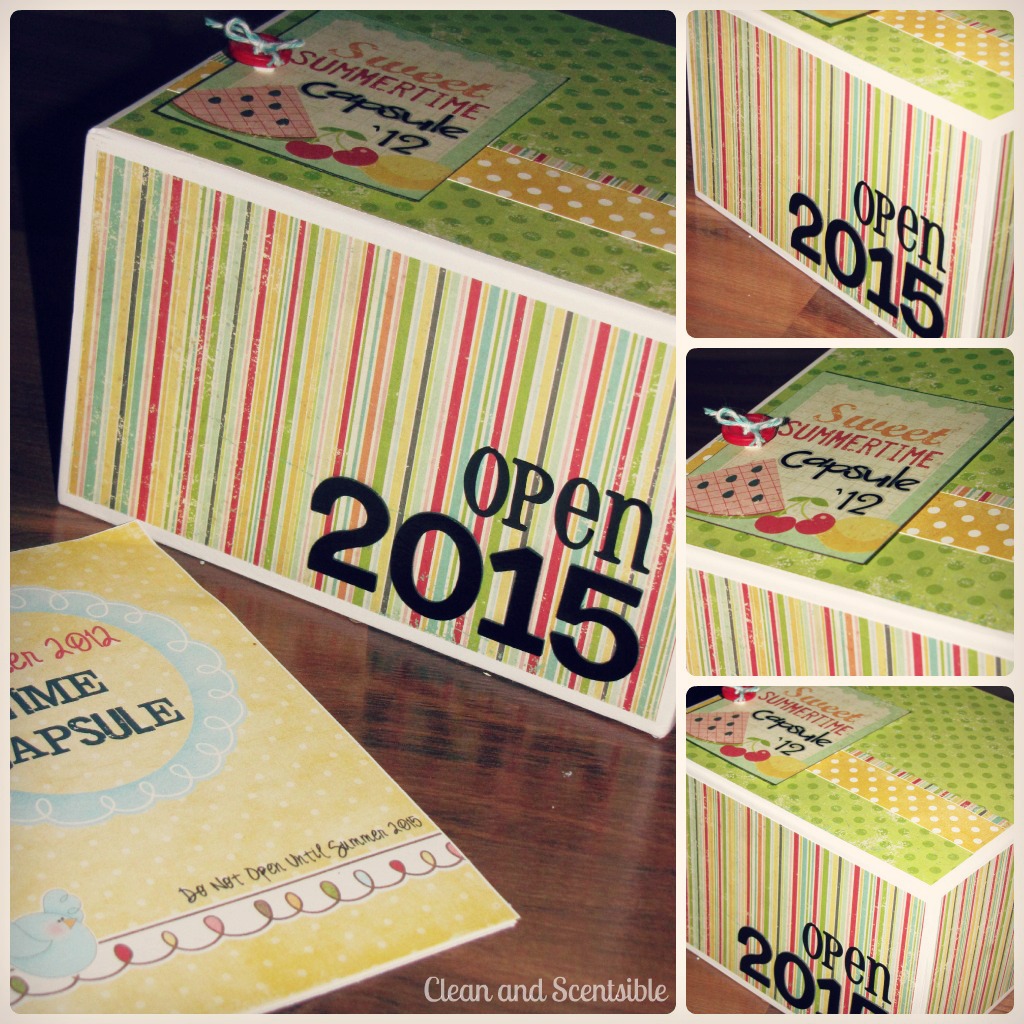
There are so many ways that you can store all of your memories. If you are planning to actually bury your capsule, you will want to make sure that you have some type of waterproof container such as an old food tin or large coffee container {you might want to reinforce the lid with duct tape too}. If you are going to be storing your capsule inside you have a lot more options – wrap it up in paper, decorate a box, roll it up in a Pringles containers. Just be creative! I just decorated up a box with some scrapbook paper {from Simple Stories}
So what would you put in yours?
I linked up with Thrifty Decor Chick, Tatertots and Jello, Chic on a Shoestring, Lil Luna, A Bowl Full of Lemons, Skip to My Lou, Be Different Act Normal, Funky Junk Interiors, Tidy Mom, Stone Gable, The Shabby Creek Cottage, The 36th Avenue, Uncommon, Today’s Creative Blog, Tip Junkie, Not Just a Housewife, Craft-O-Maniac, Under the Table and Dreaming, Home Stories A to Z, Today’s Creative Blog, Positively Splendid, I Heart Naptime, Lolly Jane, 30 Handmade Days, The Shabby Nest, Whipperberry, Delightful Order and Somewhat Simple.

That is so cool 😉
Julie @ Naptime Review
What a great idea! I would love to have this from every year to look back on. Thanks so much for sharing.
Jenn. First your kiddos are the cutest studs- and second this is another fantastic idea from ya lady!! Man- how do you do it you creative chick- THANK YOU for the wonderful idea and Printables!!!! WOW!!
What a great idea! I found you through http://www.homestoriesatoz.com
this is so awesome!
Oh my goodness, what sweet boys you have!!! I love this idea for collecting those precious memories! They will be such treasure in just a short time!
Thanks for sharing this at TUTORIALS TIPS AND TIDBITS… i wish I would have known this years ago!
Love this Jenn! Featured it over at our party tonight!! 😉 Bonnie
What a great idea. I’m going to do this with my kids!
I love this idea. Can’t wait to do this before school starts for my little one!
This is a wonderful idea. We think about doing it for the new kids in the kindergarten (a little bit different) – and when they leave to go to school they can get it back. Thanks for the idea!
Lovely idea! do you have a blank-year version?
This is a really old post so I’d kind of forgotten about but maybe I’ll do an updated/blank version this summer. Currently, there’s no blank version. 🙂