Learn how to clean your dryer to improve drying time, reduce energy usage, and, most importantly, reduce the risk of dryer fires. A must do for your cleaning to do list!
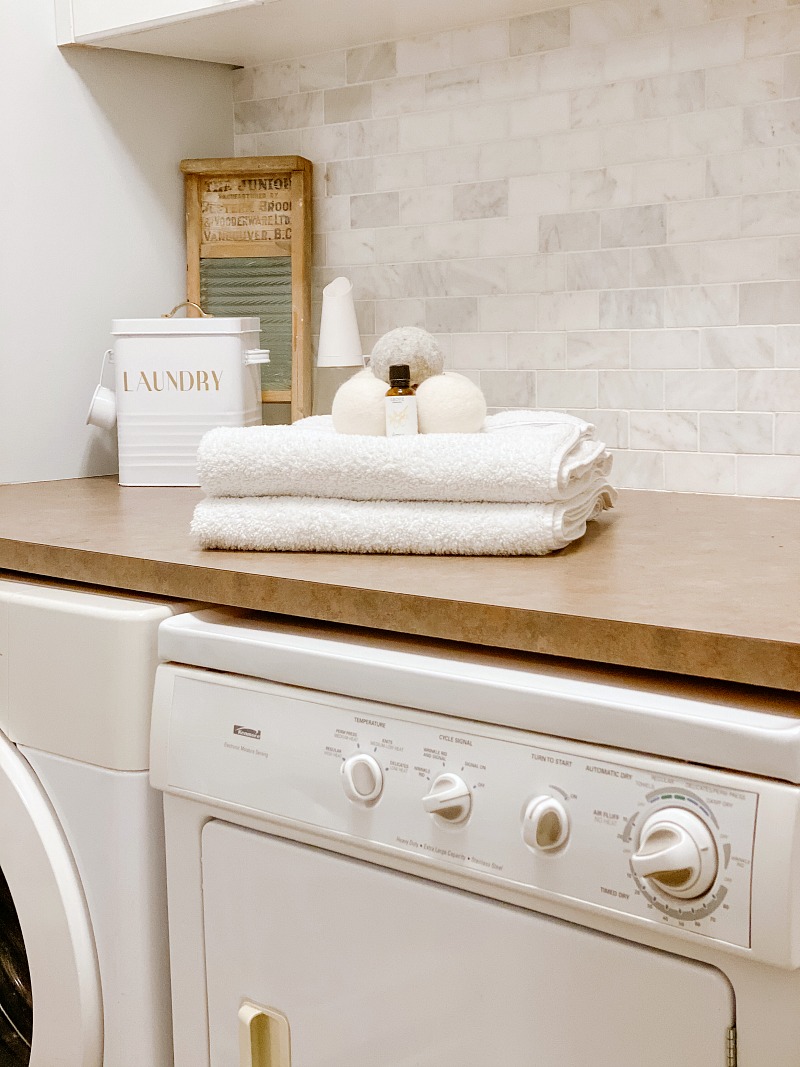
How to Clean your Dryer
Regular maintenance of your dryer is important to keep you dryer running effectively and efficiently. Even more importantly, cleaning the dryer vent and lint will reduce the risk of clogged vents and dryer fires. Follow these simple step by step instructions for an easy cleaning process.
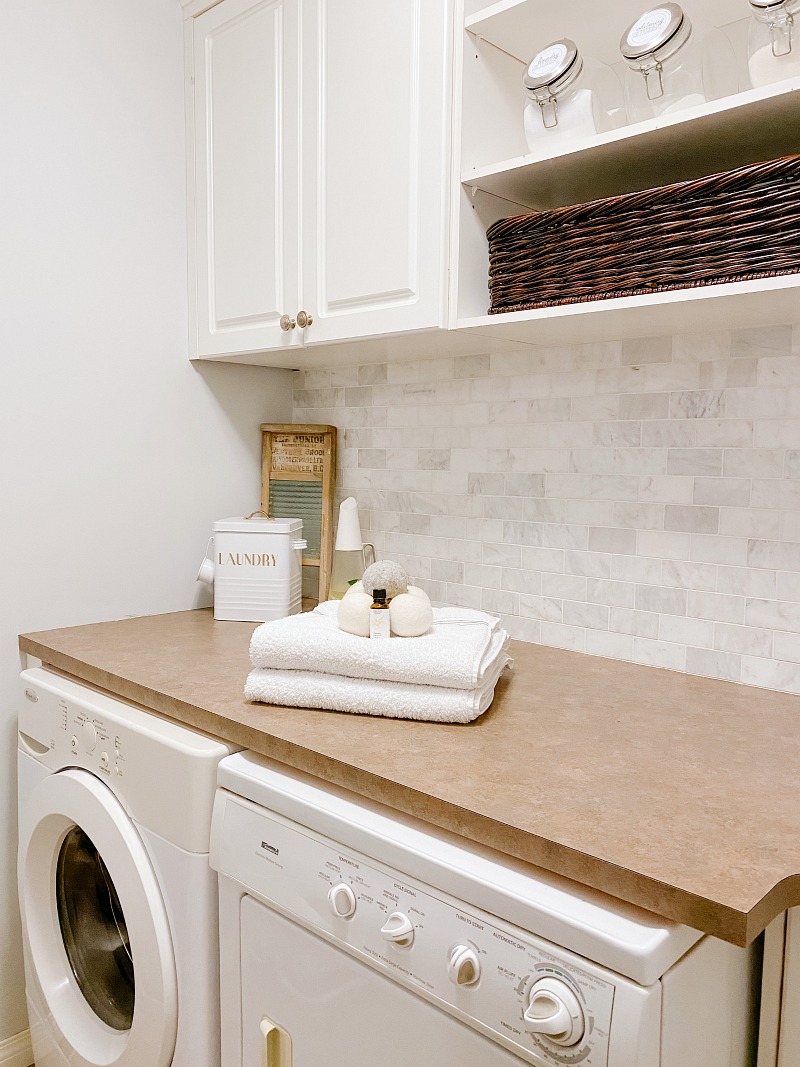
Unplug the dryer.
Pull the dryer out from the wall and disconnect the plug. Ideally, you will pull the dryer all the way out so that you can vacuum underneath it all. At the very least, you’ll need to pull out far enough so you can access the vent in the back.
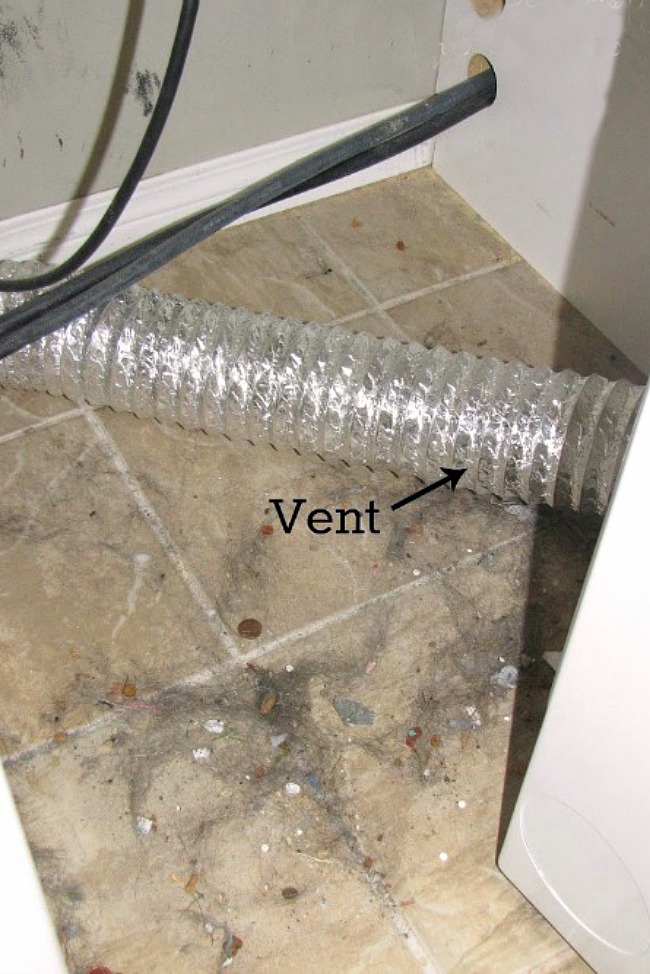
Clean the vent.
Using a screw driver, remove the vent clamp and slide the vent {dryer duct} off the dryer. Reach into the hole on the back of the dryer, remove any large clumps of lint, and then follow with your vacuum attachment reaching as far in as you can.
Next, you will need to clean the actual vent. Remove any large clumps of lint build-up that are visible and check between the folds. If you have a flexible vent, squish it together to make it as short as possible, so you can see through from one end to the other. Use your vacuum to suck up any remaining lint or debris and then re-attach the vent securely with the clamp.
Remove and clean the lint trap.
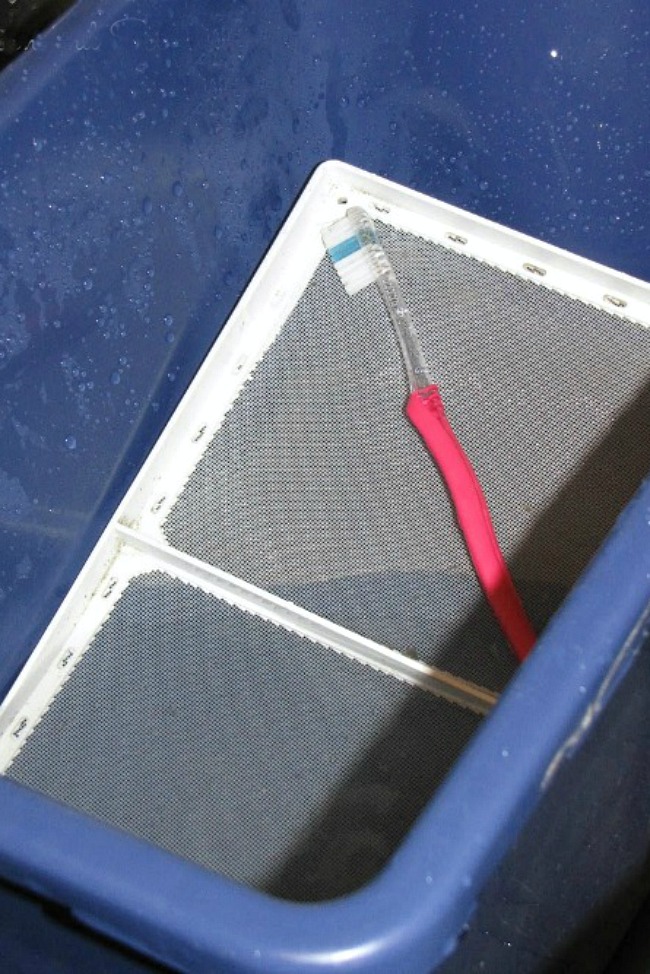
You should definitely try to get in the habit of removing the lint from the lint trap after each load of laundry; however, a more thorough cleaning of the lint trap should still be done at least a couple of times per year. Use of laundry detergent, fabric softener, and especially dryer sheets can lead to unseen waxy build-up of film over your lint trap. To clean the screen, fill up a bucket or sink with warm water and a little dish soap and gently scrub with a toothbrush until clean. If you run water over the filter, it should be able to pass through easily without any pooling. Ensure that there are no tears in the screen. Be sure that it’s totally dry before inserting it back into the dryer.
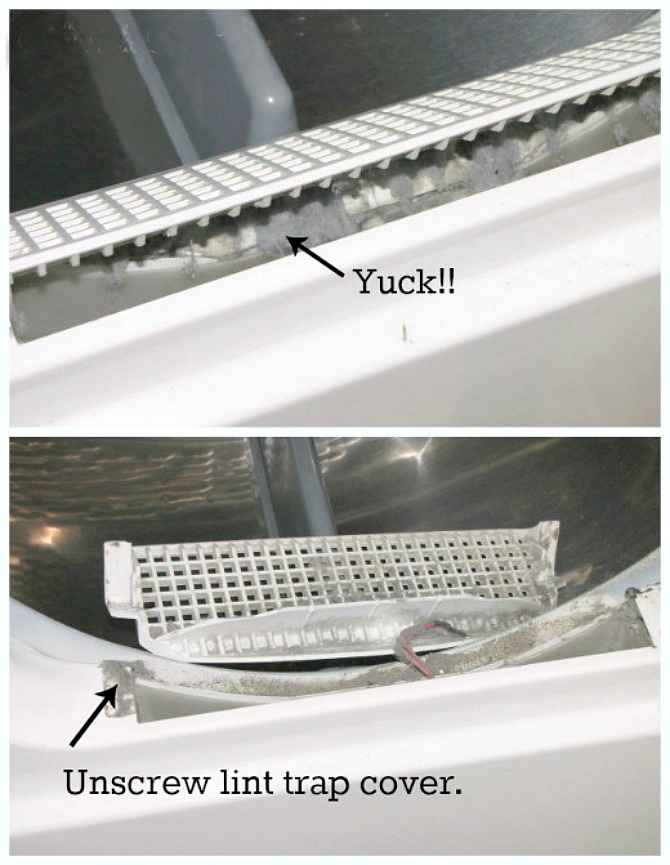
Remove the lint trap cover.
Using a screwdriver, remove the lint trap cover so that you can clean inside. You can either use a thin vacuum attachment or reach your hand down to remove as much of the lint as possible from inside and around the vent. Once you have removed as much as possible, clean the remaining debris along the outside of the vent with a cloth and a 50/50 mixture of vinegar and water. Replace the cover and lint trap.
Clean the floor under the dryer.
A lot of dirt, dust, and debris can get under and behind the dryer, so be sure to give it a good cleaning before putting the dryer back. Using the vacuum, suck up any loose debris and then wash {and dry!} the floor. Plug your machine back in and slide it back into position.
Clean the inside drum.
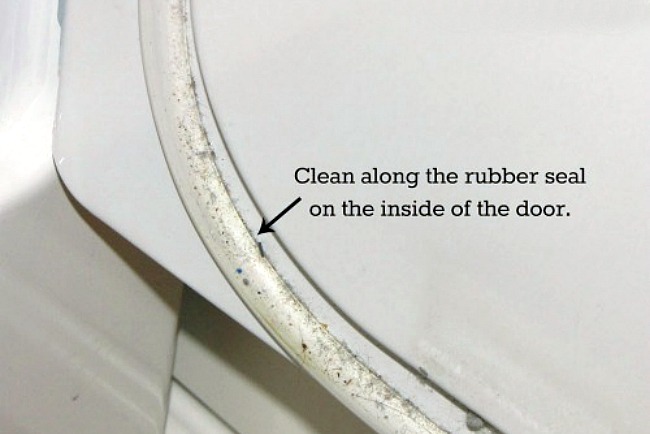
Using a rag, wipe down the inside of the dryer with a 50/50 water and vinegar mixture. Dry thoroughly. If you have an automatic drying setting, give the moisture sensor electrodes a cleaning with a cotton ball dipped in rubbing alcohol. Buildup from lint or dryer sheets can affect these sensors and leading to either damp or overly dried clothing. These are usually located just inside the dryer below the door opening – check your user manual if you cannot find them! Ours are on the back of the lint trap cover. Don’t forget to clean the inside of the door too…
Wipe down the outside of the dryer.
Finally wipe down the outside of the machine with a microfiber cloth and a 50/50 mixture of vinegar and water. If you have a counter top over your machine, a lot of dust and debris can accumulate on the top. I also had a few scuffs on the outside and just used a Mr. Clean magic eraser to clean them off.
How often should you clean your dryer?
For the best fire prevention and to keep your dryer running efficiently, this deep cleaning should at least be done annually {or even every 6 months depending on how frequently you use it}. Visible lint should also be removed regularly. Another sign that you’re dryer needs a good cleaning is if you notice that your clothes are taking longer to dry than usual.
Try adding this task to your spring cleaning list so you remember to clean it each year or join in The Household Organization Diet for the free printable room guides.
More Laundry Room Tips


Thanks for the tips! I have honestly been thinking about cleaning my dryer and around it all year long. I really need to get to it but I’m afraid of what I’ll discover in and around there! 🙂
Very helpful; thanks! Must do soon!
Very helpful, thanks for the tips!
Great tip, Jenn! Thank you for sharing 🙂
This is on my to-do list. Well, maybe…my husband’s to-do list! Ha. 😀 Great tips. I didn’t know there were so many parts on the dryer that could be cleaned!
Great tips, I need to do this! I imagine that all that lint really cuts down on efficiency. Thanks for sharing.
Great tips, Jenn!! Loving the idea of a Lint Lizard…how fun is that? Did that come with your particular brand of vacuum or can it be purchased for any kind? Thanks!
Just completed this and it feels SO good! Thanks for the step-by-step! It took me more than a half hour. Guess mine was extra dirty or something 😉
Glad it’s done! It should be a lot quicker the next time! 😉
Done! I can’t believe the buildup and that I’ve never done this before! So much for reading the instructions when we bought the washer/dryer 8 years ago! lol. thanks!
Yes, it’s amazing what builds up there! Glad you got it out!
Well I’ve been thinking I should give my dryer a thorough clean when I do my washing machine this week and these handy tips pop up. Is that the Universe telling me something or what? LOL
The Universe always delivers! 🙂
Helpful tip- if your dryer vents up thru the roof, be sure to have it professionally cleaned once a year. The lint that builds up in the tube can make the dryer worker harder/longer and cost you more money to operate.
Thanks for the tip!
I usually do everything you described but now I have a problem…. new dryer that’s stacked on top of my washer. I have no idea how to remove the dryer from the washer. Next issue, the lint hose that leads to outside is sooo long, how do I get it cleaned? I do clean the lint basket EVERY time I do a load & I found that under & over the dryer there’s a lot of excess lint, which I have vacuumed but I’m still concerned about the lint vent. Any idea’s? Thanks
I don’t know about removing the dryer from the washer – I would think that everything would still be able to be cleaned if you could just move them out as a unit. I’ve never had stackables though so I can’t say for sure. is it possible to cut the lint hose?
Where ever possable, use straight stove pipe type tubing to vent your dryer.. no wrinkly sides to catch lint = more efficient and easier to clean. (and decorate, if that’s your thing)