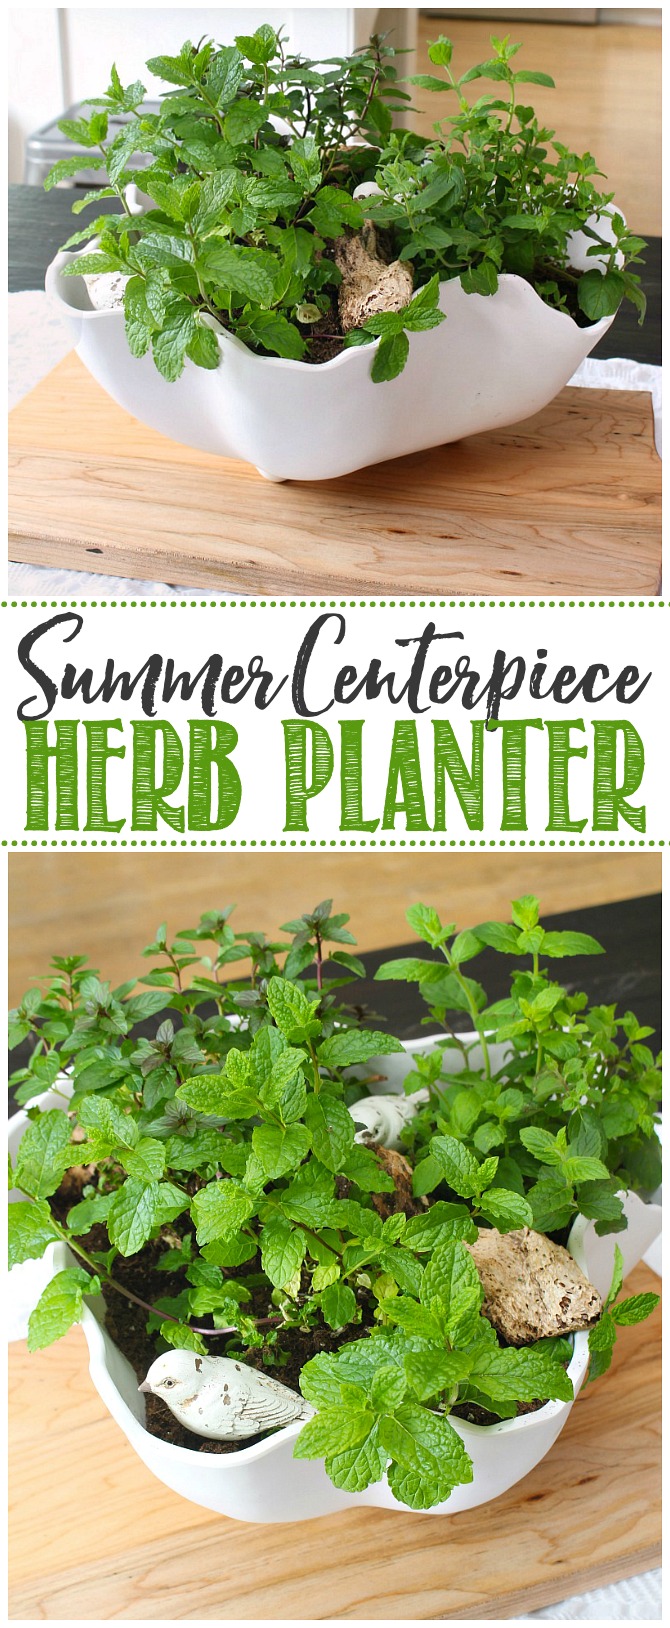
This simple herb planter makes the perfect summer centerpiece. Not only is it pretty to look at, but it will also provide fresh herbs all summer long!
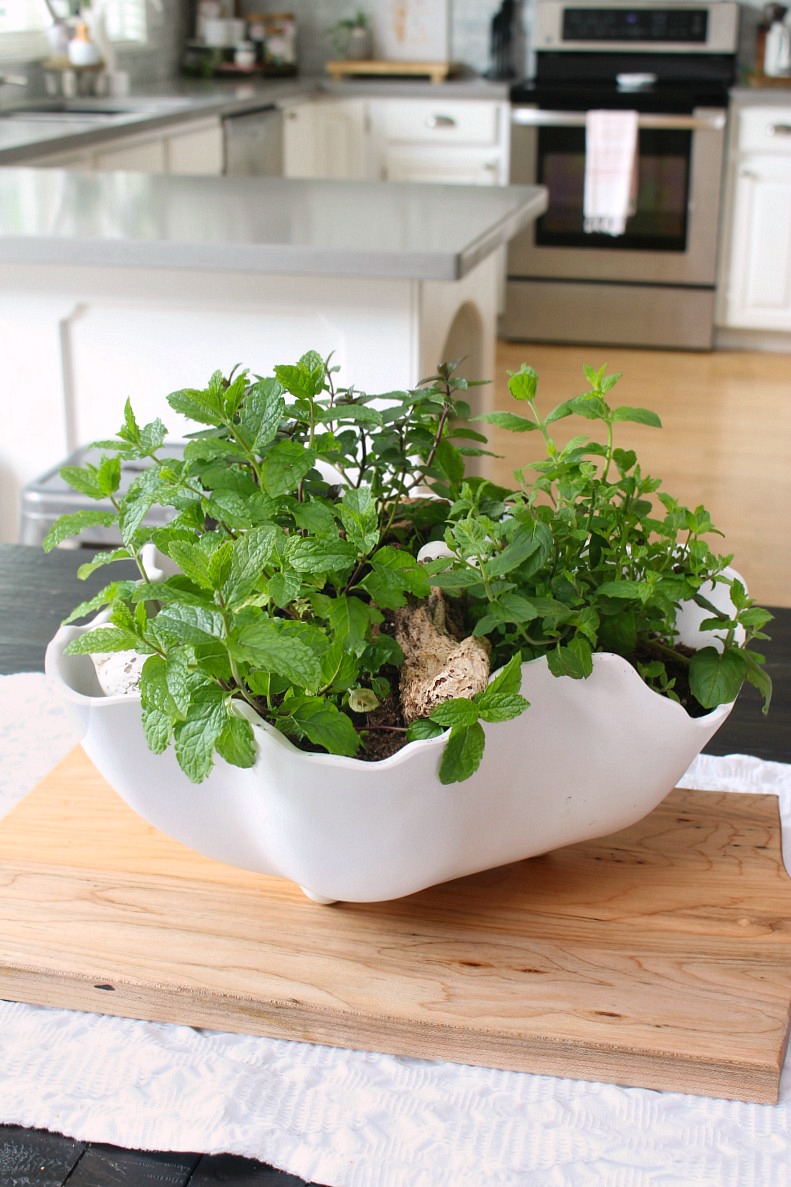
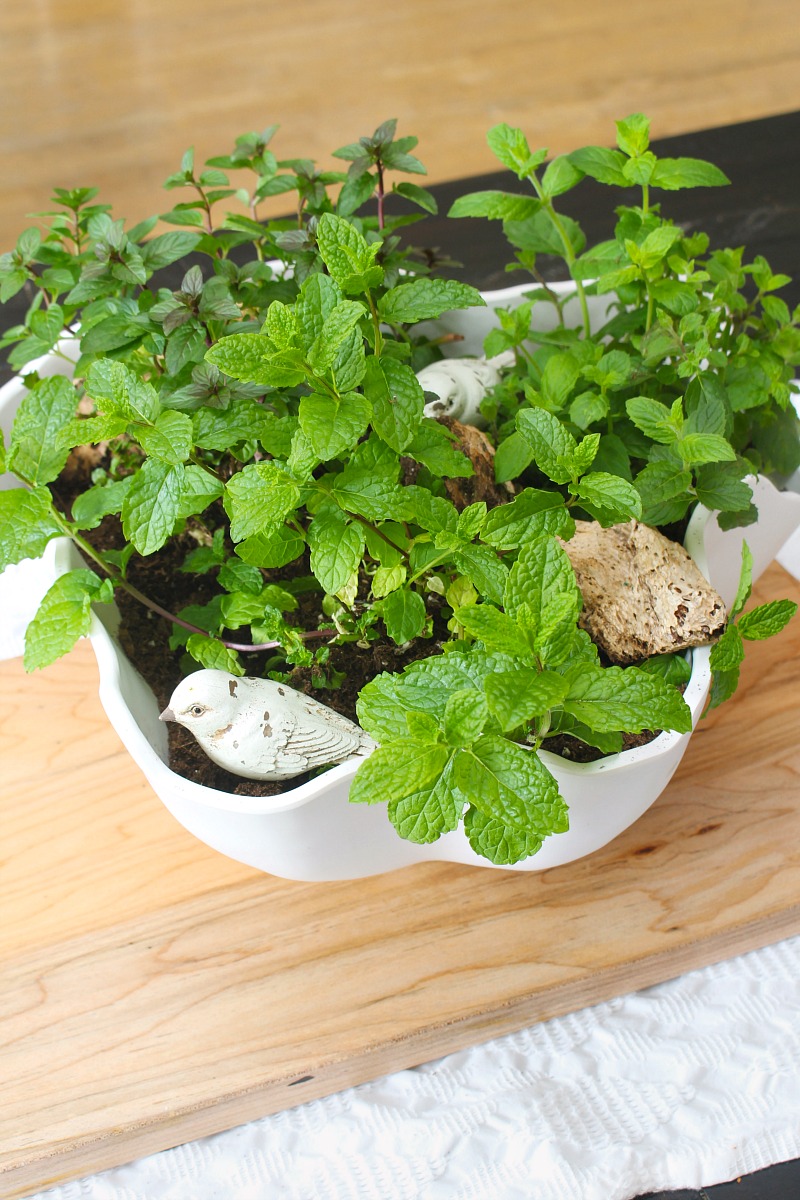
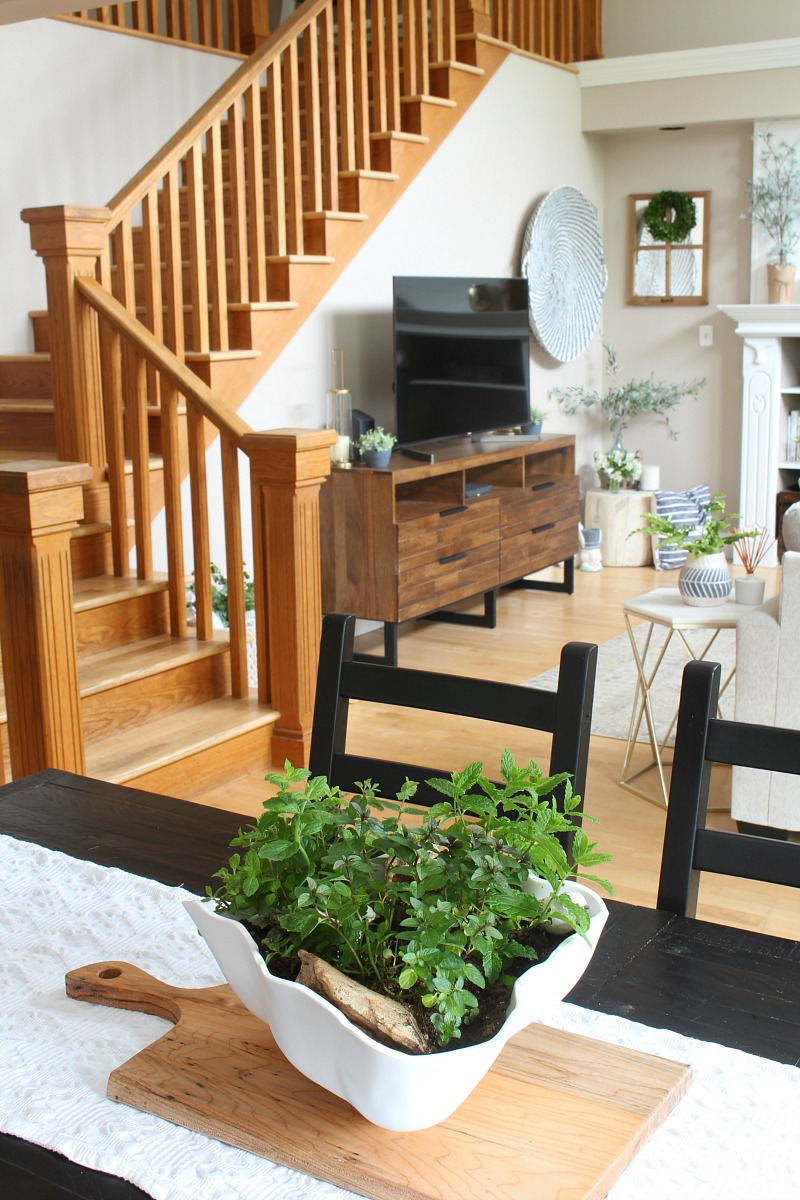
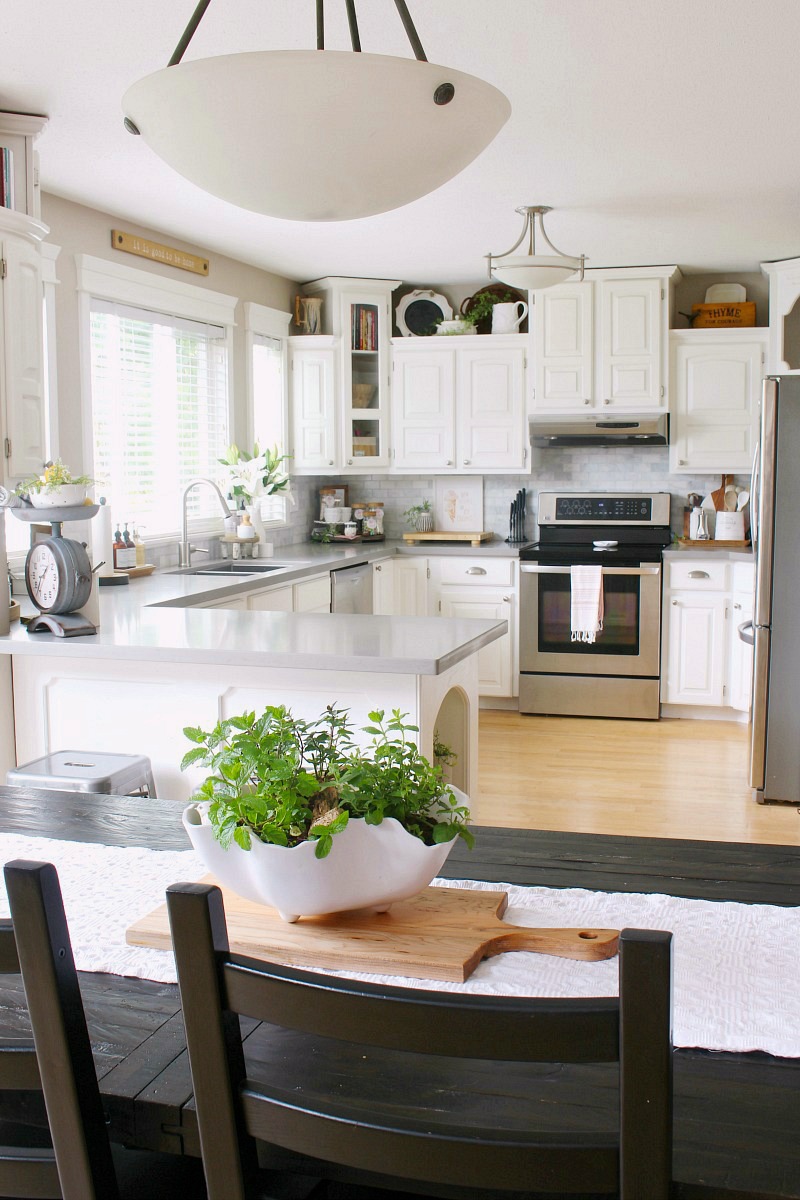
If you saw our summer kitchen home tour last week, you might remember this pretty herb planter that I used as a centerpiece on our kitchen table. I love the natural look of it and I use the mint leaves all the time for my smoothies. Today I thought I would give you a quick tutorial in case you wanted to put one together yourself.
Herb Planter Centerpiece DIY
This simple herb planter centerpiece goes together in just a few minutes and can be totally customized to your particular style and needs.
Materials
- container of your choice
- drainage rocks {if your container does not have drainage holes}
- good quality potting soil
- a variety of herbs {see instructions below for guidelines on choosing herbs}
- decorative finishes such as rocks, moss, wood pieces, etc. {optional}
Instructions
- Choose your herbs. While you can really use any herbs you would like, ideally you want to choose herbs that like similar potting conditions. Some herbs like well-drained soil while others like more moisture, so be sure to read the labels and choose herbs that have similar likes. I used a variety of mint herbs in our planter because I love the scent and I knew I would use the mint. For indoor herb gardens, basil, chives, mint, oregano, parsley, rosemary and thyme tend to be good contenders.
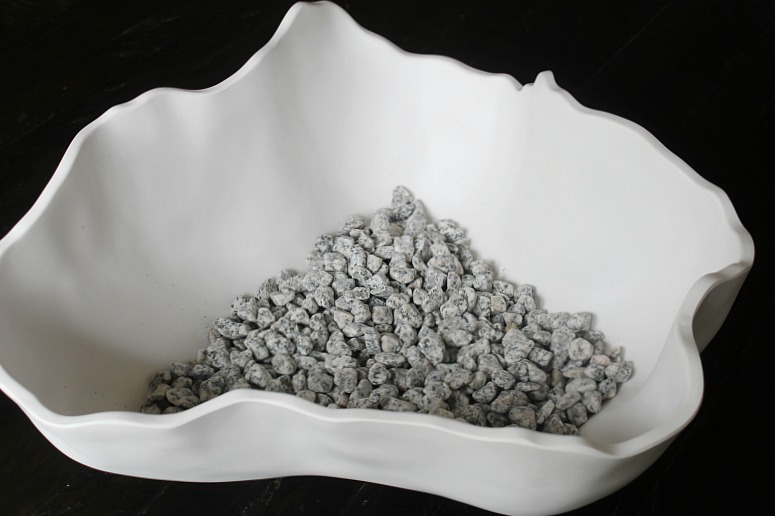
- If you’re using a container that doesn’t have drainage holes, you’ll need to add some drainage rocks to the bottom of your container. Horticulture charcoal also works great for improving drainage and absorbing impurities. Alternatively, you could drill holes in the container depending on the material and your plans for the container afterwards.
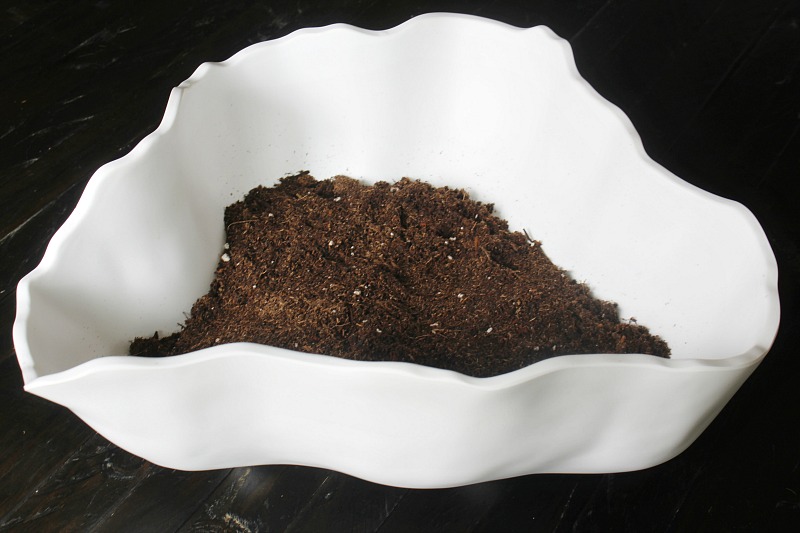
- Add a light layer of soil over the rocks.
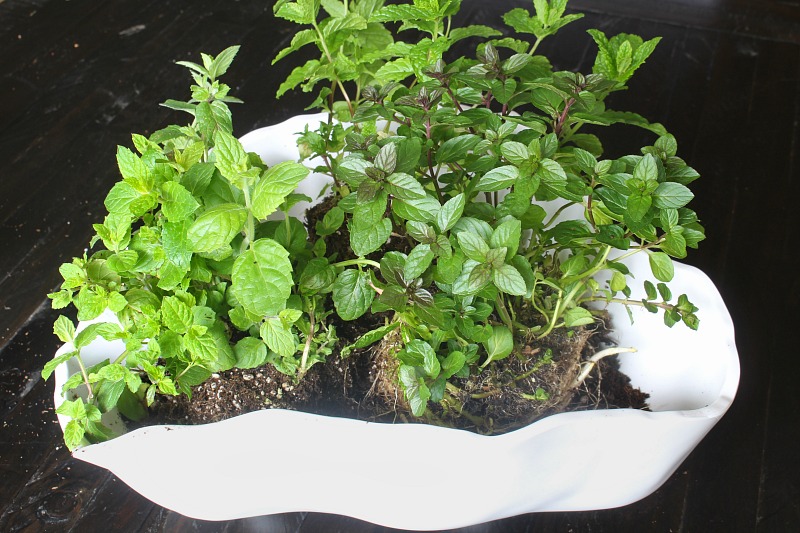
- Arrange your herbs in your container. I used different varieties of mint, but you can use whatever herbs you would like.
- Top with soil. I then added some wood pieces for extra texture and a couple of sweet little birds. You could also top with decorative rocks or just leave it plain.
Tips for growing herbs in containers
Provide adequate drainage.
A container with drainage holes is the easiest to maintain as you don’t have to worry at all about overwatering. If you have a container without holes, just make sure you add drainage rocks in the bottom and/or horticulture charcoal. You’ll also need to be a little more diligent about how much you’re watering so the roots of the herbs don’t get too much water. Alternatively, you can just add the herb pots directly to the container without actually planting them so you can remove the pots to water at the sink.
Get on a watering schedule.
As with any indoor plants, a regular watering schedule will help ensure your herbs live a long and healthy life. Generally you want the top layer of soil to dry out between waterings {about 1 inch deep}. For me, I’ve been watering about once every 2-3 days depending on how hot it is. When watering, pour in the water slowly getting around to all areas of the container.
Use a good quality potting soil.
A good potting soil will help with soil drainage which is particularly important with indoor herb gardens. Do not use plain dirt from the ground. Ideally you want a light potting mix with an aerator such as perlite {the little white stones that you often see in potting mix}.
Clip regularly.
The nice thing about most herbs is that they grow like crazy! Frequent clipping with pruners helps to encourage fresh growth and will keep your container from looking like a jungle. Avoid harvesting more than a quarter of the plant at a time as this can cause it to go into distress.
Provide a sunny spot.
Herbs generally prefer a lot of sunlight so place them in a spot where they’ll get at least 6 hours of sunlight. Good lighting actually produces a better tasting herb, so this is even more important if you will be consuming your herbs. If you’re keeping your container indoors, place it near a bright and sunny window. I’ll even sometimes take my container out to the patio if we’ve had some dark days.
Now if you really want to give you herbs some extra love, talk to them! This releases carbon dioxide which the herbs convert to food. You can also give them a pet and gentle move around the leaves to mimic the wind and help strengthen their stems. 🙂
More Summer DIY Ideas
For more summer DIY ideas, check out these posts…
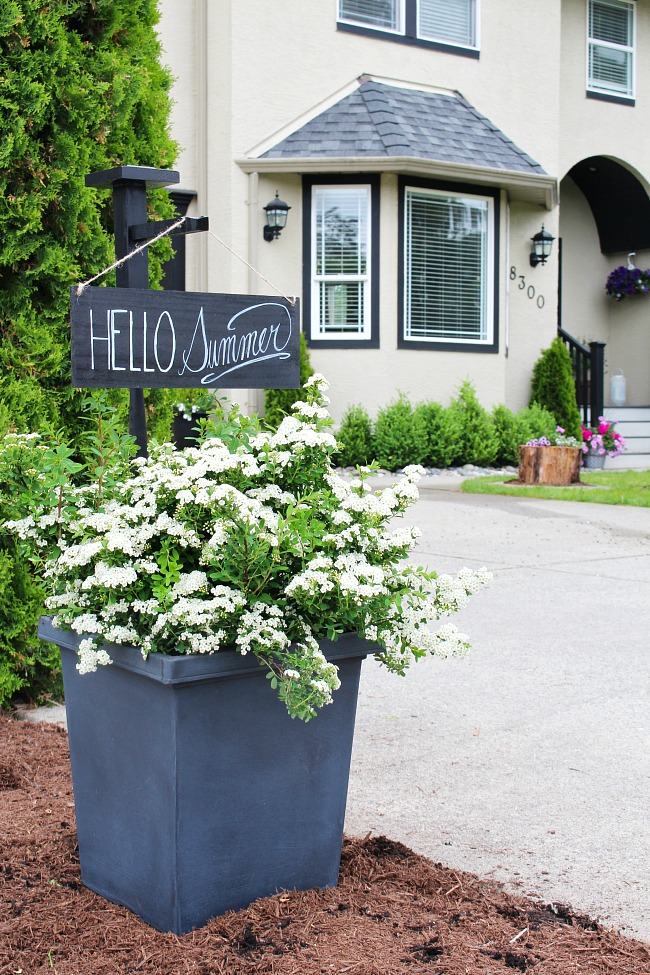
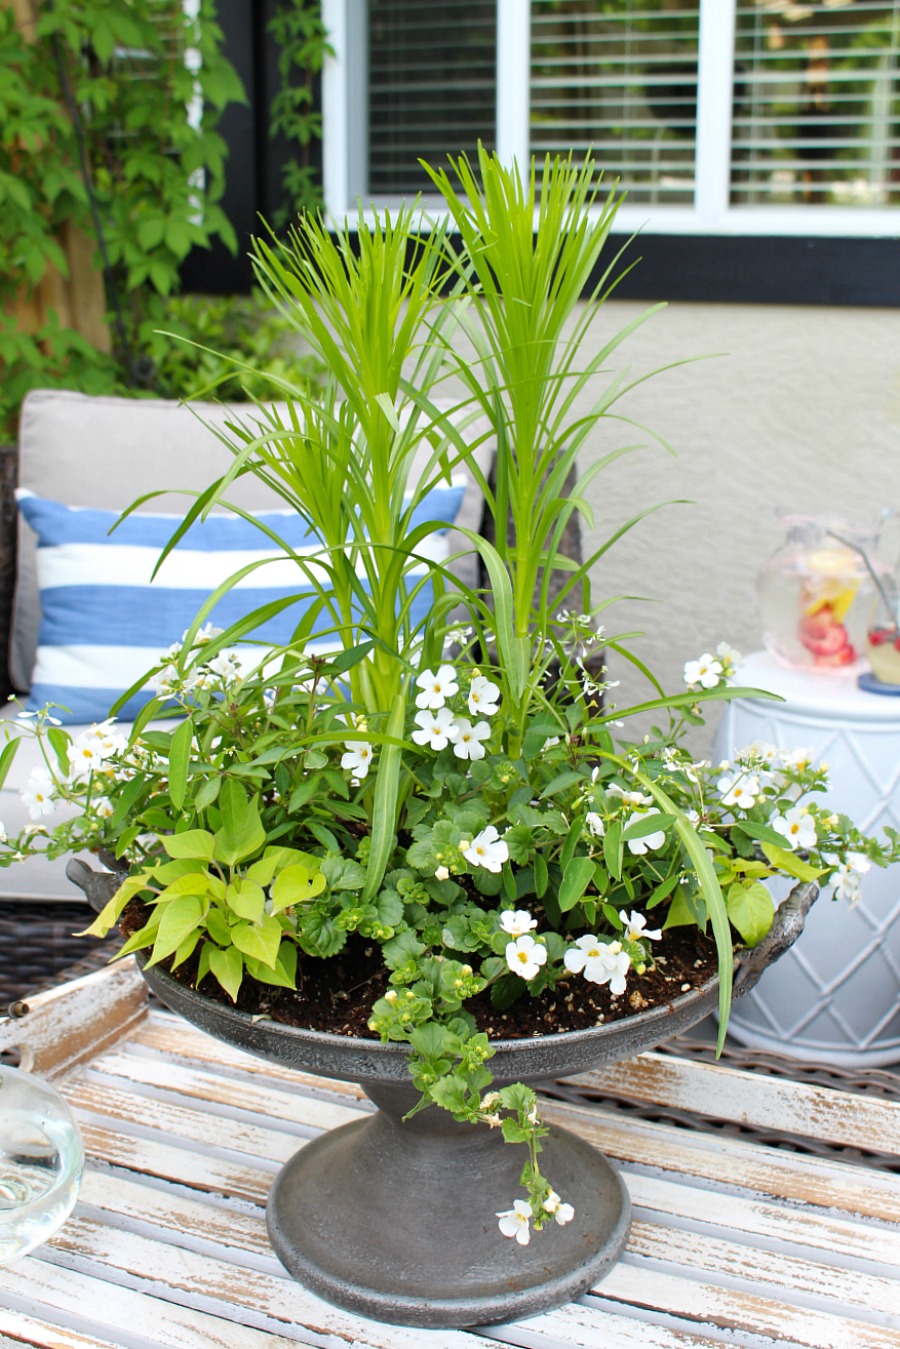
Summer Planter Outdoor Centerpiece
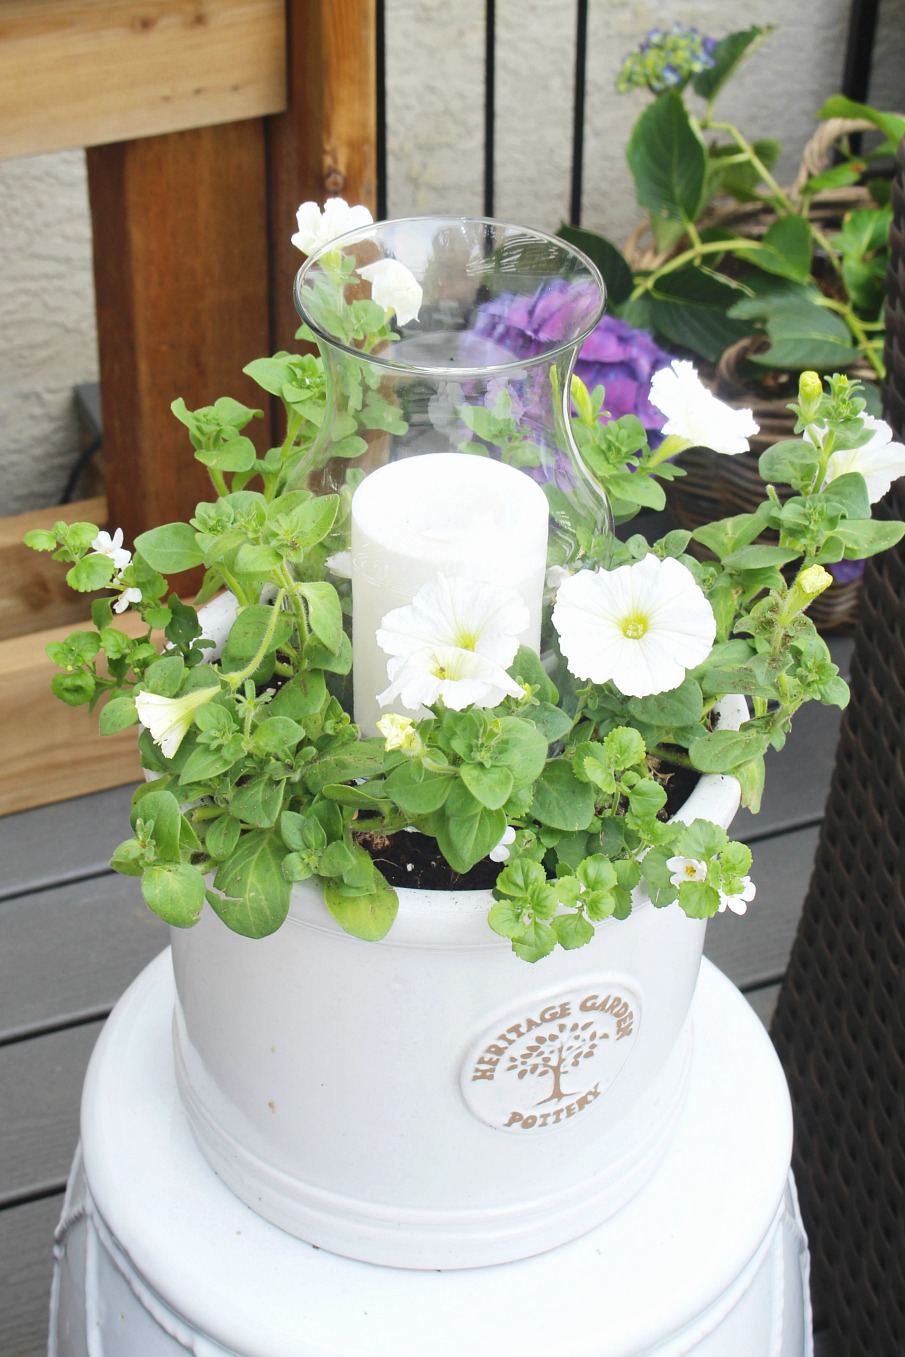
DIY Summer Planter with Candle Holder
Hi, just curious, where did you get your white planter? I just love the irregular shape of it. Thanks!
I got it at a local garden center (West Coast Gardens in case you happen to be from the lower mainland). I liked the irregular shape too.
Its pretty, but my herbs dont last inside . Theres not enough sun. Even on the window sill, my basil dies.
You could try some other herb options that are a little less sun-needing. The mint has been growing like crazy and we’ve hardly had any sunny days. If you get a lot of light on your window sill, there may be other things that are causing your herbs to not do as well such as poor drainage or poor soil quality. They can really make a big difference!