Can I tell you how excited I am that I am actually writing this post? I built these wooden crates last summer and for some reason it has taken me a whole year to finish them off! Just one of those projects that I couldn’t quite figure out what to do with. Well, they are now done, and I LOVE them!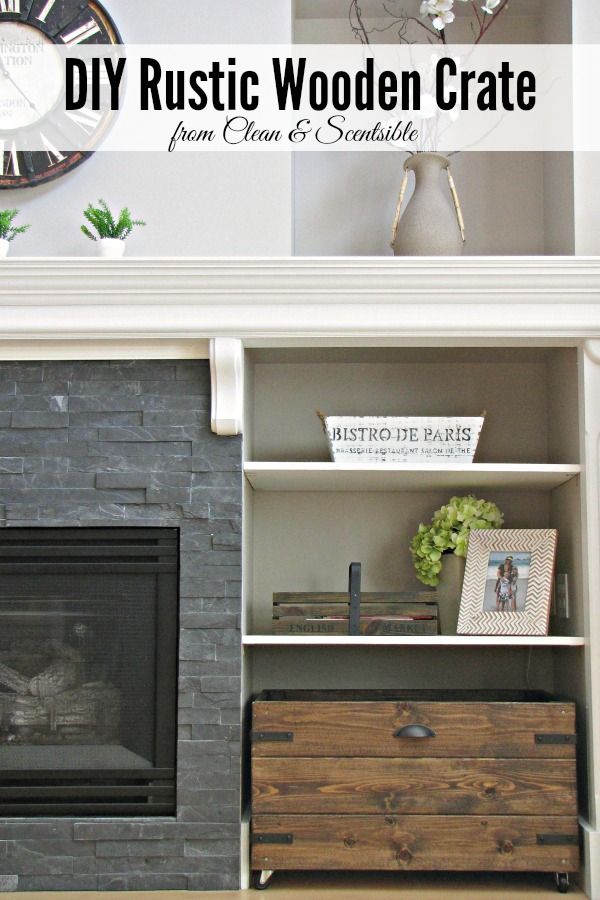
Whoever built our house must have been a bit mathematically challenged because the alcoves on either side of our fireplace are totally different sizes – there is a good 4 inch difference between them. Apparently he had not heard of the “measure twice, cut once rule”. 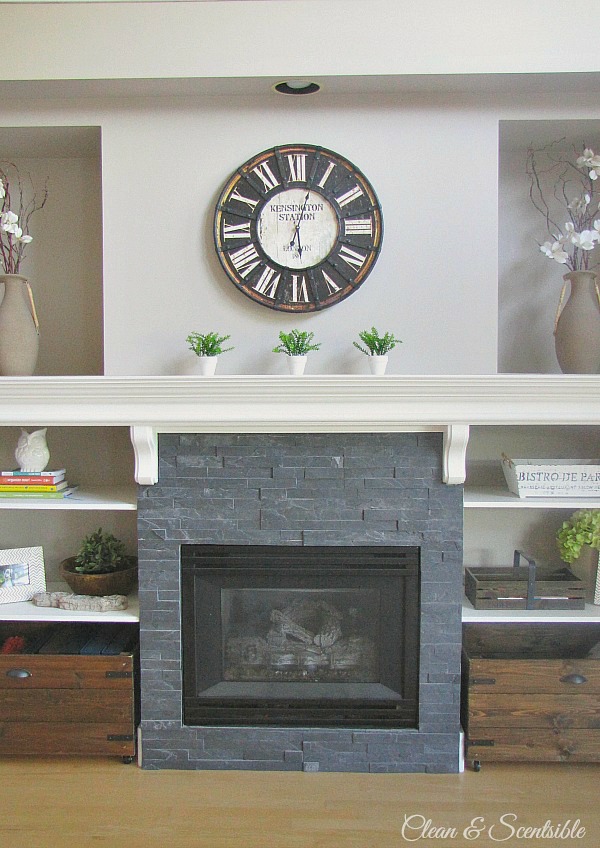
Anyways…. in order to make things appear more symmetrical and add some functional storage, I decided to build some wooden crates that would be custom built to the size of each of the alcoves. They provide great storage for my 12×12 scrapbook albums, magazines, throw blankets, extra pillows and a few other odds and ends.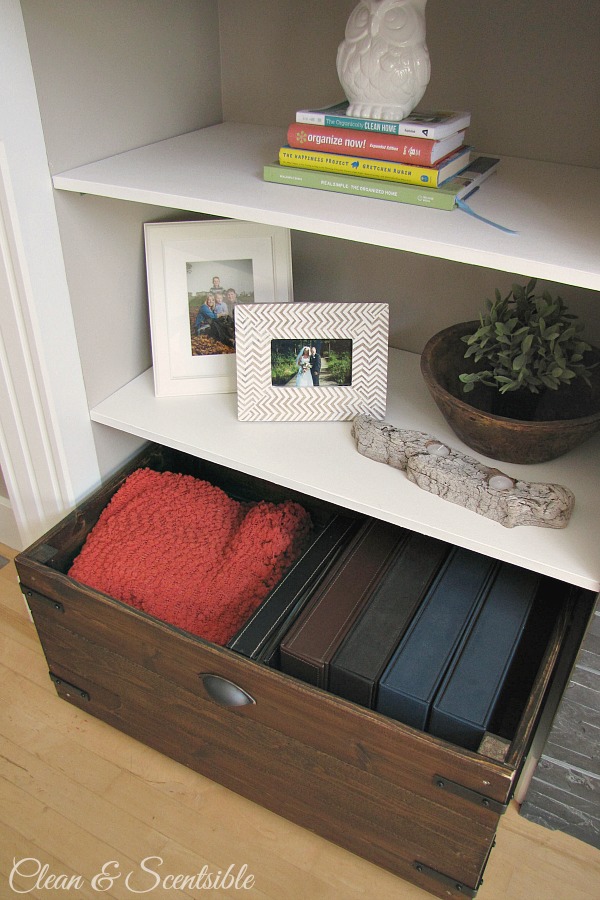
Since this was my first wood working project and these were actually built over a year ago, I have done my best at putting together a tutorial for you. I have given measurement examples for my 30 inch x 17.5 inch box but, of course, it can easily be done in any size that you would like. Please don’t let the instructions intimidate you – it is much easier than it sounds and, I swear, writing this tutorial took way more time than actually putting together the boxes. I had all of my measurements figured out before I bought the wood and just had the friendly sales guy at our local home supply store cut it all down for me. If there is anything that is not clear in the instructions, please let me know and I will do my best to help you out. 🙂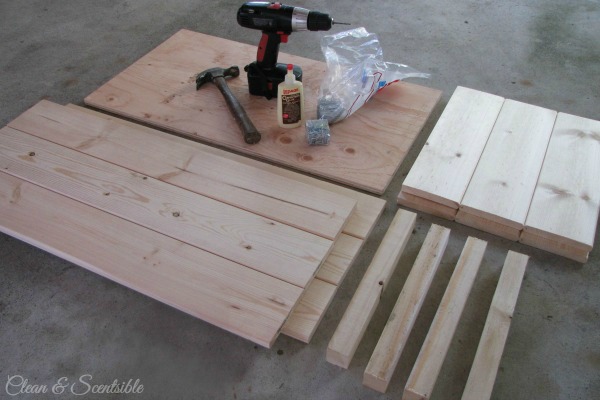
MATERIALS
{Measurement examples based on a 30 x 17.5 inch box using pine boards that were 5/8 inches thick}.
- (6) 30 inch pieces of pine tongue and groove boards{mine were approximately 5 inches in width} for the front and back of the box. If you are doing a different sized box, these pieces should be cut to the desired length that you would like your box. The tongue will need to be cut off the top on two of the boards to form a smooth edge for the top of the box.
- (6) 16 1/4 inch pieces of pine tongue and groove boards for the sides of the box. The tongue will need to be cut off the top on two of the boards to form a smooth edge for the top of the box. If you are building a different sized box, these boards should be your desired width minus the thickness of the tongue and groove boards since they will be fitted in between the front and back sides of the box. Since I wanted a 17 1/2 inch box, I subtracted 1 1/4 inches to accommodate for the front and back of the box{5/8 inch on the front + 5/8 inch on the back}.
- (1) sheet of plywood for the bottom of the box. This should be cut to the desired size that you would like your box minus the thickness of the tongue and groove boards {since they will be added to the outside of this piece}. For example, I wanted a finished box measuring 30 x 17.5 inches. My tongue and groove boards had a thickness of 5/8 inches so I took 1 1/4 inches {5/8 + 5/8} off the length and the width for a final base size of 28 3/4 x 16 1/4.
- (4) 2×2 boards measuring 14 1/4 inches. If you are doing a different sized box, you want this measurement to be the height of your box minus the thickness of the plywood plus. {NOTE: You may need to sand it down a bit just so it is not extending past the top of your box.}
- Wood Glue
- Screws
- Finishing Nails
- Sander
- Stain
- 8 metal “L” brackets
- oil rubbed bronze spray paint
- drawer pull
DIRECTIONS
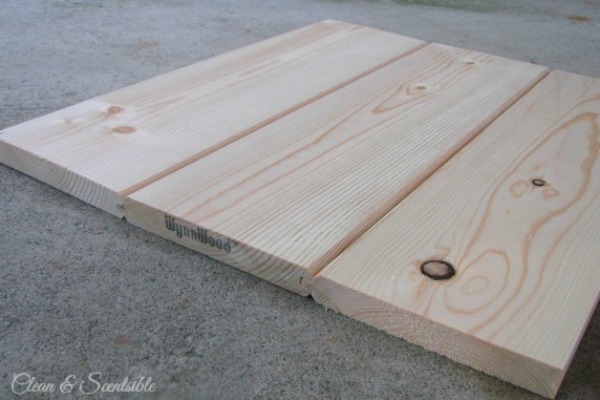
- Fit the tongue and groove boards together for the front, back, and sides of the box. Make sure that the boards on the top all have the tongue cut off to form a smooth edge and sand down as needed. Glue boards in place using wood glue.
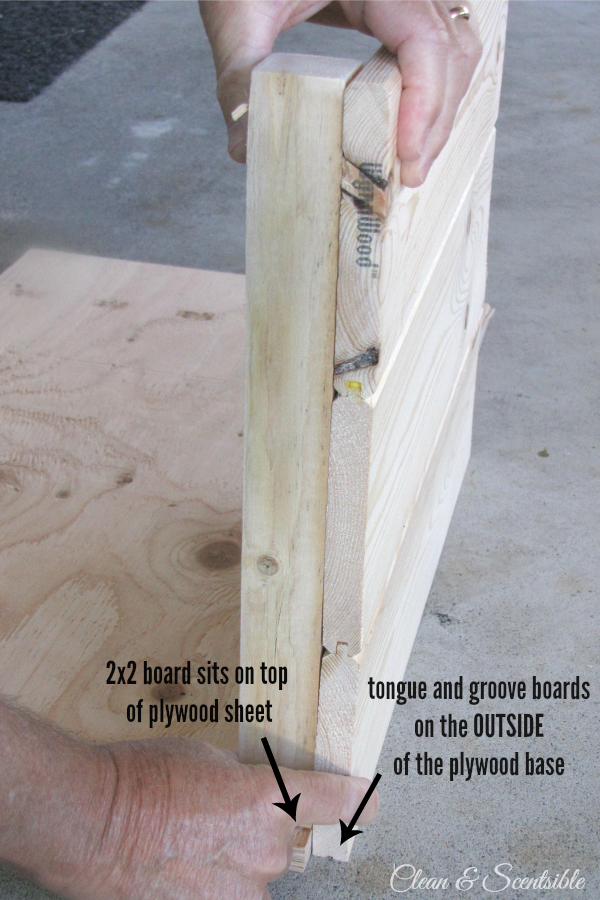
- Starting with one of the sides of the box, line up the tongue and groove boards on the outside of the plywood sheet and place one of the 2×2 on top of the plywood sheet {it should be about flush with the top of the box but you can always sand it down a bit if it is slightly over}. NOTE: The picture below shows how I lined up the pieces before screwing the 2×2 to the pine boards but it is NOT where I attached the sides to the plywood base.
- To attach the 2×2 to the tongue and groove boards, I first added some finishing nails to hold it in place and then used one screw in the middle to secure it.
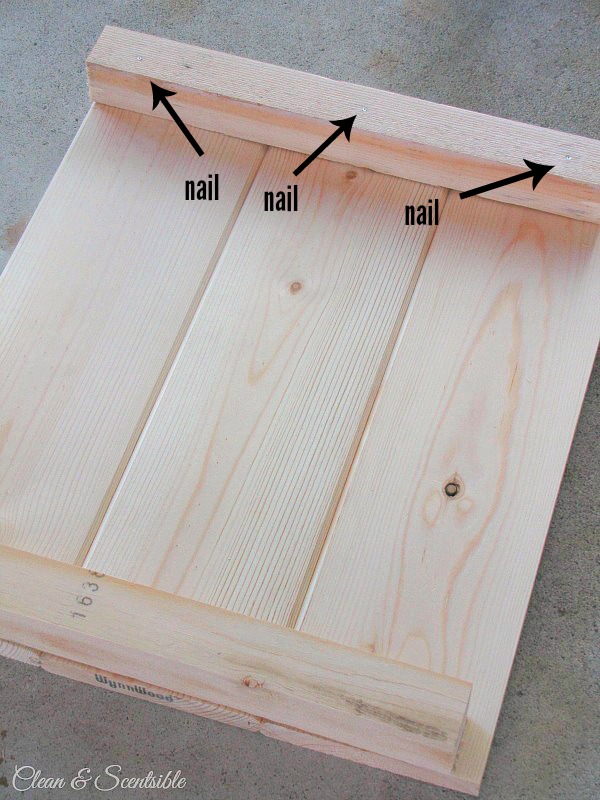
- Repeat this with the 2×2 on the other side of the side panel. I then flipped it over and added two more finishing nails from the front {one on the top board and one on the bottom board} to secure the pine boards to the 2×2. Repeat this with the other side panel.
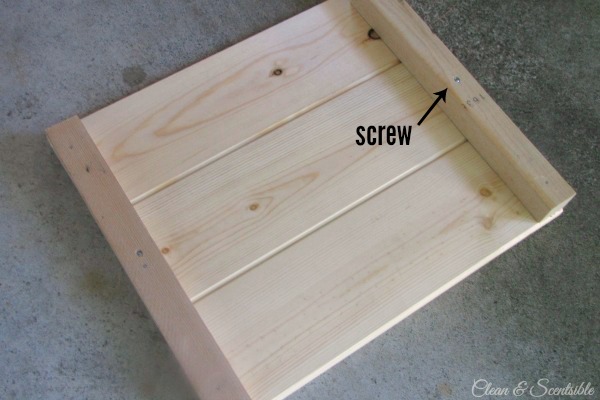
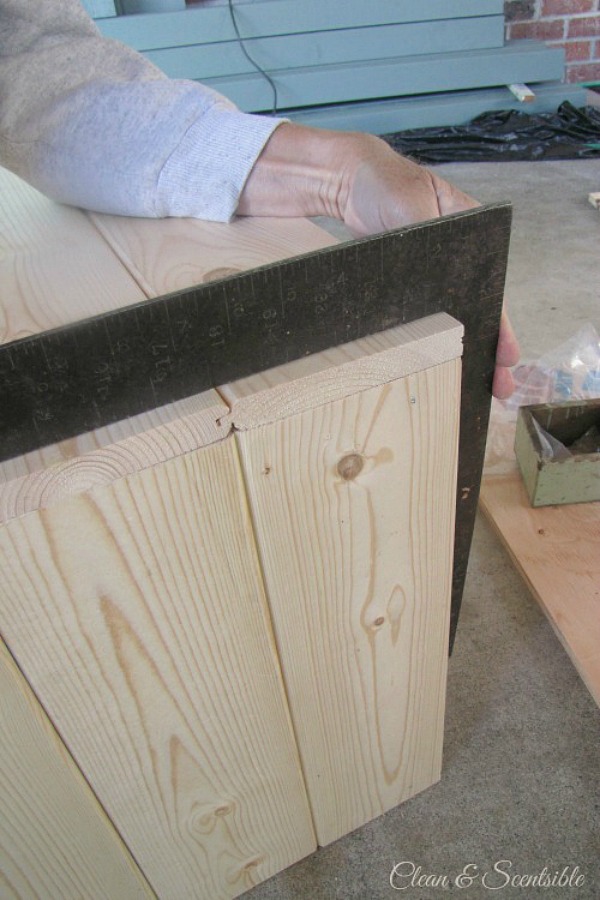
- You should now have two completed side panels. To attach the front and back of the box, use a framer’s square to line up the sides so they are completely flush along the bottom and attach the front of the box to the 2×2 using finishing nails {I used 2 nails for each pine board} Secure with a screw towards the top and bottom corners. Repeat on all corners of the box.
- Turn the box upside down and add the plywood base by using 4 screws in each corner to attach it to the 2×2 blocks.
- Sand down the entire box and you are done!
I was pretty happy with the crates after they were built. Amazingly, they both fit perfectly in their space. All I had to do was finish them off. Should be the easy part, right?
Not this time.
I got a case of DIY paralysis and they stayed like this for almost a year…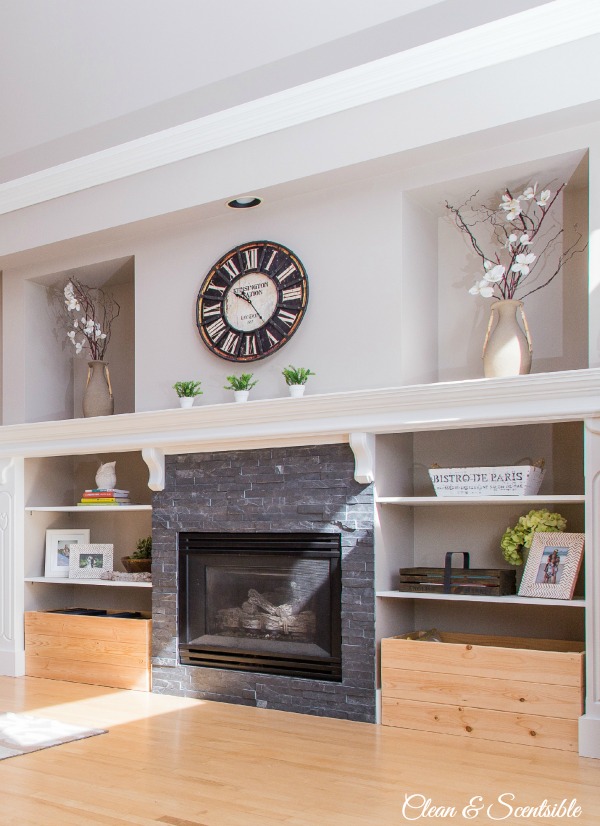
I couldn’t figure out if I wanted to paint them with a rustic white finish or stain them. So, of course, I did nothing.
I finally decided that I just needed to try something, and stained them a walnut color. After I stained them, I still wasn’t sold, and posted on Instagram for help. Almost everyone {me included!} thought that I should paint them white, so I started to paint them white. And then, after painting one side of one box, I decided that I didn’t like them white. Ugh. I wanted the stain, but they needed a little more personality. Enter the spray paint…
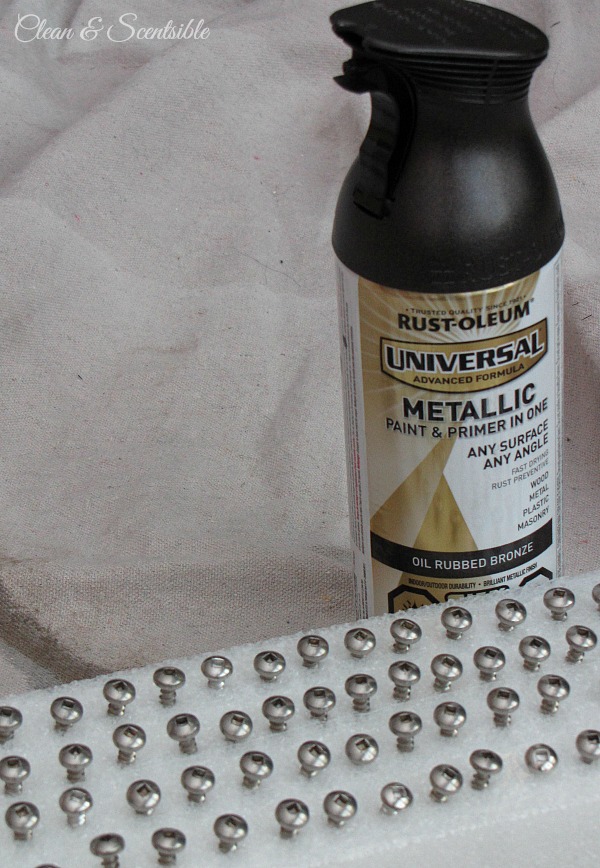
I headed down to Home Depot and picked up 8 “L” brackets {for each crate}, some screws, and spray painted them all with some oil rubbed bronze spray paint. 
I added them to the corners of the box along with a handle in the same finish and some casters.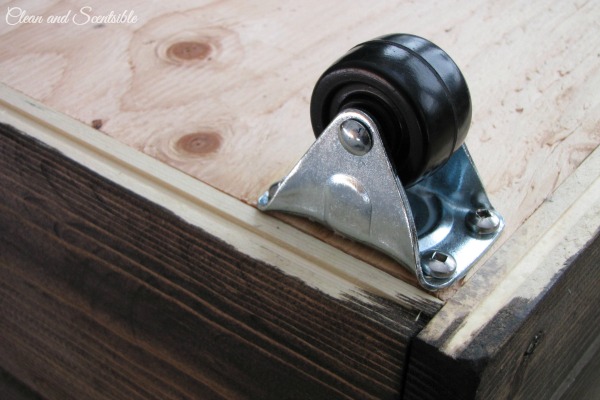
So much better!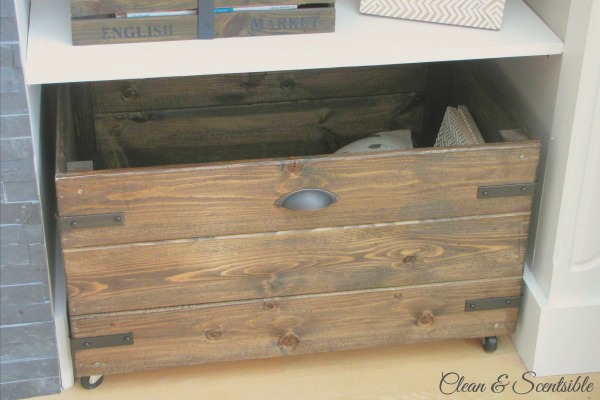
Sometimes, no matter how much thinking I do, I just need to get in there and play around with things to make it work! 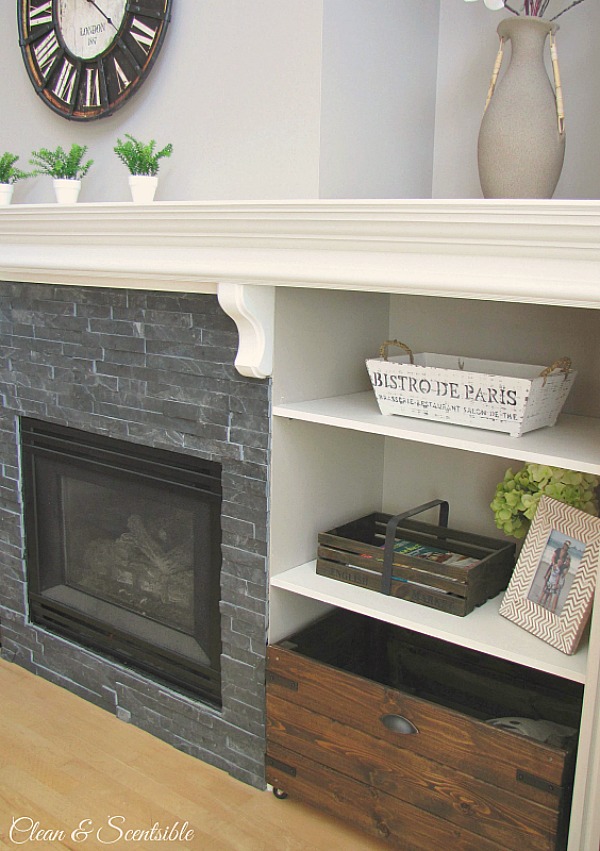
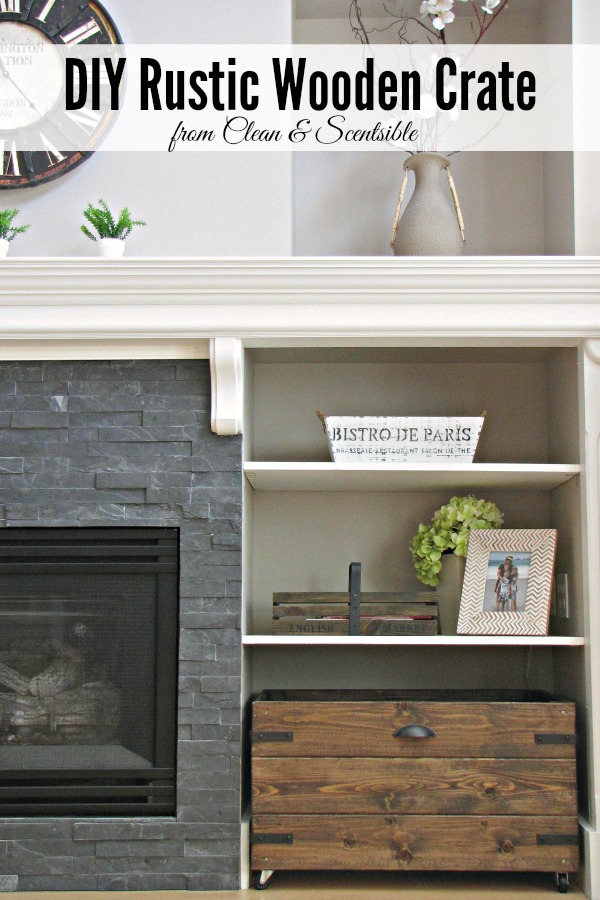
If you too have a case of DIY paraysis, take some time this week and just get to it!! You will be happy that you did. 🙂
Nice job! I love the look of these.
Have a great weekend!
Thanks so much Anne! Hope you have a great weekend too!
These are beautiful! I think the brackets were the perfect touch!
Those are awesome! Extra storage is always nice especially when it looks so good. I love the casters too. Your fireplace wall is just beautiful.
I love your crates!!! The stain and hardware look so amazing on them and make them such unique pieces! Pinned 🙂
Is the fireplace a DIY as well? Love the color and surround together. Wondered I I could paint over the gold surround and burnt brick of ours?!?
Yes, the fireplace was re-done too. Here’s the post: https://www.cleanandscentsible.com/2014/07/fireplace-update.html We just used a BBQ spray paint for the gold on ours. We had old tile on there that I hated so we did get new slate tile for that. You could definitely paint over brick though! Good luck!
Hi Jenn,
These wooden crates look fabulous! Can you tell me what brand and color of stain you used on them? The color is just lovely and they took on a lush, antique look once you added the oil-rubbed bronze accessories.
Job well done!
Thanks so much! Sorry it took me a while to get back to you. The stain is from Minwax and is dark walnut. Have a wonderful weekend!
These crates are beautiful and work so perfectly in this space. I am totally inspired to try this and your method with the tongue and groove boards. Thanks for putting together this tutorial!
Thanks! Hope it works well for you!
These wooden boxes are absolutely gorgeous!
Thanks so much! They definitely make an improvement in the space!
Beautiful crates and I love the braces. In your tutorial you show a fixed wheel but in the finished pictures look like you ended up using swivel wheels. Did you change your mind? Do you feel it’s important?
I couldn’t find the same tongue and groove boards; mine sort of just overlap and I decided not to try to cut off the top groove since I don’t own a saw (and Home Depot won’t do such a job); I also am stuck with one piece that is just a bit shorter than the others (another thing Home Depot doesn’t do – precision cuts), but I am going to give it a try tomorrow! I am excited.
Rather than staining, I treated my pine boards to a wax/mineral oil butcher block conditioner and it brought out the wood grain and knots really nicely and darkened the wood a bit. The finished crate will be laid out with a carpet piece that has a rubber backing and I will put our winter/rain boots in it – so that our puppy won’t destroy yet another one!!
Thanks again for posting this tutorial with all the fabulous details and tips.
Good spot on the wheels! The store just didn’t have enough of the fixed wheels so there are a few swivel wheels on there too. lol! It really is just preference – I just wanted them to go forward and back into the space so I didn’t need swivel wheels but if you are going to be moving it around more swivel wheels would be best. Hope yours turned out great!
This was a great tutorial,I love the brackets on the corners,but I think mine may not be as deep. This is my first woodworking projrct, thank you.
Sonya
You can get different sized brackets. Hope your project worked out well for you!
This is exactly what I have been looking for to use under our bed! Our bed is raised and I want to add storage underneath that will be seen. This is perfect. My search is over. Thanks!
Awesome! I love under the bed storage!
I just wanted to thank you for the inspiration for our own crate project. I absolutely love how they turned out! Wish I could share pics…
Glad you could use it!! Thanks so much for sending me the photos on FB. Your mudroom/extra pantry space looks amazing!
Thank you for the plan. It’s exactly what I’m in the process of building for our new house. It was refreshing to see that we’re not only ones who build, rethink, revise until it finally fits.
As I’m reading over your tutorial I’m wondering – if you had known you wanted to use the brackets at the beginning of the project, would the crate still have needed the 2x2s? Now that you’ve used the crates do you think finishing nails and brackets would be sufficient to hold it solid?
They look great! Thanks for the clear instructions! I’m hoping to make a few of these for my pantry and hopefully one large one to hide our ugly plastic recycled bin…
Great idea for a recycling bin!