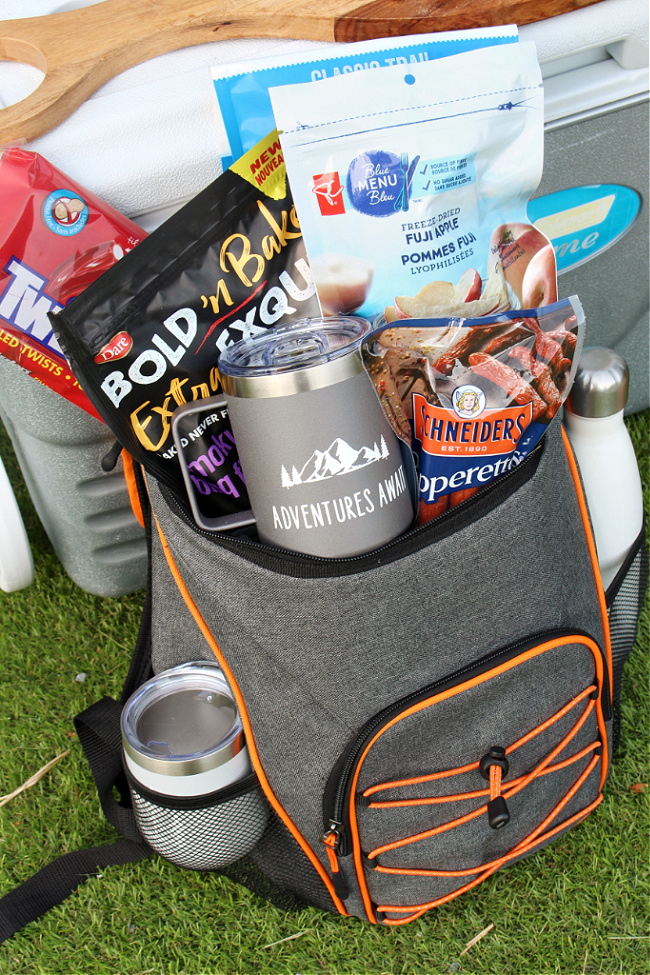
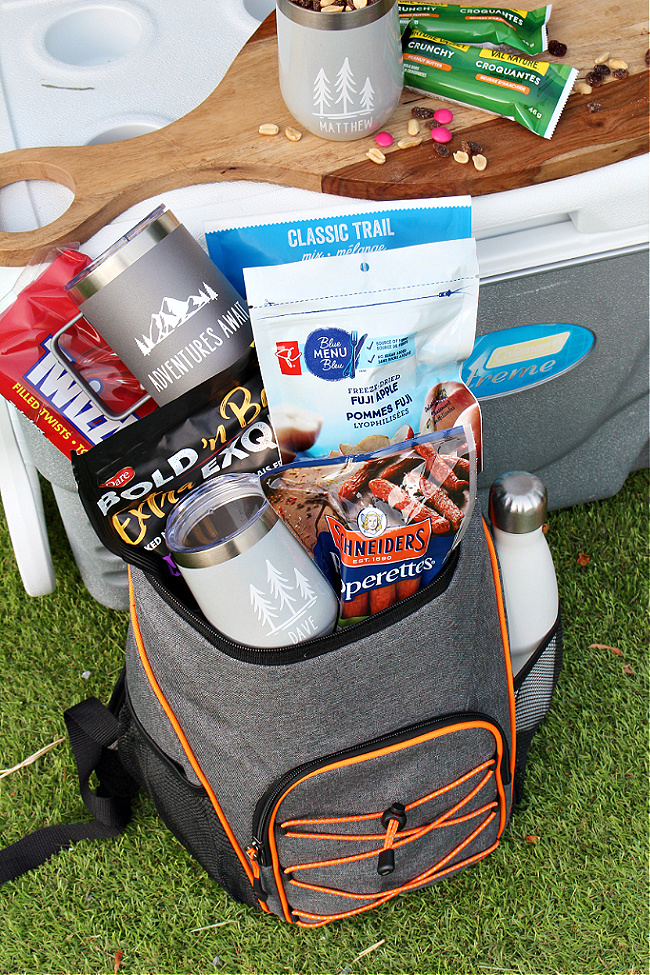
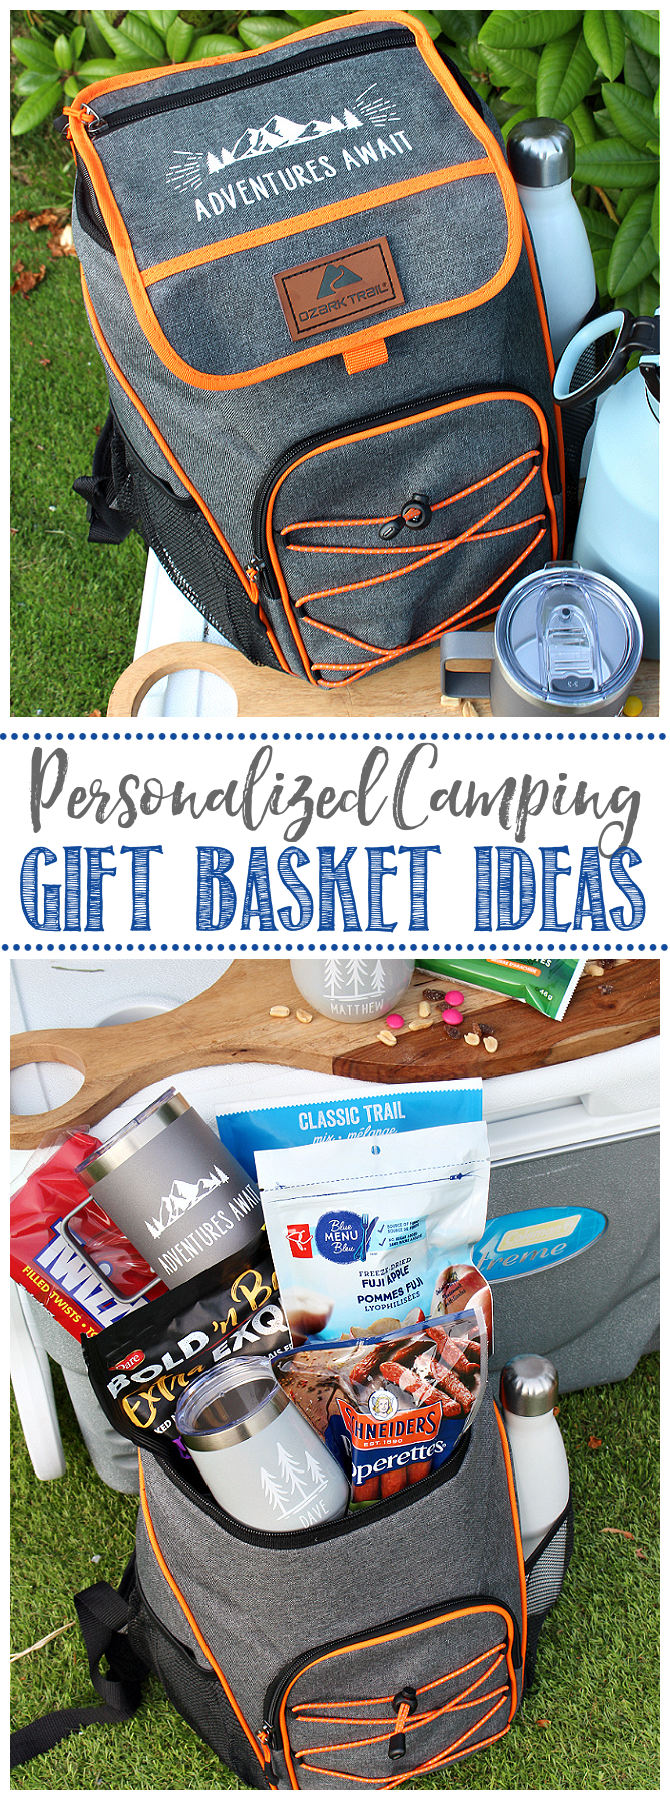
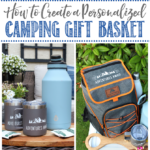
A camping gift basket is a fun and unique gift idea for any outdoor enthusiast! Customize it with a personalized ice cooler backpack, custom mugs, and your favorite camping supplies.
Ice Cooler BackPack Camping Gift
I love putting fun gift basket ideas together and thought that this ice cooler backpack would make the perfect container for some camping or outdoor supplies. To make it even better, I decided to personalize it and create some cute custom camping tumblers and mugs to go with it using my Cricut Joy and Cricut EasyPress. Add some of your favorite camping supplies and you have a fun and unique camping gift basket that anyone would love! It’s great for travelling or picnics too!
This post is sponsored by Cricut and does contain affiliate links. This means that I may make a small commission {at no charge to you} off purchases made directly through the links provided. As always, all opinions are 100% my own. Thank-you so much for your support.
Camping Gift Basket
Summer is almost here and we can’t wait to spend more time outdoors again! Whether you’re camping, going for a picnic, or heading out on a day hike, this camping gift basket can be totally customized with whatever you need!
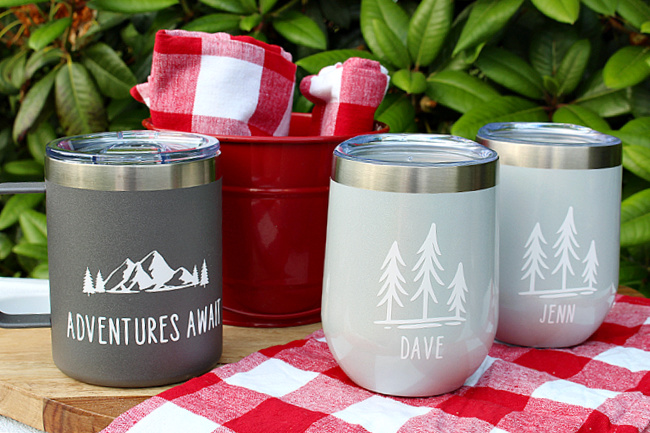
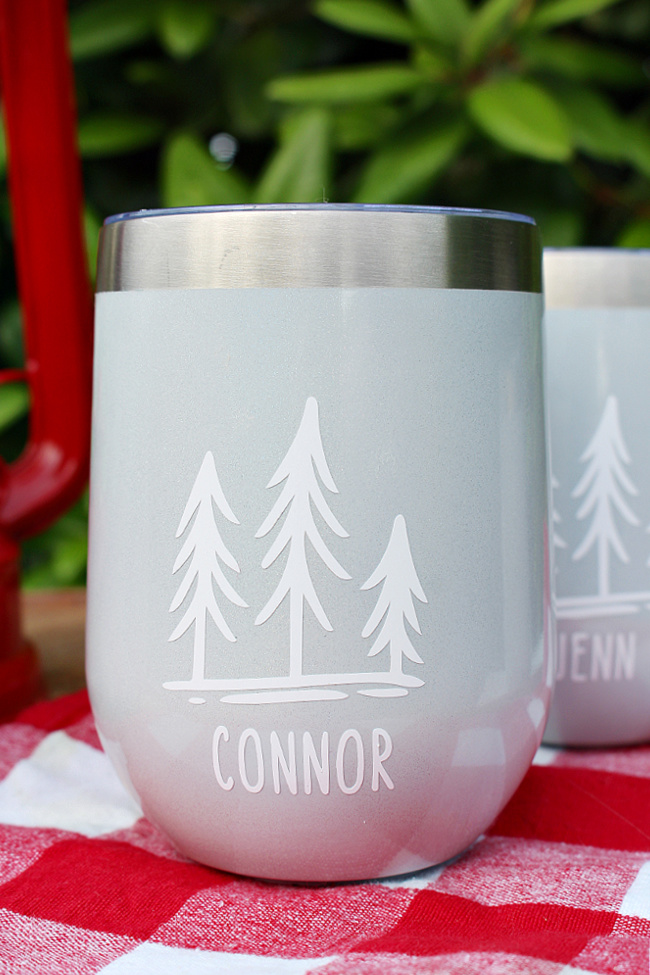
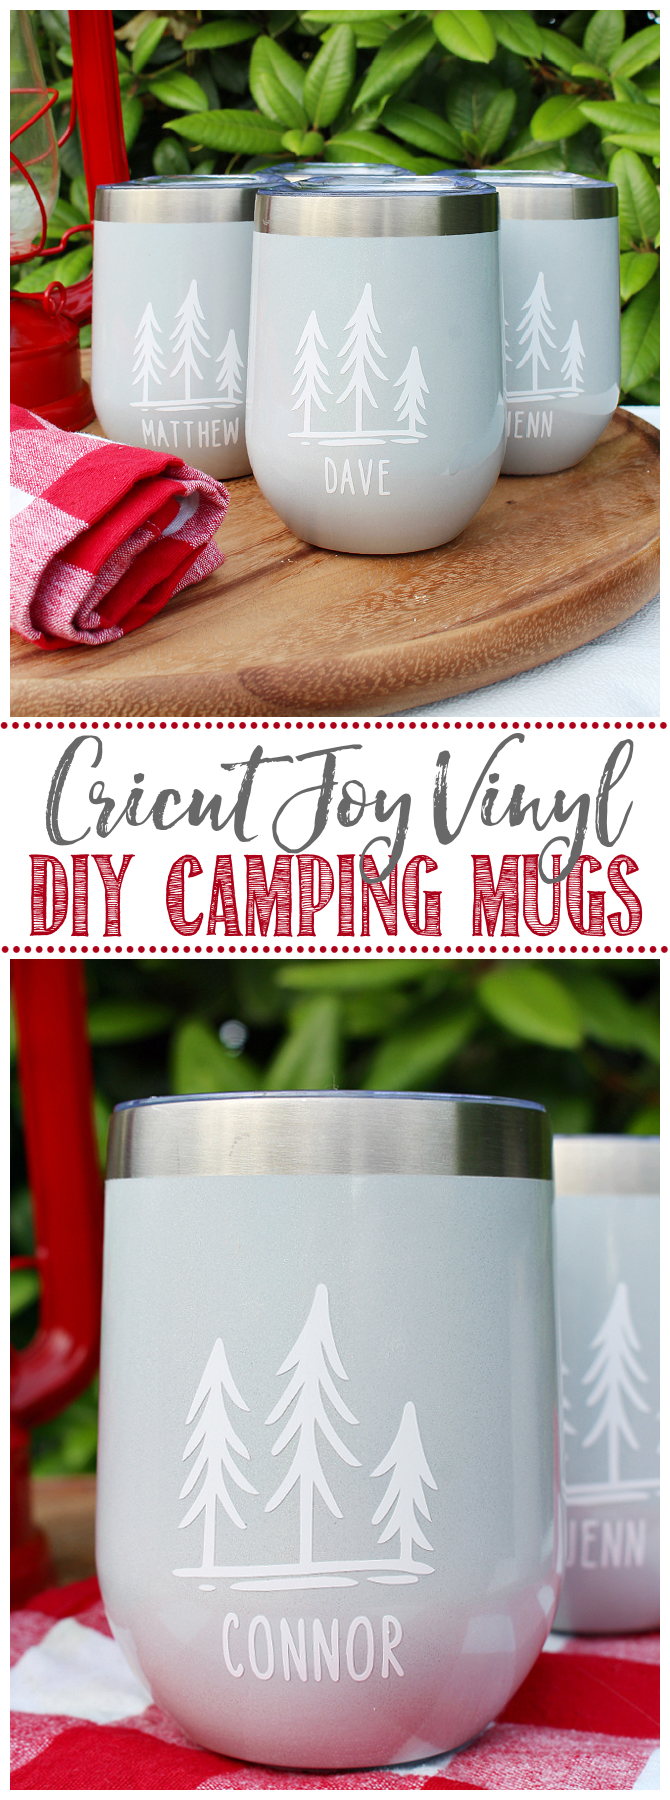
Custom Camping Mugs and Tumblers
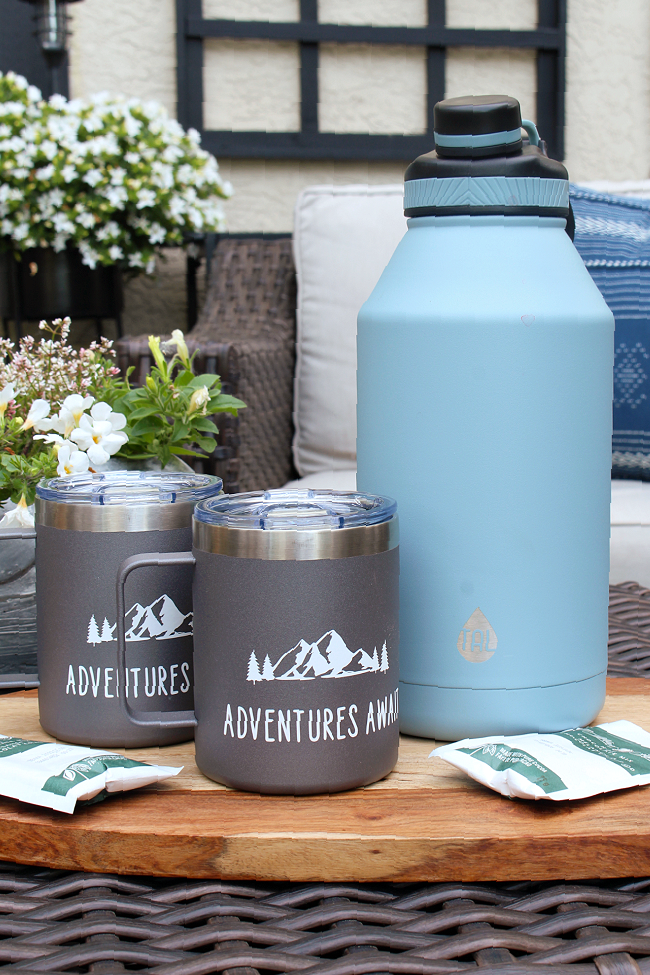
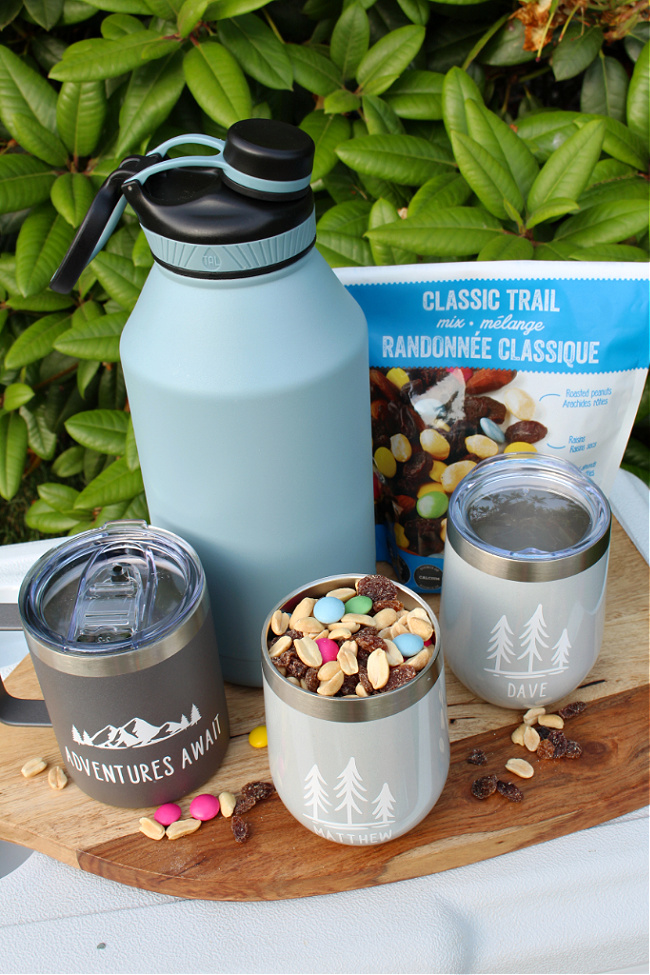
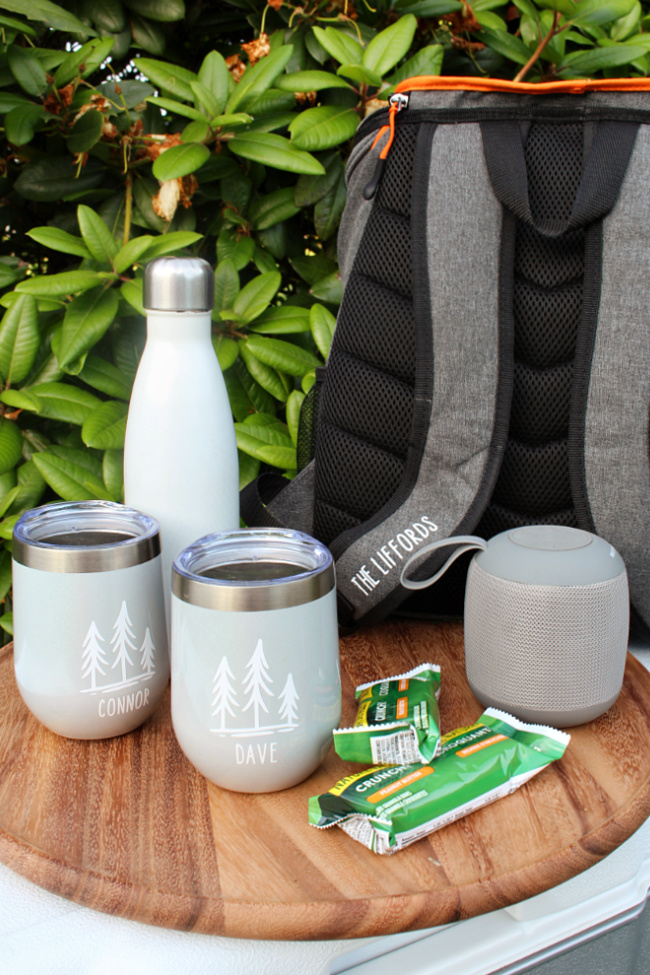
These personalized camping mugs and tumblers make the perfect addition to your camping gift basket. If your family is anything like mine, you probably go through a ton of cups and mugs when you’re camping. Having personalized cups for each family member makes it easy for everyone to know who’s cup and is who’s, and helps to cut down on the dishes you need to clean. Everyone is responsible for their own cup and I don’t get stuck washing a bunch of extra cups! Total win!
These designs would also work well for water bottles and can be whipped up in no time with your Cricut. I think the camping mugs make great gifts on their own too and don’t forget to buy extras to make some for yourself!
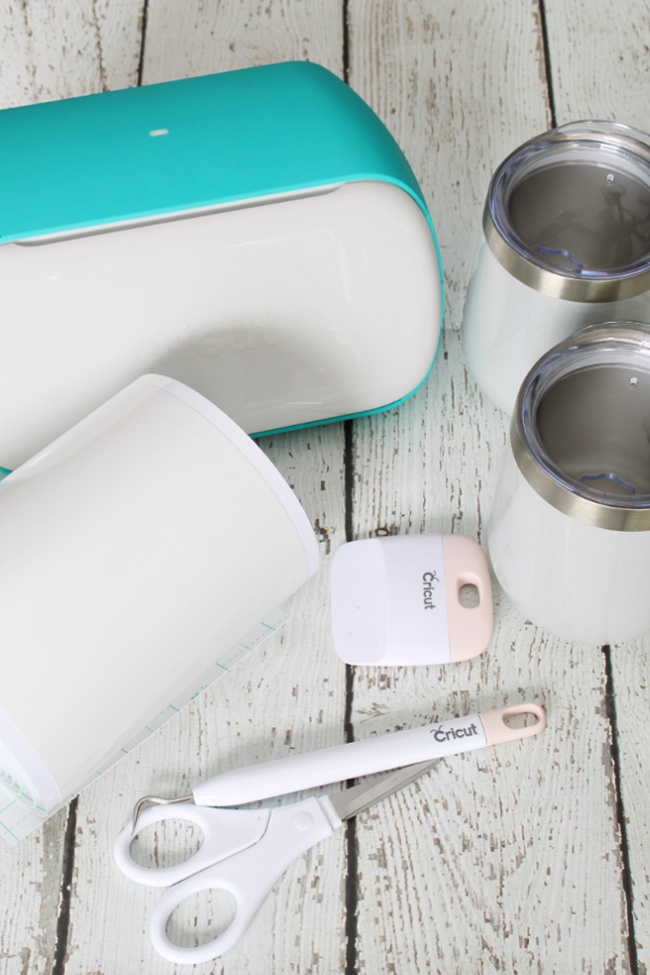
Materials
- Cricut Joy {could also use Cricut Maker or Cricut Air2}
- transfer tape
- permanent Smart vinyl
- basic tool set
- stainless steel mugs or tumblers {I found mine at HomeSense for a great price}
To Do
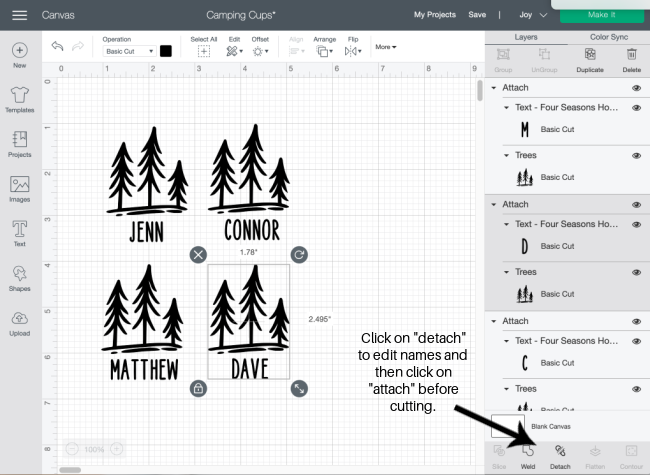
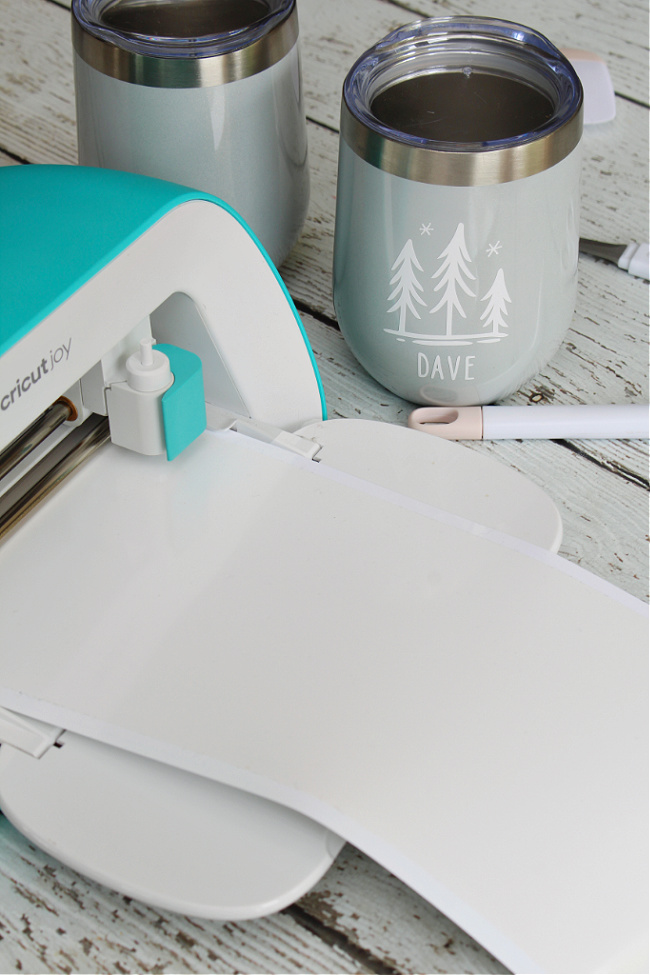
Step 1: Create your design.
Open Cricut Design Space. You can either create your own design, choose a different camping themed image from Cricut design space, or just customize the designs that I used. You can find my two designs here {you’ll just need to open Cricut Design space first}:
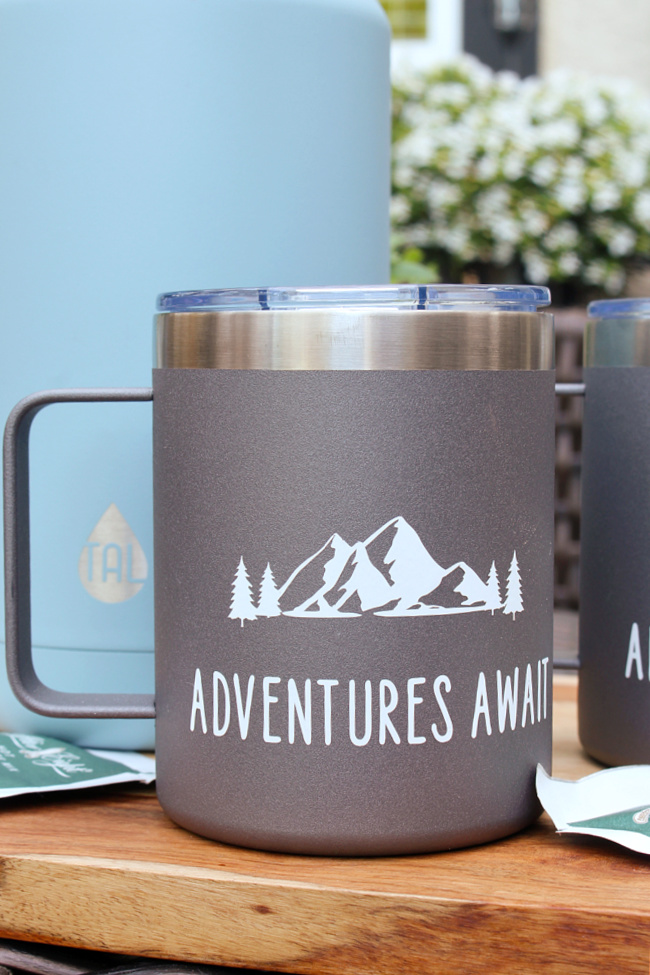
- tree design with names
- Adventures Await {this is the same design I used for the ice cooler backpack)
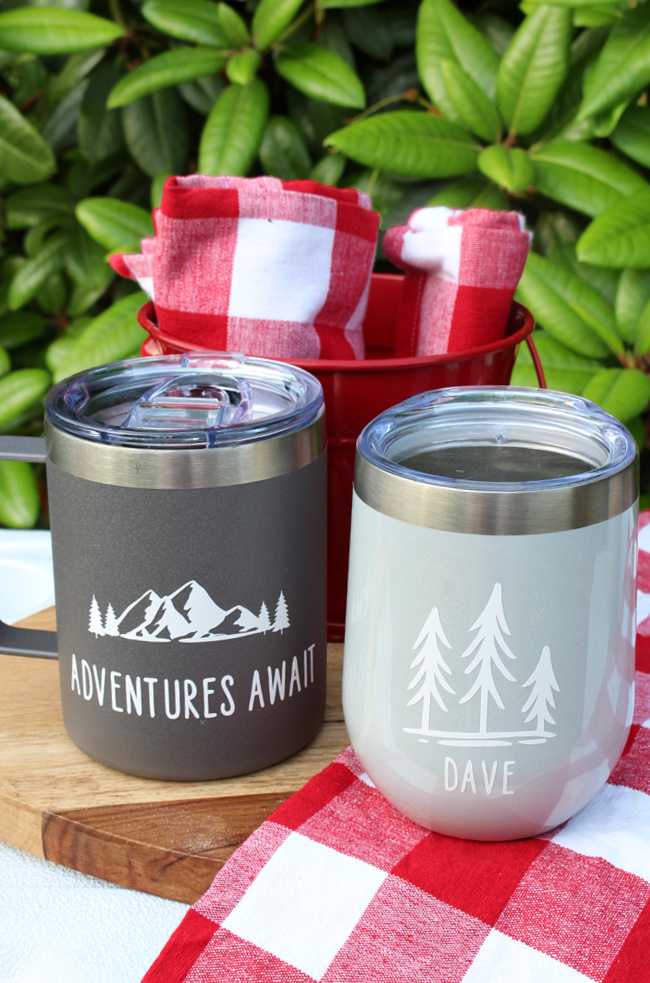
I personalized the tumblers with the name of each person in our family so we don’t go through so many cups on our camping trips. These ones will keep cold drinks cool for 12 hours and hot drinks for up to 3 hours and have a lid on the top to keep bugs out!
To change the name on the design, you’ll need to highlight one of the designs, click on “detach”, and then edit the name ot whatever you would like. Once you’re happy with the size and spacing of the new name, highlight the design again and click “attach”.
You could always add a name to the Adventure Awaits design too if you would like or add the design to one side of the mug and the name to the other side.
If you’re just giving the mugs as a gift, you could add a large stainless steel hot/cold water bottle and tuck in some gourmet hot chocolate packs and marshmallows into the mugs. It makes a cute hot chocolate gift set all on its own!
Step 2: Cut your vinyl.
Once you’ve finalized your design, click “Make It” and choose the no mat Smart materials setting. Check the image layout on the preview may to ensure that everything is the way you like it. Follow the prompts and place your vinyl in the Cricut Joy vinyl side up.
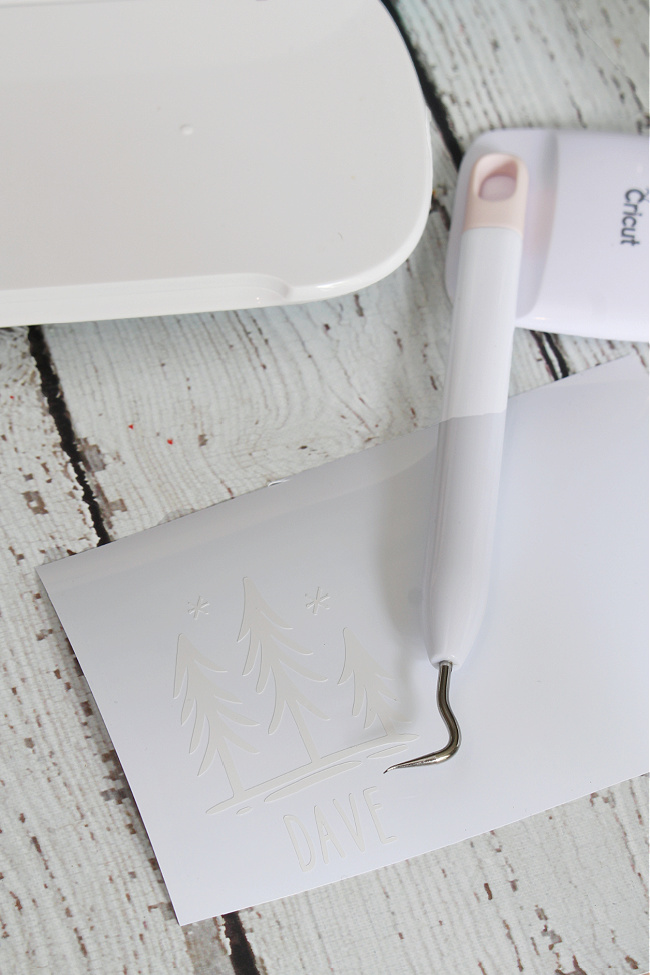
Step 3: Weed your vinyl.
Using a weeding tool, remove the excess vinyl from in and around your design. When you’re done, you should just be left with your design on the liner.
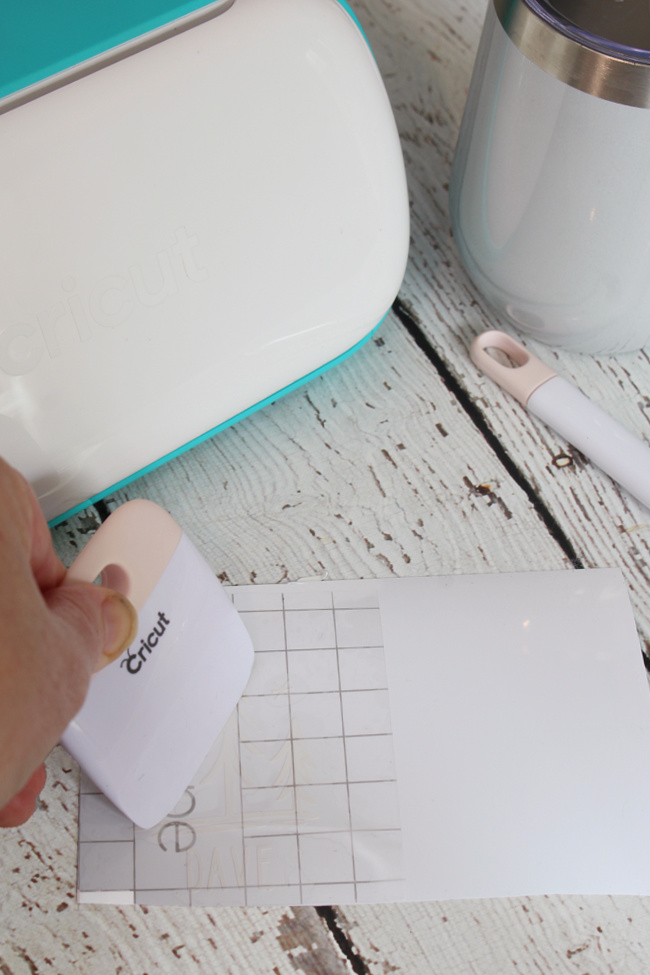
Step 4: Apply the transfer tape.
Remove the backing from the transfer tape and place it over your vinyl {adhesive side down}. Use the scraper tool to burnish the tape onto the vinyl. To prevent any bubbles, start in the center of the design and move outwards. Peel away the vinyl liner at a 45-degrees angle until your design is completely on the transfer tape. {TIP: If you’re finding that you’re having a hard time separating the transfer tape from the vinyl, use a hairdryer over it for 5-10 seconds to heat it up, quickly burnish again and then peel. I find it comes up so much easier especially with the Smart vinyl.}
Step 5: Apply the design to your mug.
Make sure your mug is totally clean and dry. I will often use some rubbing alcohol over the area that I’m going to apply the design to make sure it’s free of any dirt or residue. Place the transfer tape with the vinyl image onto your mug. {NOTE: I like to sit and hold the mug between my legs while I’m applying the vinyl to make sure it stays in place.} Once you’re happy with the placement, rub the transfer tape onto the surface starting in the center and moving outwards. Slowly peel the transfer tape away from the vinyl at a 45-degree angle. Once the transfer tape is removed, I go back over the design and rub it firmly into the mug (especially at the edges).

The cups can work as little bowls or storage containers too – perfect for some trail mix!
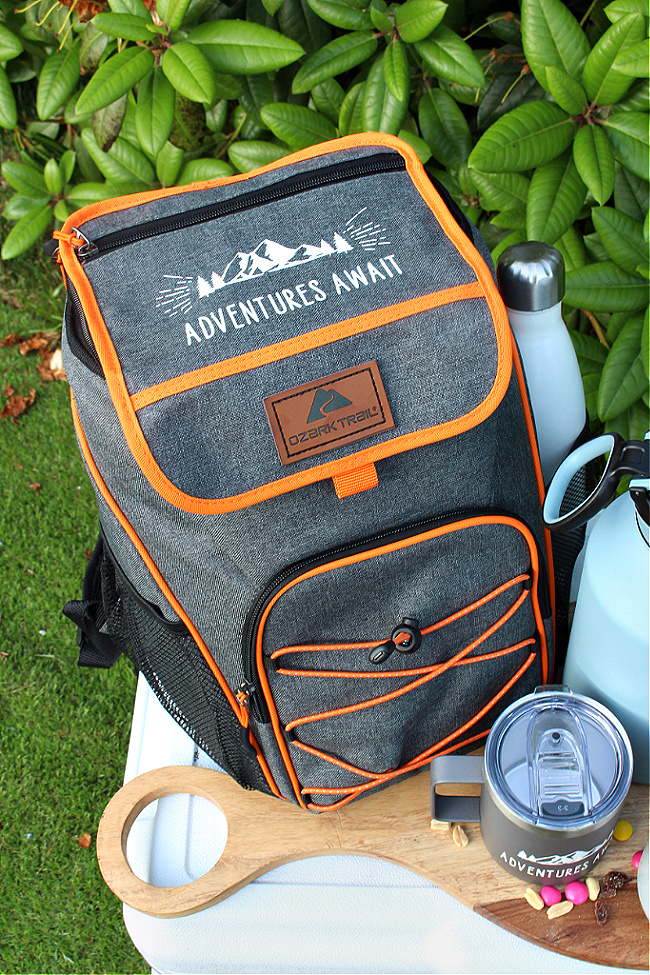
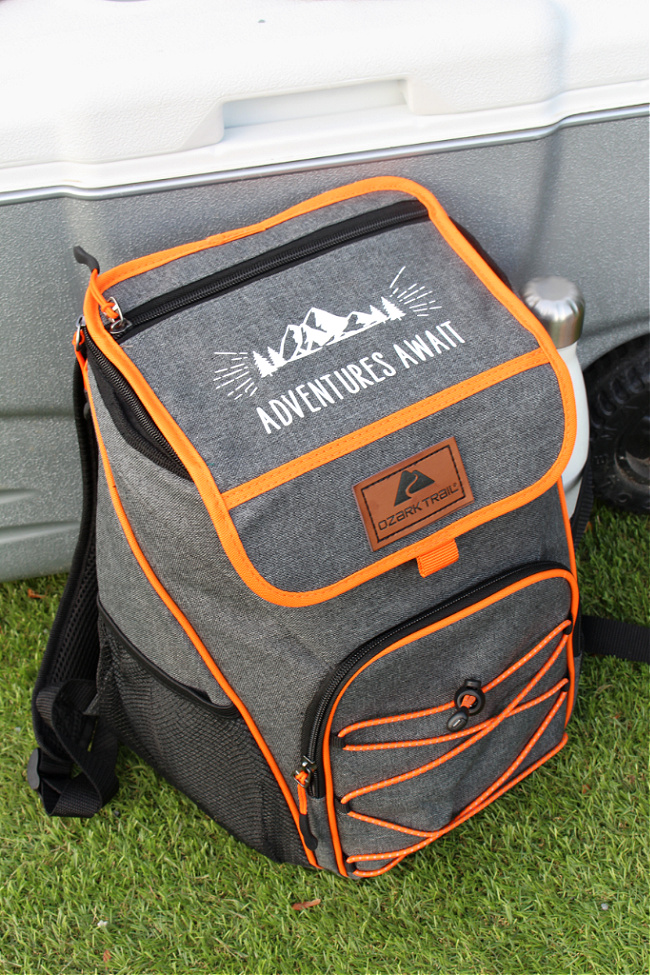
Custom Ice Cooler Backpack
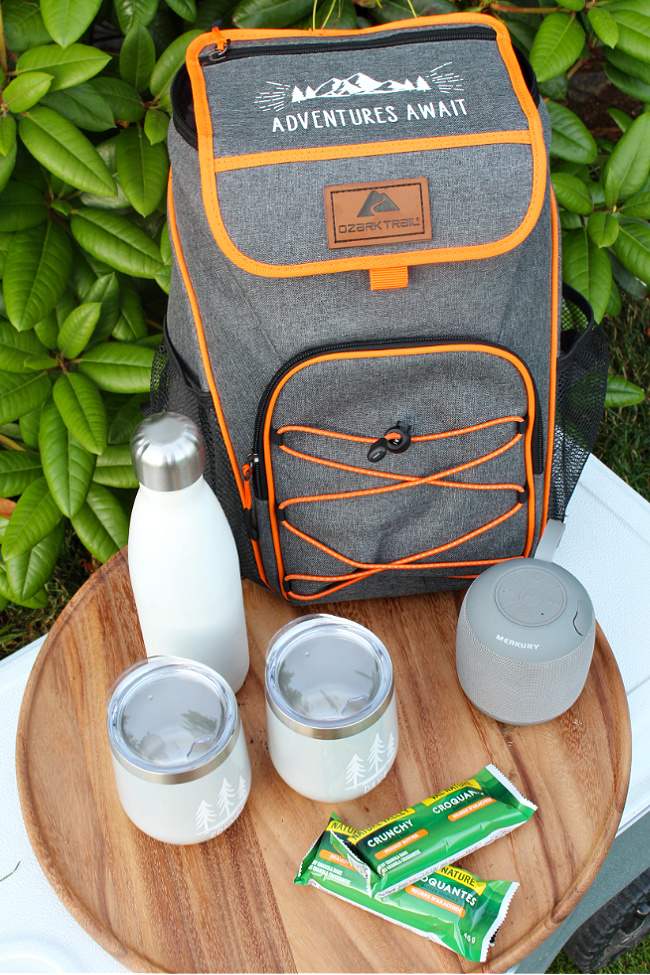
This ice cooler backpack is the perfect size for a day hike or boat ride on the lake, and would be great for packing around food and drinks when travelling too. If you’re thinking on a bigger scale, you could always use the same idea for a larger ice cooler too
Materials
- Cricut Joy {could also use Cricut Maker or Cricut Air2}
- transfer tape
- everyday Smart iron-on
- Cricut EasyPress 2
- ice cooler back pack {You can find tons of other ice cooler backpack options HERE or use a regular ice cooler if you prefer.}
To Do
STEP 1: CREATE YOUR DESIGN.
Open Cricut Design Space and design what you would like to use on your backpack. If you would like to use the Adventure Awaits design that I used, you can find it HERE. Click on “customize” and then adjust the design to your desired size. You can always add to it as well if you would like to add a name or other design elements. If you add to it, be sure to group and attach your design together at the end so it cuts as one design.
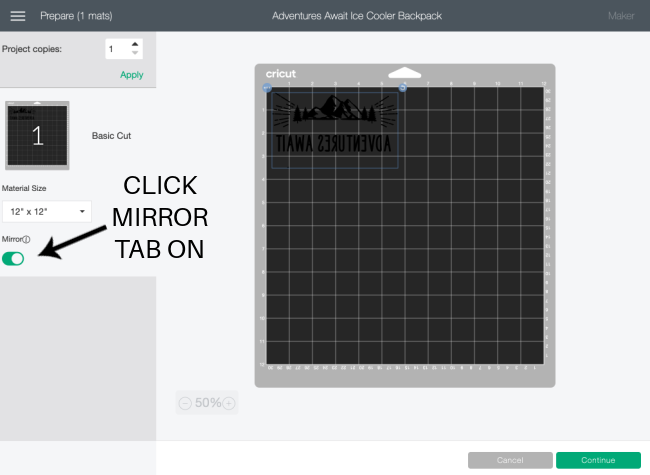
STEP 2: CUT YOUR IRON-ON DESIGN.
Once you’re happy with your design, click “Make It” and choose the no mat Smart materials setting. Check the image layout on the preview mat to ensure that everything is the way you would like. The most important thing to remember when cutting iron-on is to click the button to mirror the images. Place your Smart iron-on material into the Cricut Joy shiny side down and follow the prompts to cut your images. Select Smart Iron-On from the list of materials.
STEP 3: WEED YOUR IRON-ON DESIGN.
Trim any excess iron-on vinyl from around the design and use a weeding tool to remove any remaining elements of the design that you don’t want to transfer. You can hold the piece of vinyl up to a bright light to reveal the cut lines if they aren’t clear – especially if you’re using white iron-on like I did. When you’re done, you shoulder be left with the desired image on the clear protective liner.
STEP 4: APPLY YOUR IRON-ON.
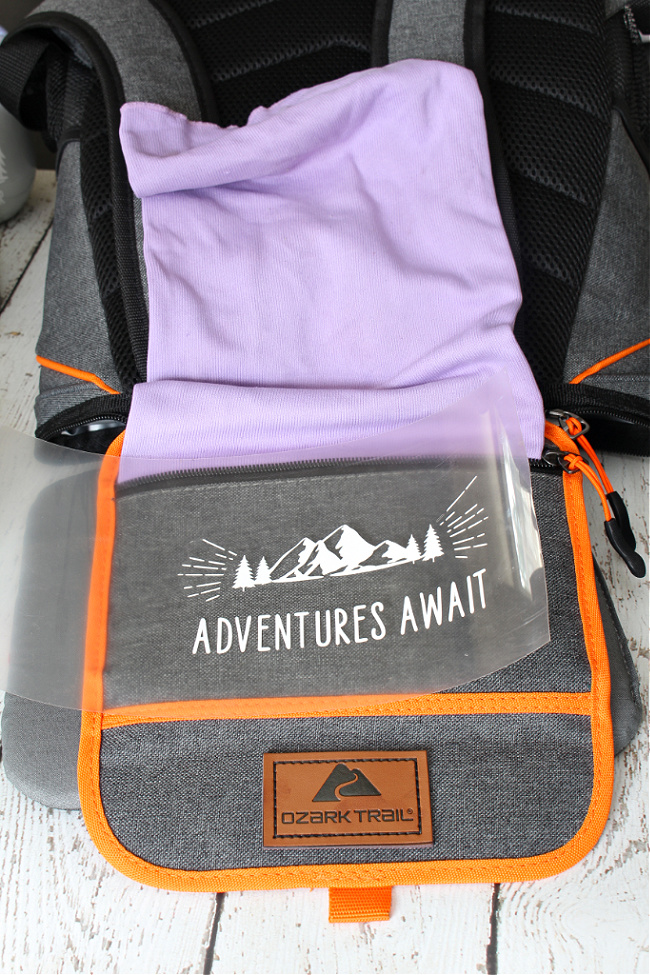
Check the EasyPress temperature guide HERE to determine what temperature you should use for your material. Since our backpack was made from polyester, I set mine to 355F and 30 seconds. IMPORTANT TO NOTE: Due to the location of where I was putting the design and the more delicate material of the insulated, cooler material on the inside of the backpack, I inserted a small folded towel in the zippered pouch to act as a barrier between the heat from the EasyPress and the cooler material. I then had my Cricut EasyPress mat under this. If you are unsure of how your material will react to the heat, always test on a small inconspicuous spot first.
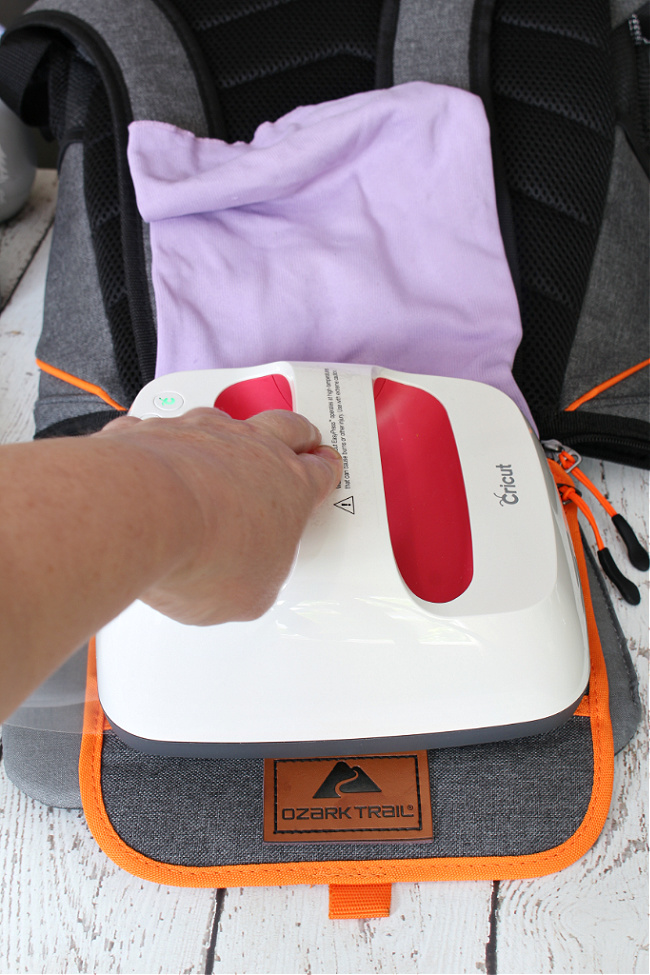
Place your backpack over the EasyPress mat {or use a thick towel} and pre-heat the surface for 5 seconds where you will be applying the design. Next, place the design on the backpack top with the clear protective liner facing up. Apply the heat with your Easy Press for 30 seconds with light pressure. Allow to cool to touch and then carefully peel away the liner. Once the liner is removed, press the design down with your fingers until completely cooled.
IMPORTANT TO NOTE: I will usually flip over the material and then use the Easy Press on the back of the material as well, however, I did NOT do this for this project since I did not have access to the inside of the pouch and did not want to apply any heat to the insulated material.

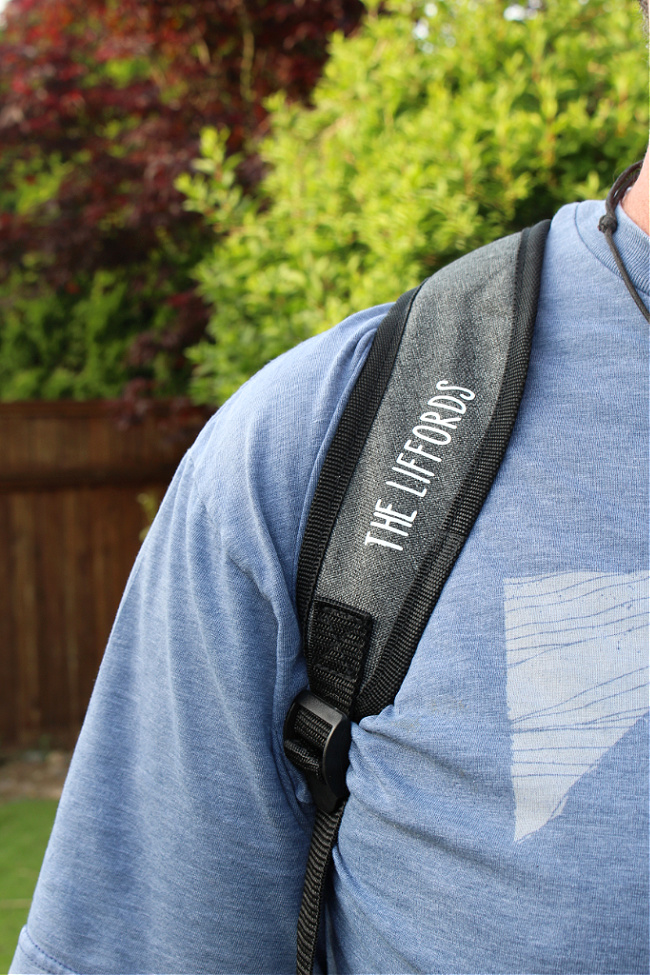
I also added our name to the bottom of the backpack straps. Our straps did have some foam padding in it, so I kept the name pretty small as I figured the foam would melt down a bit when the heat was applied {which I did}.
You could always try using a lesser heat setting and/or putting a light towel between the design and EasyPress, but it still functions well and is comfortable even with the padding melting down a bit.
What other items can I put in a camping gift basket?
The best part about putting together a gift basket is customizing it! There are a variety of different items that you can add based on your budget and what your recipient loves. Many of the items listed can also be customized with your Circut using vinyl or iron-on vinyl, so have some fun with it! The backpack cooler works great for smaller items, but you could always use a larger ice cooler too if you want to add bulkier items. Here are a few ideas to get you started…
- water bottle
- waterproof Bluetooth speaker
- bug spray
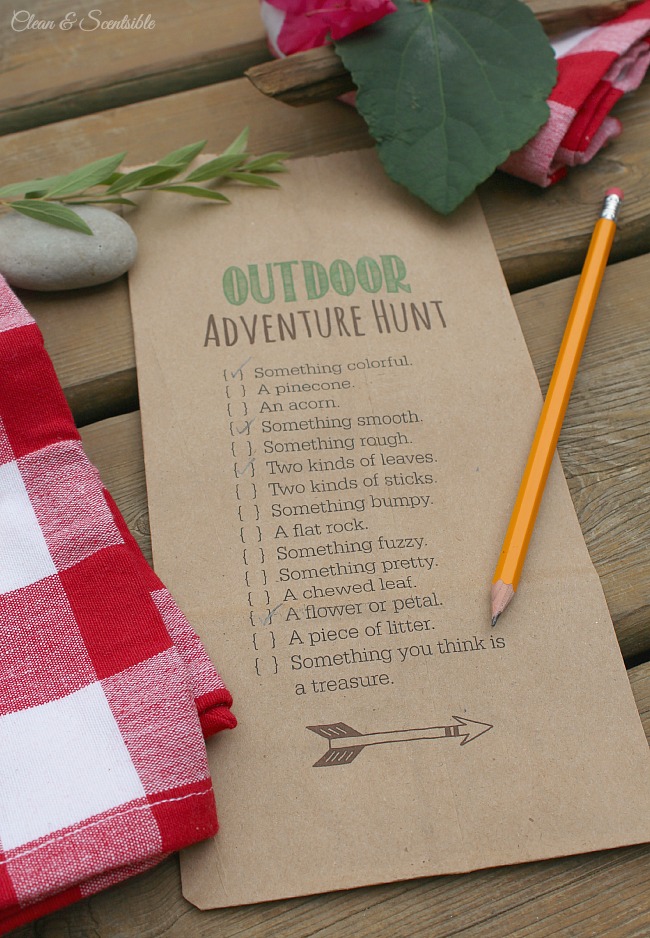
- favorite camping snacks and treats
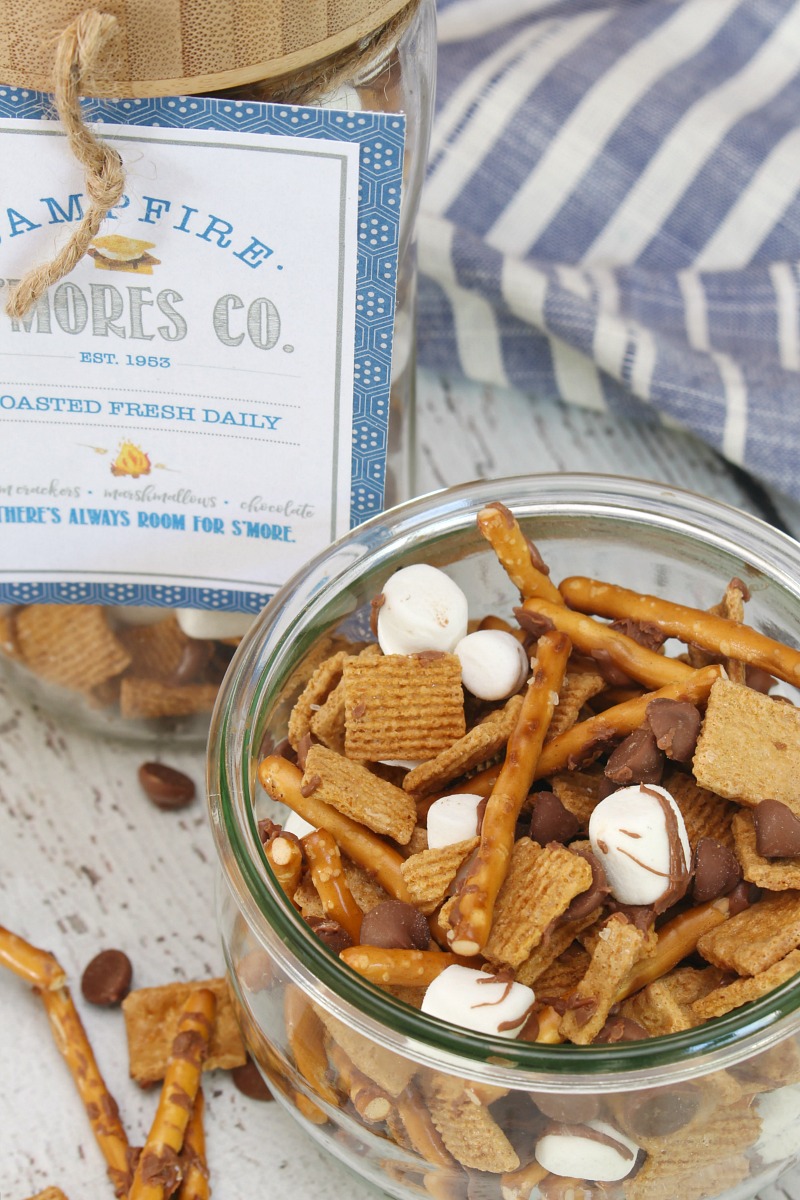
- a mini smores kit
- sunscreen
- hat
- lightweight portable hammock
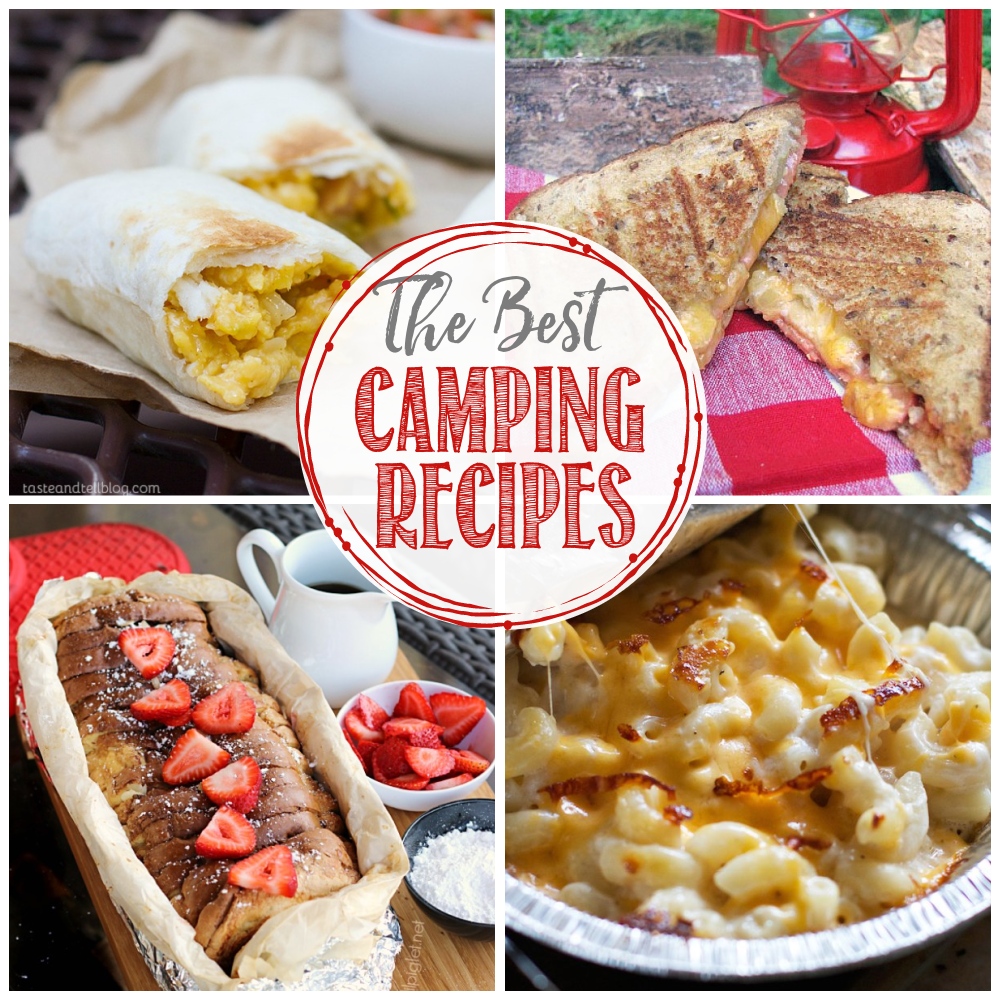
- camping cookbook
- outdoor emergency survival kit
- headlamp
- folding pocket knife
- picnic blanket
- cozy camping socks
- folding camping chairs
- portable power bank
- camping cutlery and plates
- local hiking books
If you really want to ramp it up, you can even include a gift card to their favorite outdoor store.
I hope you have fun personalizing and putting your own camping gift basket together! Let me know if you have any questions. I’d love to see your creations!
More Camping Ideas
For more camping ideas, check out these posts…
Leave a Reply