Spring has officially arrived and it is time to get started on a little spring cleaning! I have had some emails recently asking for room by room cleaning guides so I thought that this would the perfect time to put them together for you. Although the checklists are designed for spring cleaning, they can really be used year round whenever your room needs a good deep clean. There will be one spring cleaning checklist per week for the next 7 weeks as well as a few tips along the way to help keep you motivated. By the time the beginning of May rolls around, your whole house will have been cleaned from top to bottom inside and out!
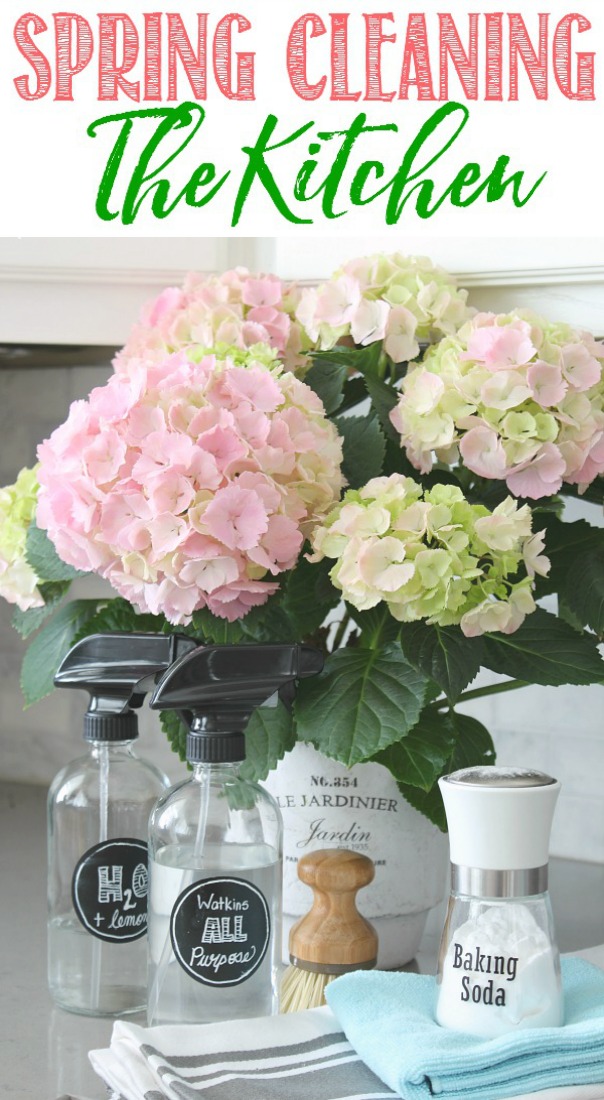
This week we will be starting with the kitchen. If you did The Household Organization Diet with me last month, this one should be pretty easy for you! If not, don’t worry – I have everything all laid out for you. You can choose to do this all in one go {leave yourself a few hours} or break it up into a few smaller time periods – it’s all up to you! At the end of the post, you will also find a printable checklist to help keep you on track. 🙂
Ready to get cleaning?
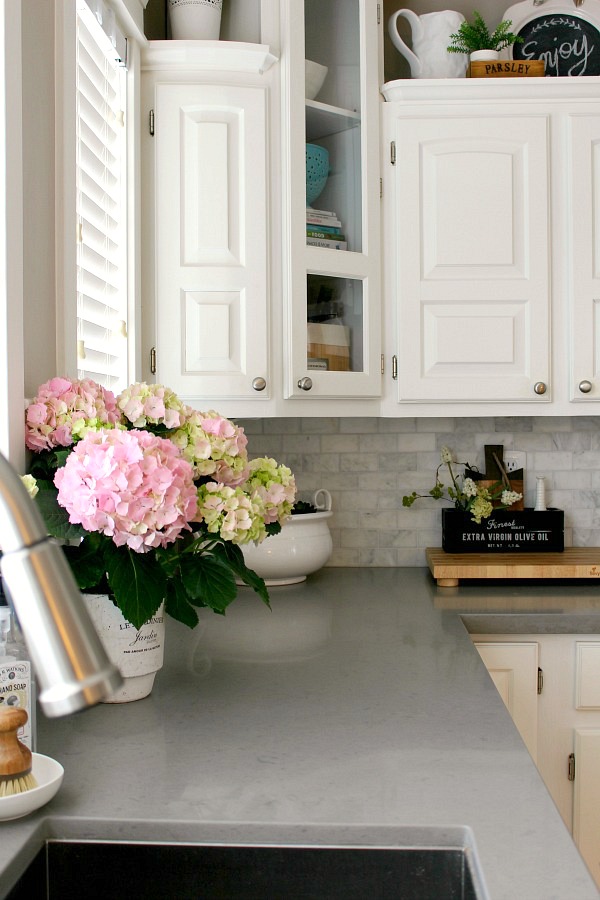
Gather your supplies.
Make sure that you have everything you need before you start cleaning – every time you have to leave the room is another opportunity to get off track! Open up the windows for some fresh air. Even if it is still a little chilly outside, you will be working hard so the cooler air will feel nice. 😉
If you have a basic cleaning kit, you probably have most of your cleaning supplies all ready to go. You can read more about my favorite green cleaners HERE}, but here is a general cleaning supply list to get you started…
- microfiber cleaning cloths {these will bring up dirt and grime much better than standard cloths}
- all-purpose spray {I usually just use a water bottle with 50/50 vinegar and water and some lemon or grapefruit essential oils}. I also love the Watkins kitchen cleaners {especially the grapefruit and the coconut scents!}
- microfiber polishing cloth {I love my Norwex one}
- norwex micro pads
- dusting mitt or other duster
- dish soap {I like Dawn}
- toothbrush
- vacuum {I use my Dyson Animal and love it!}
- mop or steam cleaner {I use the HomeRight steam machine plus}
- garbage bag{s}, donation bin/clutter bin
Quick Tidy-Up/Declutter
While the focus of these spring cleaning guides is on the actual cleaning process, you do need to have things relatively tidied to be able to get in and do a good cleaning. This is NOT a major decluttering or organization of your kitchen {I have tons of posts on this though if you would like to do it later!} – you just want to get things cleared off the countertops that don’t belong there and put obvious items away that do belong in the kitchen. Think of it as a quick 10 minute tidy up. I recommend having a bin to put things in that need to be put away elsewhere, as well as a garbage bag, and a donation basket {just for things that you come across}. Empty the dishwasher and put away all dishes and food items. Sort any remaining items into the appropriate bins.
Remove all items from the countertops, the top of the fridge, the top of your cabinets, etc. and place on the kitchen table or in another room. You will be cleaning them as you put them back so just get them out of the way for now.
Clean all surfaces working from top to bottom.
Cabinet Tops – If your cabinets do not go all the way up to the ceiling, the tops are probably in need of a good cleaning. Remove all items. Using a hand held vacuum {I use my Dyson animal} or duster, dry dust the tops of the cabinets to remove all dust and other loose particles. Spray with an all-purpose cleaner and wipe down. If your kitchen tends to accumulate a lot of dust, you can place wax paper down on the cabinet tops so you just have to change out the wax paper when it needs cleaning. Dust/wipe down all objects as you put them back up. While you are up there, check into corners and along the ceiling edges and vacuum down all cobwebs.
Walls/Backsplash – Wipe down walls with a microfiber cloth, warm water and a little dish soap. For particularly greasy areas, you can use a 50/50 water/vinegar spray or make a paste of baking soda and water to rub on the area. If that is still not satisfactory, you may need to purchase some TSP {available at home hardware stores} or other degreaser. {NOTE: If you have a marble backsplash or other natural stone DO NOT use vinegar as it can damage it.}
Cabinets – Wipe down cabinets/drawer fronts with your microfiber cloth and a water/vinegar spray. For extra greasy cabinets, you can try using hot water and dish soap – just make sure to use the least amount of scrubbing force as needed and dry when completed. To perk up your wood cabinets and add a protective coating, use some wood oils to finish things off. Polish knobs and drawer pulls.
Countertops – Wipe down countertops with an all purpose spray and a microfiber cloth. DO NOT use vinegar on granite countertops – a little dish soap and warm water should do the trick. Pay extra attention to getting into all corners. Dry and polish with a microfiber polishing cloth. Once the counter is clean, wipe down or dust items that you have removed from the counter and place back where they belong.
For those appliances that can be moved, pull them out from the wall, and give the floor and wall behind them a good vacuum and floor washing. Don’t forget to vacuum those refrigerator coils and the drawer at the bottom of your oven could also likely use a good vacuum and wipe down. Here’s a quick list of appliances to clean – just click on those that are highlighted for a full tutorial. I know it sounds like a lot but I was able to get through them all in about an hour. Start with your dirtiest appliances first – if you need to let your cleaning products sit a while for those stubborn stains, you can move on to some of the other appliances and return to it at the end.
Fridge and Freezer
Oven
Stove Top {and vent above}
Microwave
Garbage Disposal
Dishwasher
Toaster
Coffee Maker
How to Clean Appliances with a Steam Cleaner
Clean Light Fixtures and Switches
Wipe down all light fixtures with water and vinegar spray and replace any bulbs that need changing. Spray a microfiber cloth with vinegar spray and wipe down the light switches and outlet covers.
Remove any area rugs and shake outside or wash as needed. Dust along baseboards and wipe down any dirt marks or stains. Sweep or vacuum the floor to remove larger particles and dust and then mop or steam clean. Pay extra attention that you are getting into all of the corners and along the flooring that is just under the cabinet bases. Wash any floor vents or vent covers.
Wipe down the kitchen sink with vinegar and water and use a toothbrush to clean drain and the rim around the garbage disposal. If you have a square sink, use the toothbrush to get into all of the little corners. Polish with your polishing cloth.

DOWNLOAD GREEN WITH BORDER HERE
DOWNLOAD GREEN WITHOUT BORDER HERE
DOWNLOAD BLUE WITH BORDER HERE
DOWNLOAD BLUE WITHOUT BORDER HERE
Now that you are done, give yourself a little spring treat for the kitchen – some fresh flowers, a new spring scented candle, a new kitchen towel or whatever you would like to brighten up the space!
Love your cleaning tips! What can I use to clean my new carrera marble tiled fireplace front? I’ve noticed some brown staining from the fires we’ve had this winter. I’ve started with dawn soap, then mr eraser with little results thanks!
Marble requires a lot of upkeep – especially around a fireplace – so it is important that you keep on top of the stains as soon as they occur. The smoke is actually corrosive to the marble due to it’s acidic nature so it can cause long term damage if not dealt with. Since the Dawn soap didn’t work, try using a solution of 4 parts water to 1 part hydrogen peroxide. It has mild bleaching properties but is pretty much neutral on the pH scale so it is safe for marble. Use a natural bristle brush to scrub and then rinse with distilled water. If that still doesn’t work you can try purchasing TSP – just make sure to wear gloves. Hope that helps!
These are all great tips, now finding the time and energy…well that’s another story all together. Happy Spring!
I hear you! For me, it’s just about taking the plunge and getting started!
Very inspirational post, thank you for sharing your spring cleaning strategy with your readers. It is always a good thing to have a plan and checklist you can follow, especially when it comes to more in-depth cleaning like seasonal cleaning.
Great post! Love your cleaning tips…. Thanks for sharing your spring cleaning strategy
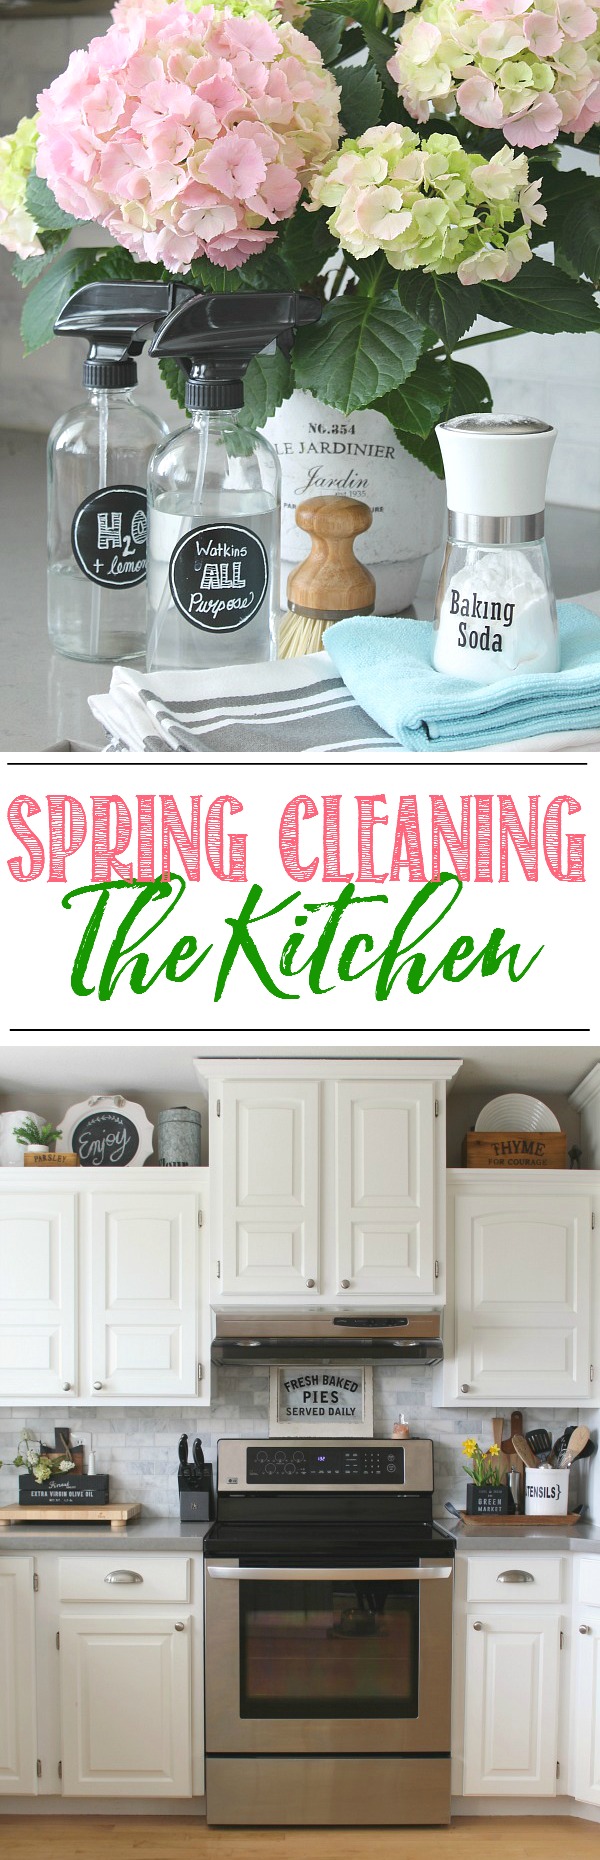
Where did you get that baking soda shaker on the cover picture??
It’s just a salt shaker that I picked up from the dollar store and added some vinyl to for the label. 🙂