• Home
  • About Me
  • Holidays
    • April Fools
    • Birthdays
    • Christmas
    • Easter
    • Halloween
    • St. Patrick’s Day
    • Thanksgiving
    • Valentines Day
    • Summer
    • Fall
    • Winter
  • Get Organized
    • The Household Organization Diet
    • Cleaning
  • Project Gallery
    • Crafts
    • Design and Decor
    • Recipes
    • Fun for Kids
  • Home Tour
  • Shop My Favorites
  • Contact Me

Clean and Scentsible

Stenciled Table

1 shares
  • Share
  • Tweet
Our basement doesn’t get much love. It’s pretty much decorated with the stuff that we no longer want on our main floor and often ends up as “the dumping zone” in our house. Since we actually spend a lot of time down there, I decided that it was time to stop neglecting it and put a little time into making it a little more cozy {with pretty much a zero budget}.
When Cutting Edge Stencils offered me a stencil to try out, I knew that I wanted to do something down in the basement.  They have some really fun new designs and it took me a while to figure out what I was actually going to get.  I finally decided on the Herringbone Allover Stencil…
This was the table that I used for my crafts before my craft room came to be.  The top was quite marked up with paint, ink and glue stains so it was definitely in need of some love. 

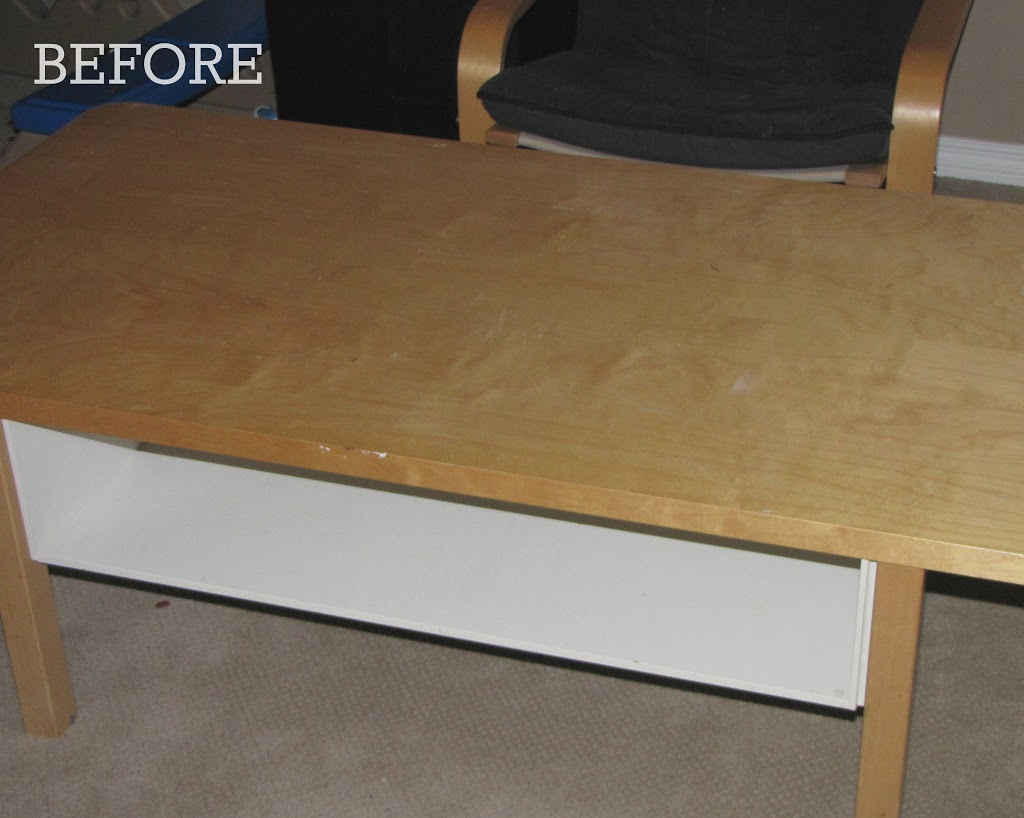
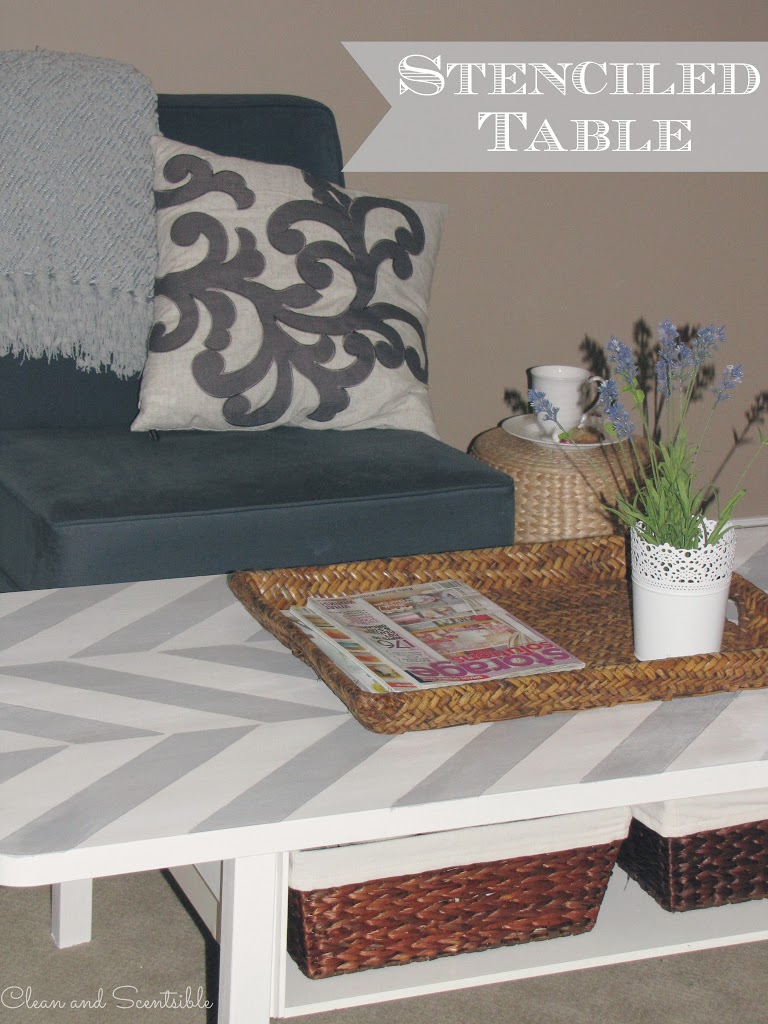
If you have never stenciled before, the Herringbone stencil is a nice easy one to start with.  Since it has such clean lines, it is really easy to line up and the design can easily be tidied up if there is any bleeding of the paint.   I started off painting the table with Pure White Annie Sloan Chalk Paint.  I then mixed the Pure White with some Paris Grey to apply with the stencil.  One of the benefits with using the chalk paint is that it dries extremely fast!

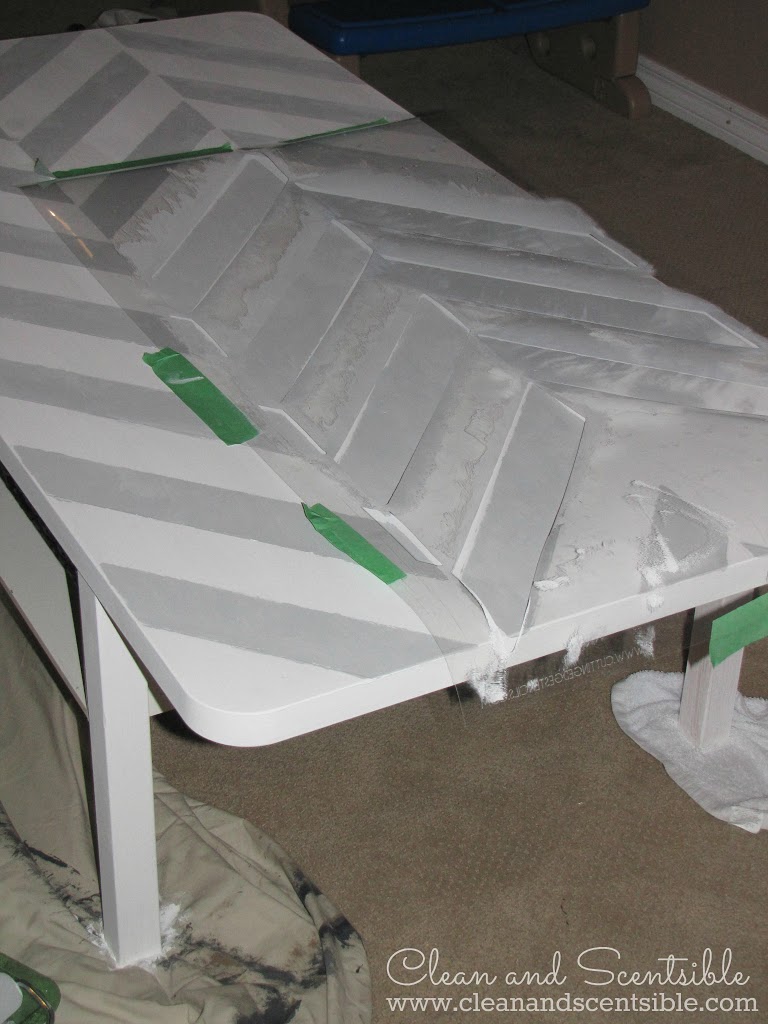
I lined up the middle line of the stencil on the table and just used some painter’s tape to hold down the edges.  I have used a foam roller with my past stenciling projects but used a paint brush for this project  to stay with the more handpainted style that I wanted for the table. In less than 30 minutes, it was done!  Soooo much easier than measuring and taping off lines!

I used clear wax mixed with just a dab of the dark wax to tone down the white a bit.  I will still probably do a bit more sanding but think I will live with it for a little longer first.

If you are looking for more stenciling inspiration, you can check out my stenciled craft room and master bathroom as well as find some tips on how to stencil a wall.  And don’t forget to check out all of the amazing designs over at Cutting Edge Stencils!

Have a wonderful weekend! 

I linked up at Flamingo Toes, Tidy Mom, Jennifer Rizzo, Craftberry Bush, Somewhat Simple, The Shabby Creek Cottage, The 36th Avenue, Stone Gable, Ginger Snap Crafts, Savvy Southern Style, Lil Luna, Not Just a Housewife, Home Stories A to Z, Lolly Jane, Under the Table and Dreaming, Craft-O-Maniac, CRAFT, Will Cook for Smiles, I Should be Mopping the Floor, I Heart Naptime, Be Different Act Normal, Funky Junk and Tatertots and Jello.

Photobucket

Subscribe

« Decorating with Photos
My Sunday Sparks {No. 80} »

Comments

  1. Sharon ~ Life After Empty Nest says

    March 1, 2013 at 10:40 pm

    What a great idea! It looks fantastic! Have a wonderful weekend!

    Reply
  2. Paula Parrish says

    March 1, 2013 at 10:57 pm

    Nice work, your table looks fabulous. ;o)

    Reply
  3. Katie @ My Darling Days says

    March 1, 2013 at 11:24 pm

    Looks wonderful! My one stencil project turned out horrible, the paint bled everywhere. I suppose it’s time I try again… how do you get the stencil lined up & taped in a new section, without ruining what you just painted?

    Reply
  4. Selene @ Restoration Beauty says

    March 2, 2013 at 12:01 am

    It looks great! I love the herringbone pattern..lovely! And I think your basement looks very nice and cozy!

    Reply
  5. Kristen Whitby says

    March 2, 2013 at 2:43 am

    What a great makeover! I love it!!

    Reply
  6. amy mayen says

    March 2, 2013 at 5:29 pm

    Very chic! I have some remodeling to do soon. Yikes. Thanks fit the ideas!

    Reply
  7. Gypsy Heart says

    March 3, 2013 at 2:00 am

    Love it! Clean lines and so pretty.

    Pat

    Reply
  8. Ruth says

    March 3, 2013 at 11:54 am

    The table looks fabulous!! You last picture shows a very comfy area. I guess your basement is getting some love.
    Ruth

    Reply
  9. Ela @ Scrapidoodlelicious.blogspot.com says

    March 4, 2013 at 6:25 pm

    Love the color. Great transformation. I made the same stenciling in my tea cart. I just posted it in my blog.

    http://www.scrapidoodlelicious.blogspot.ca/

    Btw, I am a new follower. Hope you can drop by too. Thanks!

    Reply
  10. Kathy@DandelionsandDustBunnies says

    March 4, 2013 at 6:52 pm

    Great redo – love it!

    Reply
  11. Jill @ Create.Craft.Love. says

    March 6, 2013 at 2:29 am

    That looks awesome! Isn’t amazing what a little paint can do for a space?

    Reply
  12. Abby @ Just a Girl and Her Blog says

    March 6, 2013 at 2:37 am

    Gorgeousness! I’ve never tried a stencil before…now I just might have to! I found you at Lil’ Luna. Thanks for sharing!

    ~Abby =)

    Reply
  13. Maggie Roush says

    March 6, 2013 at 4:35 am

    This is great! We have a table that got banged up in a move and this has given me some ideas for revamping. Thanks for sharing.

    Thelovenerds.com

    Reply
  14. Lyuba @ Will Cook For Smiles says

    March 9, 2013 at 12:43 am

    That is very cool! You did a great job 🙂
    Thank you for sharing at the party and I hope to see you again!

    Reply
  15. Jenna LaFevor says

    March 11, 2013 at 1:23 am

    LOVE this! The design is beautiful! Pinning!

    Jenna @ http://rainonatinroof.com

    Reply
  16. Allison @ The Golden Sycamore says

    March 11, 2013 at 12:56 pm

    I feel the same way about our basement. Although ours is still more dumping ground than hangout place! Maybe someday we’ll get around to fixing it up! Love how the table turned out! You did a beautiful job! I’ve never used Pure White before, but I love the modern look it gave your table!

    Reply
  17. Miranda @ Someday Crafts says

    March 16, 2013 at 5:30 am

    I love this pattern! I just wish I was brave enough to use it in my own home. I’m too chicken, lol. Just wanted to let you know that this will be featured at Someday Crafts tomorrow, so come by and check it out!

    Reply

Leave a Reply Cancel reply

Your email address will not be published. Required fields are marked *

Recipe Rating


This site uses Akismet to reduce spam. Learn how your comment data is processed.

Put Your House on a Diet

The Home Organization Diet. Put your home on a diet for a clutter-free, happy, and healthy home!

Meet Jenn

Hi there! I'm Jenn, mommy to two busy {and very cute!} boys and wife to a very tolerant hubby. I love all things crafty and creative and have created this blog to share my ideas and favorite finds. I hope you enjoy your visit! Read More…

Connect with me

  • Facebook
  • Instagram
  • Pinterest
  • Twitter

Subscribe

Get all our latest posts directly to your inbox

Looking for Something?

Categories

Archives

Subscribe

Latest from Instagram

[instagram-feed num=9 cols=9 showheader=false showbutton=false showfollow=false]

Copyright © 2025 · Clean and Scentsible LLC · All Rights Reserved · Privacy Policy

1 shares