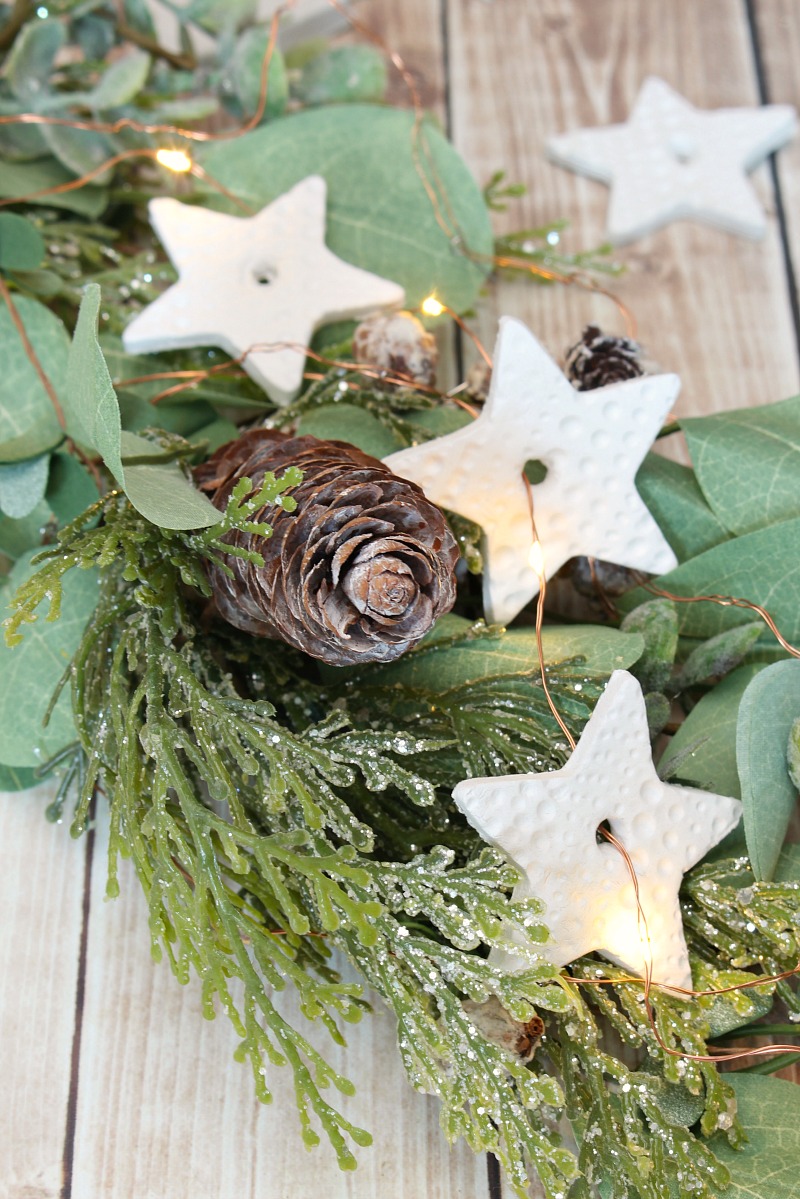
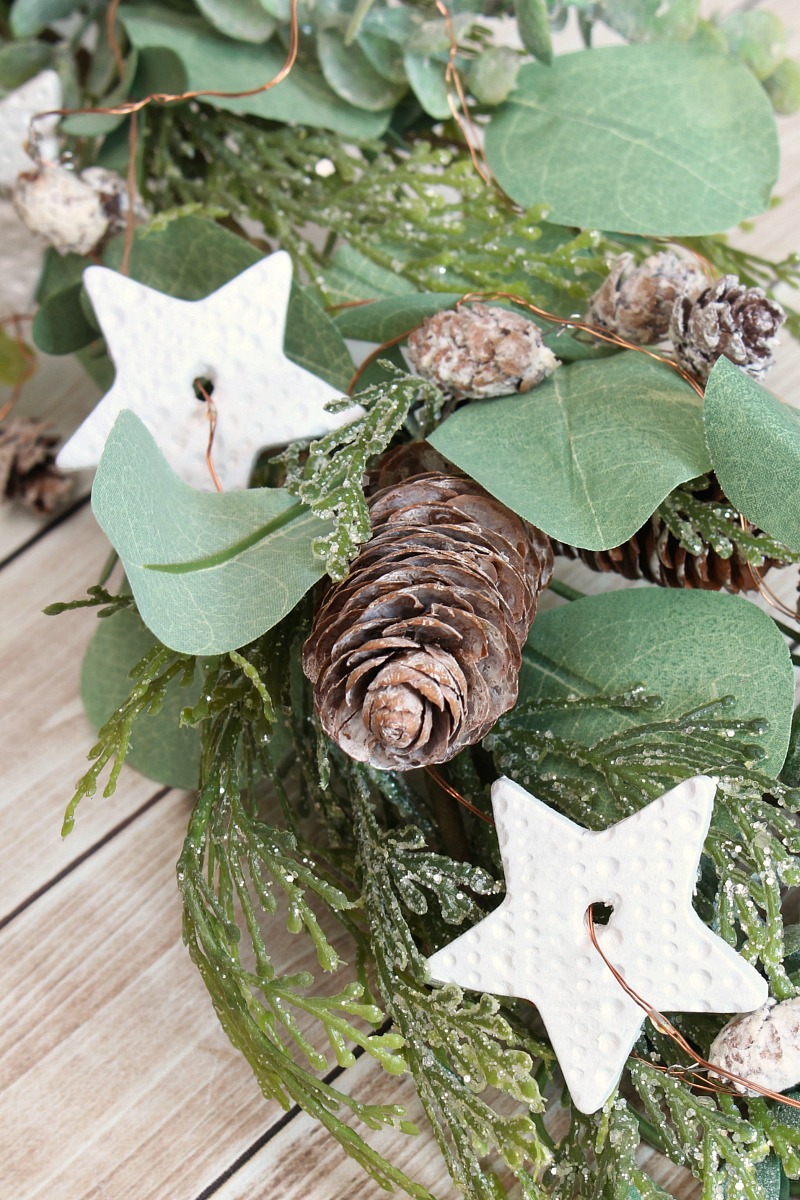
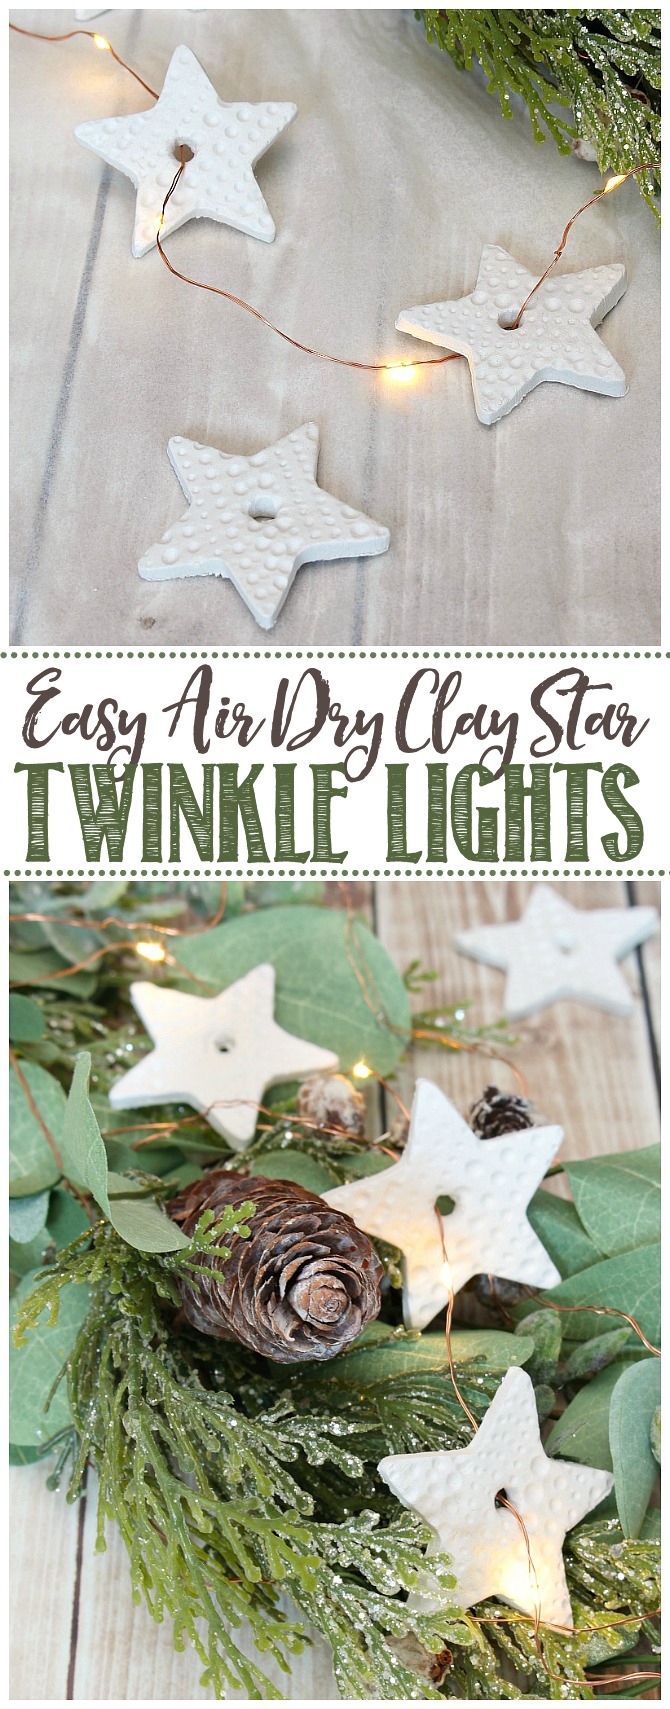
These air dry clay stars Christmas decorations add a pretty touch to any Christmas vignette. Use them with a string of twinkle lights for an extra Christmas glow.
Seasonal Simplicity Christmas Series
I can’t believe it’s time already, but today is the first week of The Happy Housie’s Seasonal Simplicity Christmas Series! Each week we’ll be sharing a variety of Christmas projects to inspire you for the season. From home decor and crafts to seasonal recipes and gift ideas – there’s something for everyone! We’re kicking things off this week with some fun Christmas DIY projects to get you started for the holidays. Be sure to check out all of the links at the end of the post.
Christmas Decor
I’m so excited to get started on our Christmas decor this year! It usually takes me at least a couple of weeks to figure out exactly what I want to do, so I like to start early. This year, I’m trying to think of some simple handmade Christmas crafts that will add a little extra touch to our regular Christmas decor. I have a few things already planned and can’t wait for them all to come together!
Air Dry Clay Star Christmas Decorations
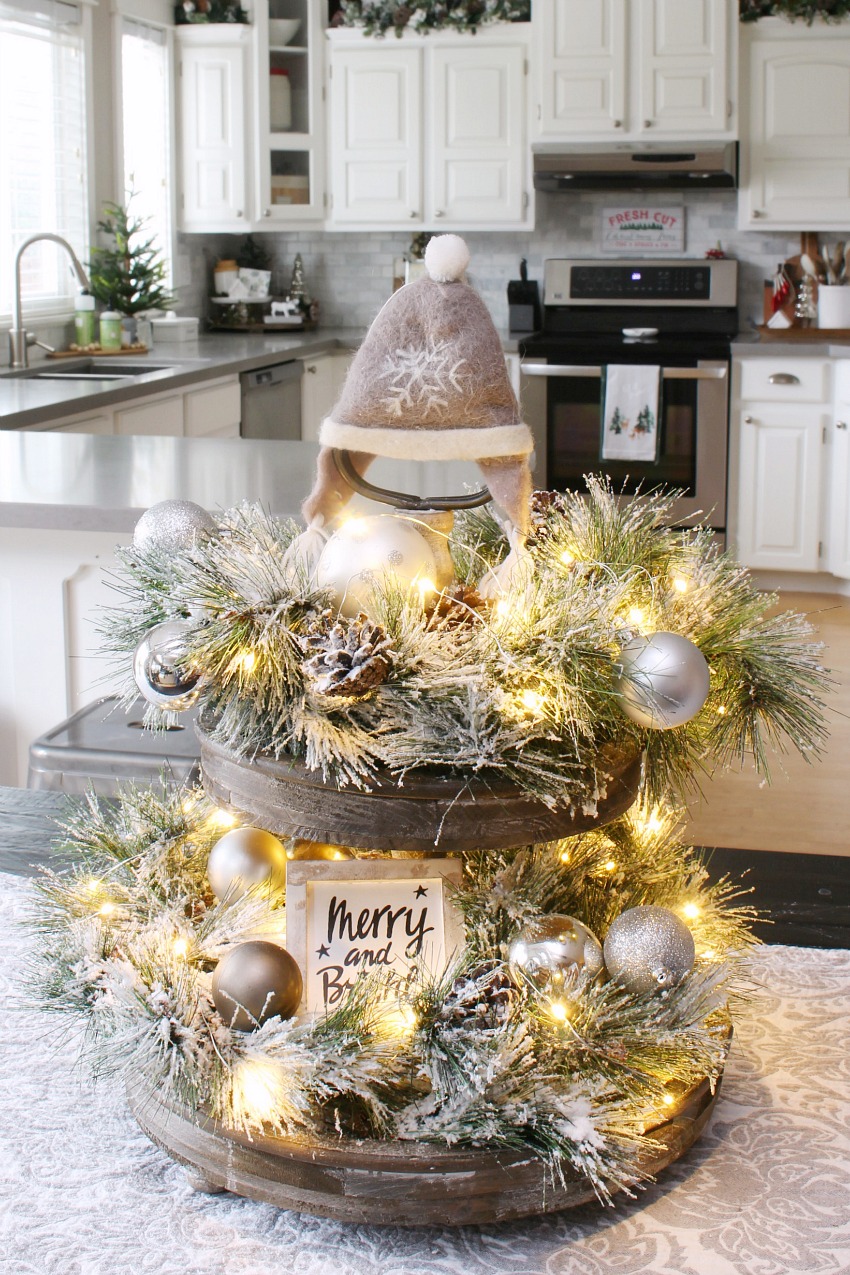
These air dry clay stars are super simple to make but can be used in so many creative ways for your Christmas decor. I’m going to show you how I used mine for a cute Christmas light display but check out some other uses for them at the end of the post.
Materials
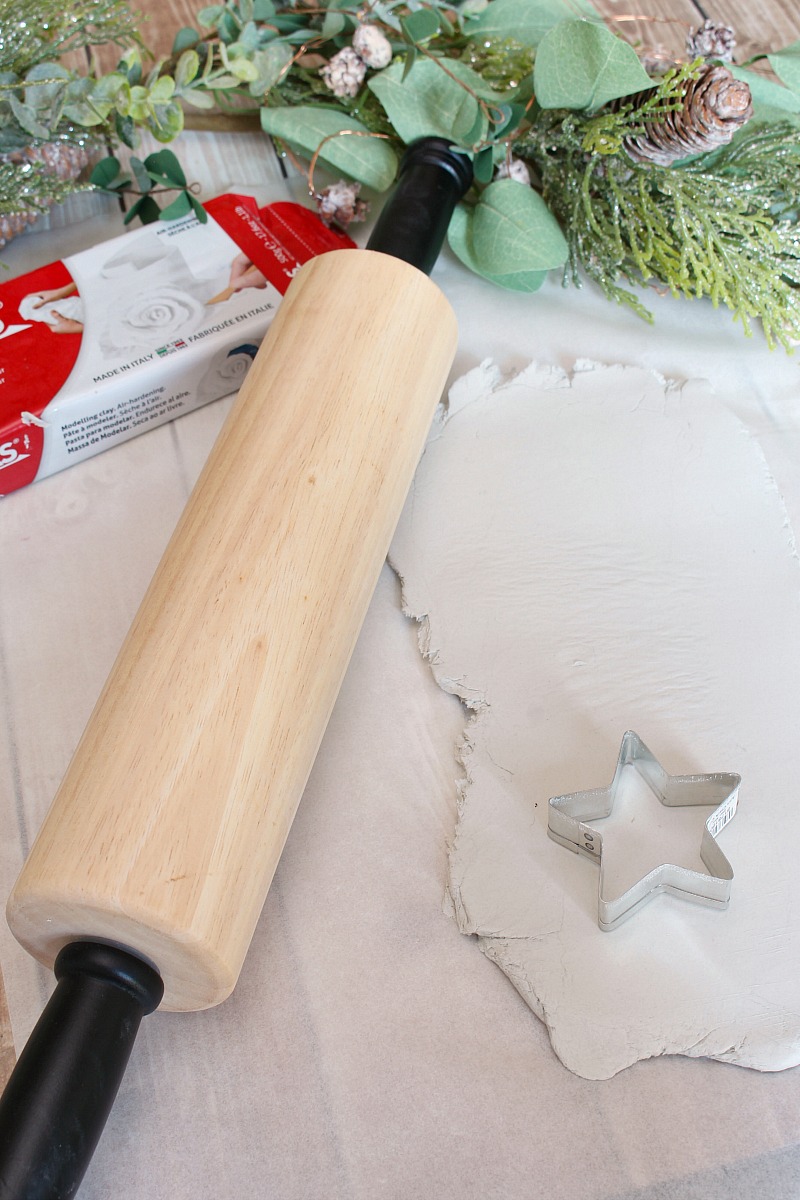
- air dry clay. I purchased my clay to keep it simple but you can always make your own DIY air dry clay if you’d like. I made 25 two inch stars from about 1 lb. of clay {although this will vary depending on how thick you make yours}.
- star cookie cutter
- rolling pin
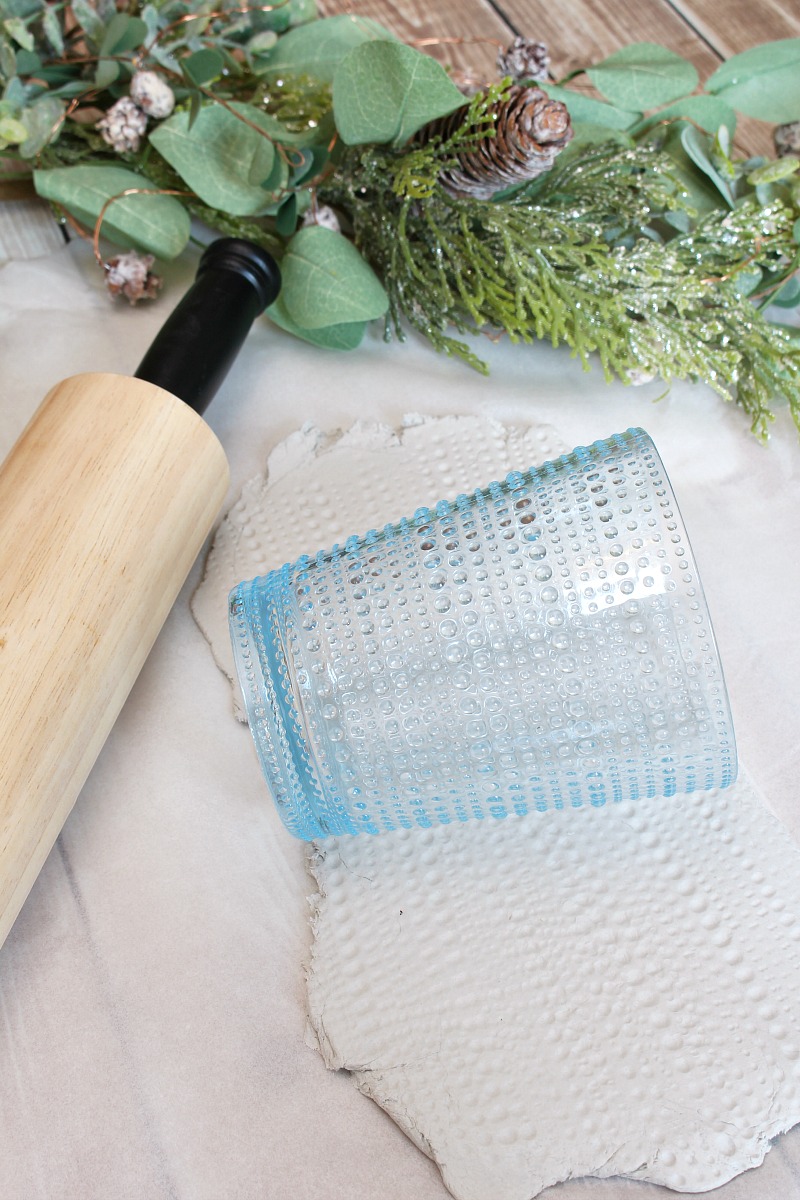
- tool to add texture {optional}. I used a plastic glass, but look around your home for cool textures and patterns. You can also find some pretty embossed rolling pins too.
- toothpick or other small tool to poke a hole
- twinkle lights
Directions
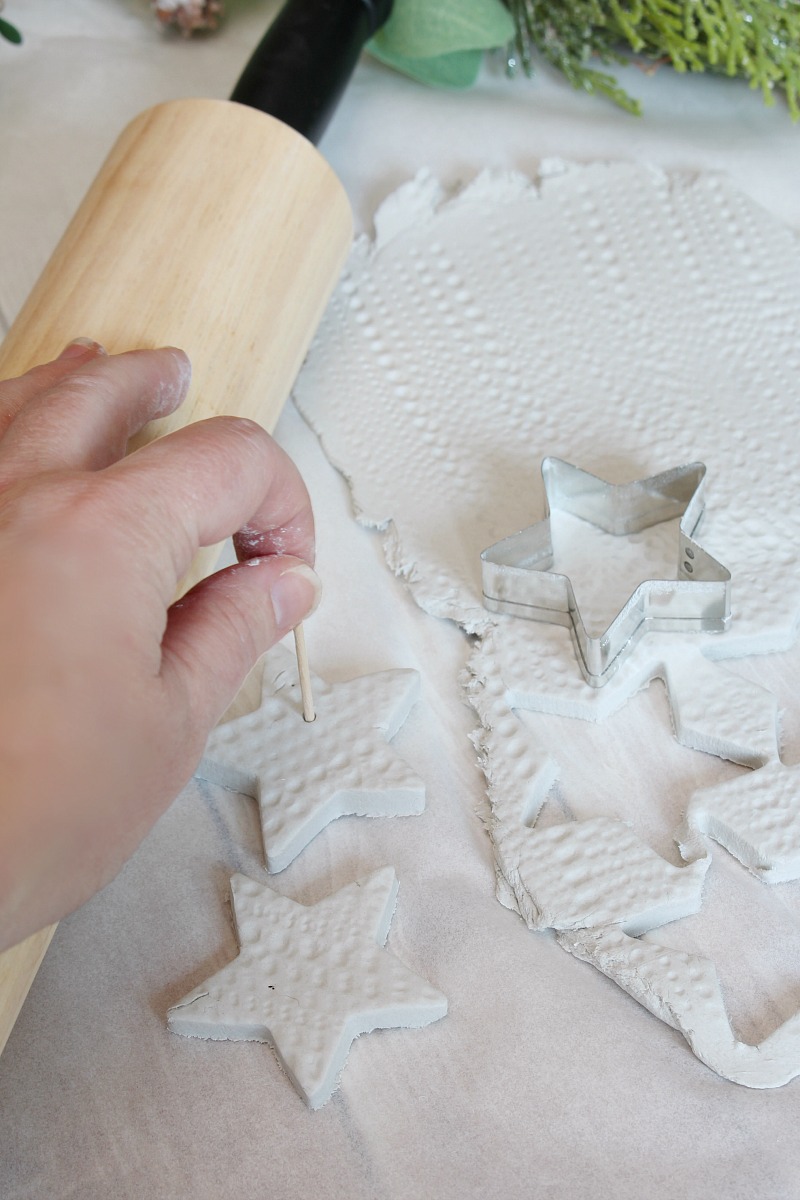
- Roll out air dry clay on parchment paper or other non-stick surface. I made mine a little less than about 1/4 inch thick. Just try to get it as uniform as possible.
- If you want to add a little more detail to your stars, roll a textured material over the clay. I used a plastic cup for mine, but you can use any design that you like.
- Using a cookie cutter, cut out your star shapes. I used the same sized stars, but you could always use multiple sizes.
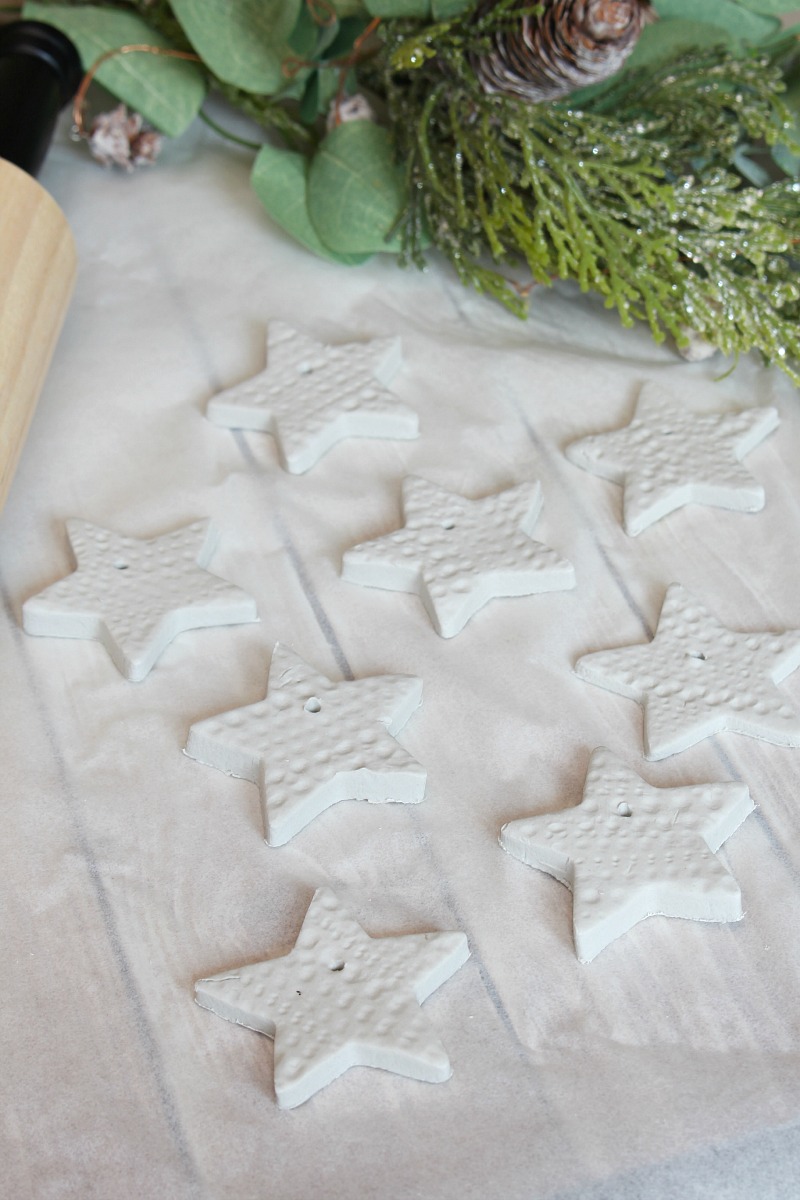
- Poke a hole in the star with a toothpick or other small circular object. I made some stars with a small hole near the top for hanging with some fishing wire. For the twinkle light stars, I punched a slightly larger hole in the middle of the star. You just need to make sure that the hole will be just big enough for the lights to fit through.
- Smooth out the clay on the back of the stars so the edges are smooth.
What can I use the air dry clay stars for?
One of the reasons that I love this project, is that there are so many different ways you can use them. Here are a few other ideas for the air dry clay stars…
- layer them on a Christmas garland
- hang them with fishing wire, baker’s twine, or ribbon
- use stamps to add a word or name for Christmas tags
- hang them with stockings for name tags
- place them in a bowl with ornaments
- decorate a wreath
- use different shapes instead of stars
These are just a few ideas. I’m sure I’ll think of more as I start decorating. Be creative and have some fun with them!
More Christmas DIY Ideas
For more Christmas DIY ideas, be sure to check out these fabulous posts by clicking on the links below. There are so many fun projects!
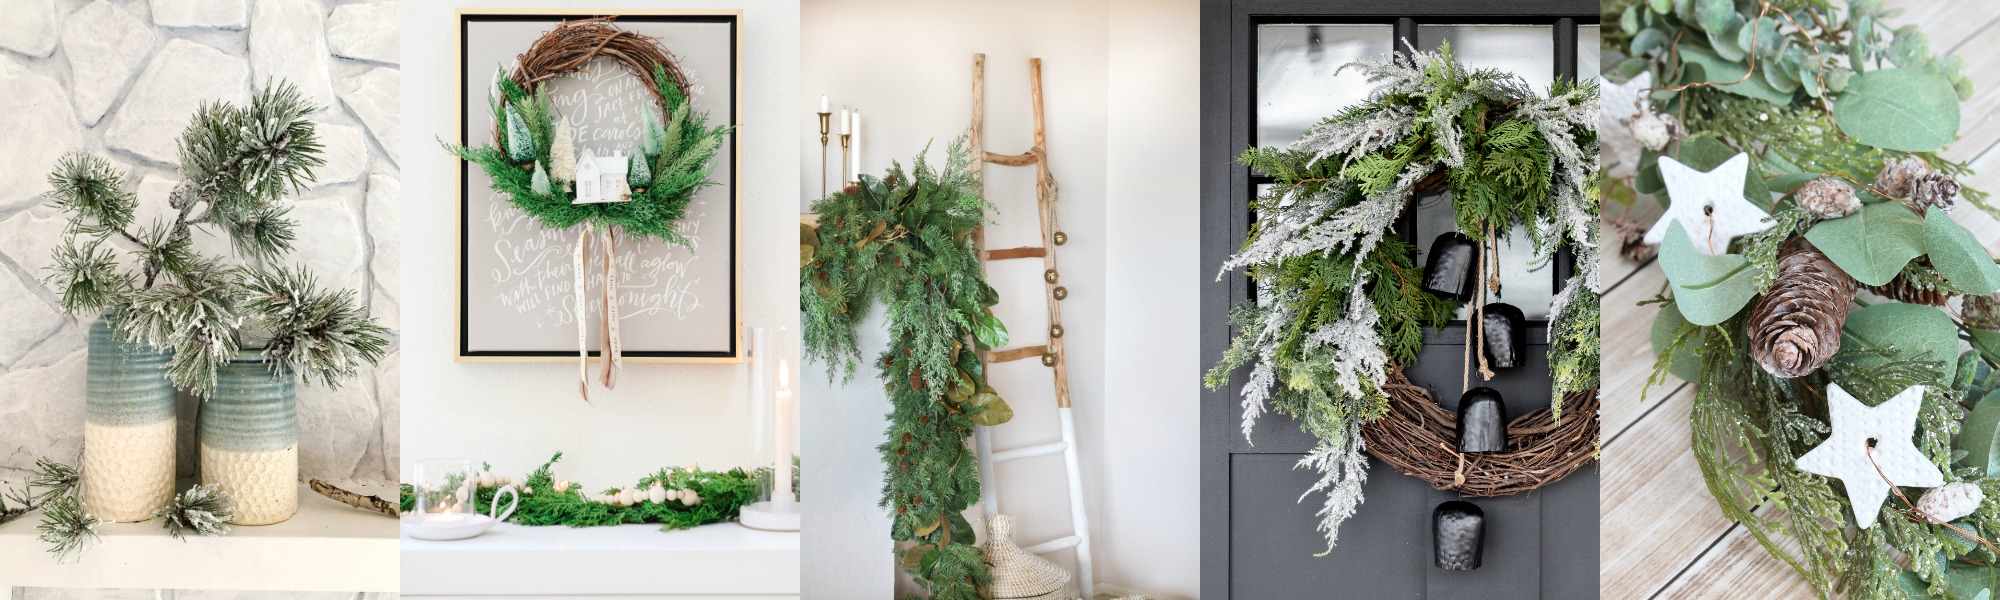
How to Flock Natural Greenery at The Happy Housie
DIY Winter Village Wreath at Modern Glam
DIY Christmas Jingle Bells Hanging Decoration at Zevy Joy
Modern Organic Christmas Wreath at Cherished Bliss
Air Dry Clay Christmas Star Lights at Clean & Scentsible
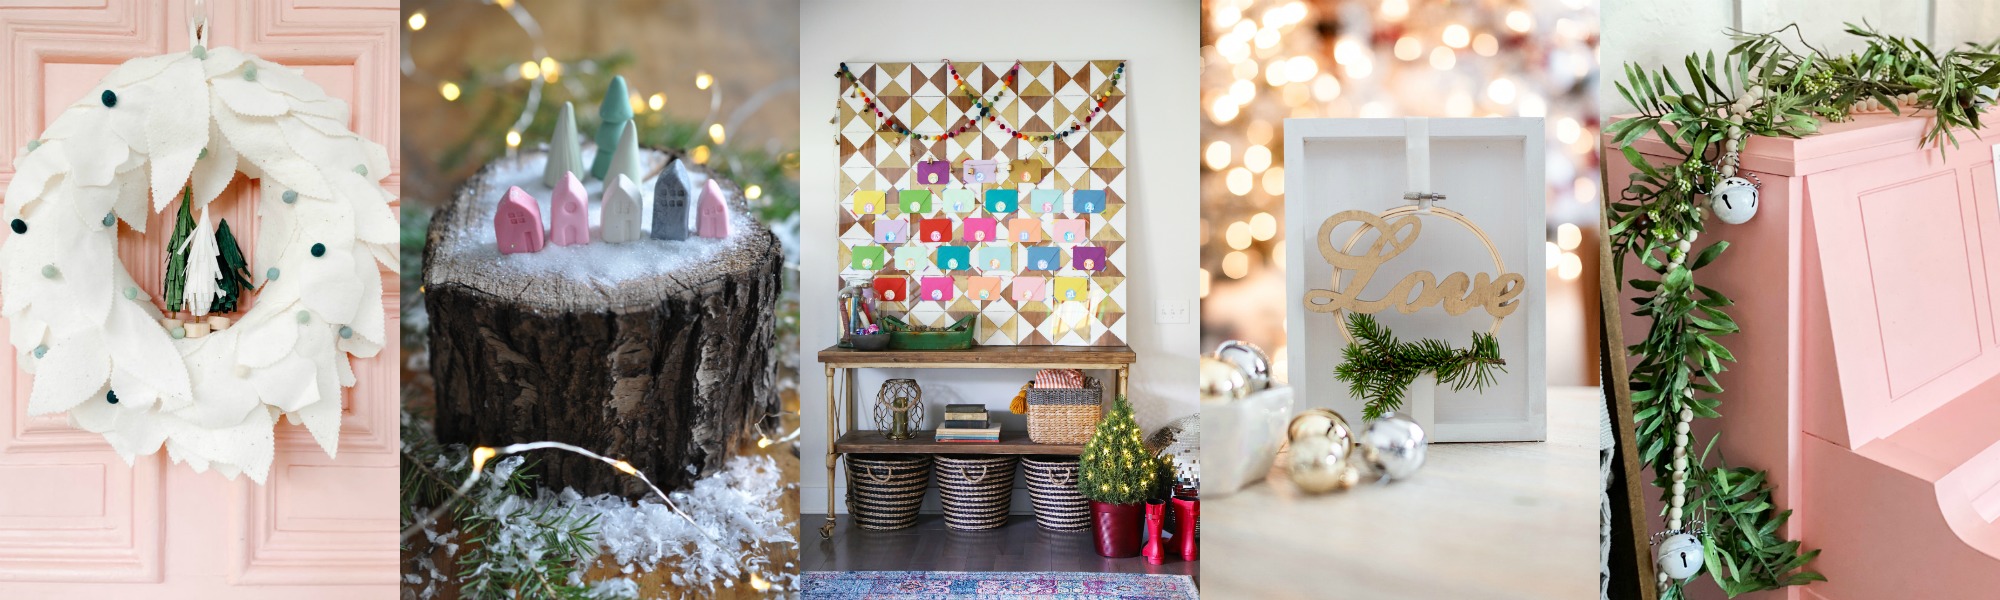
Anthropologie Inspired Holiday Felt Wreath at Tatertots and Jello
Polymer Clay Christmas Village at Life is a Party
Free Advent Calendar at The Handmade Home
Embroidery Hoop Love Sign at Craftberry Bush
Jingle Bell Wood Bead Garland at Lolly Jane

Homemade Pom Pom Garland at Sincerely, Marie Designs
DIY Dollar Tree Succulent Christmas Tree at The DIY Mommy
Christmas Advent Calendar DIY at She Gave it a Go
DIY Faux Leather Trees at My Sweet Savannah
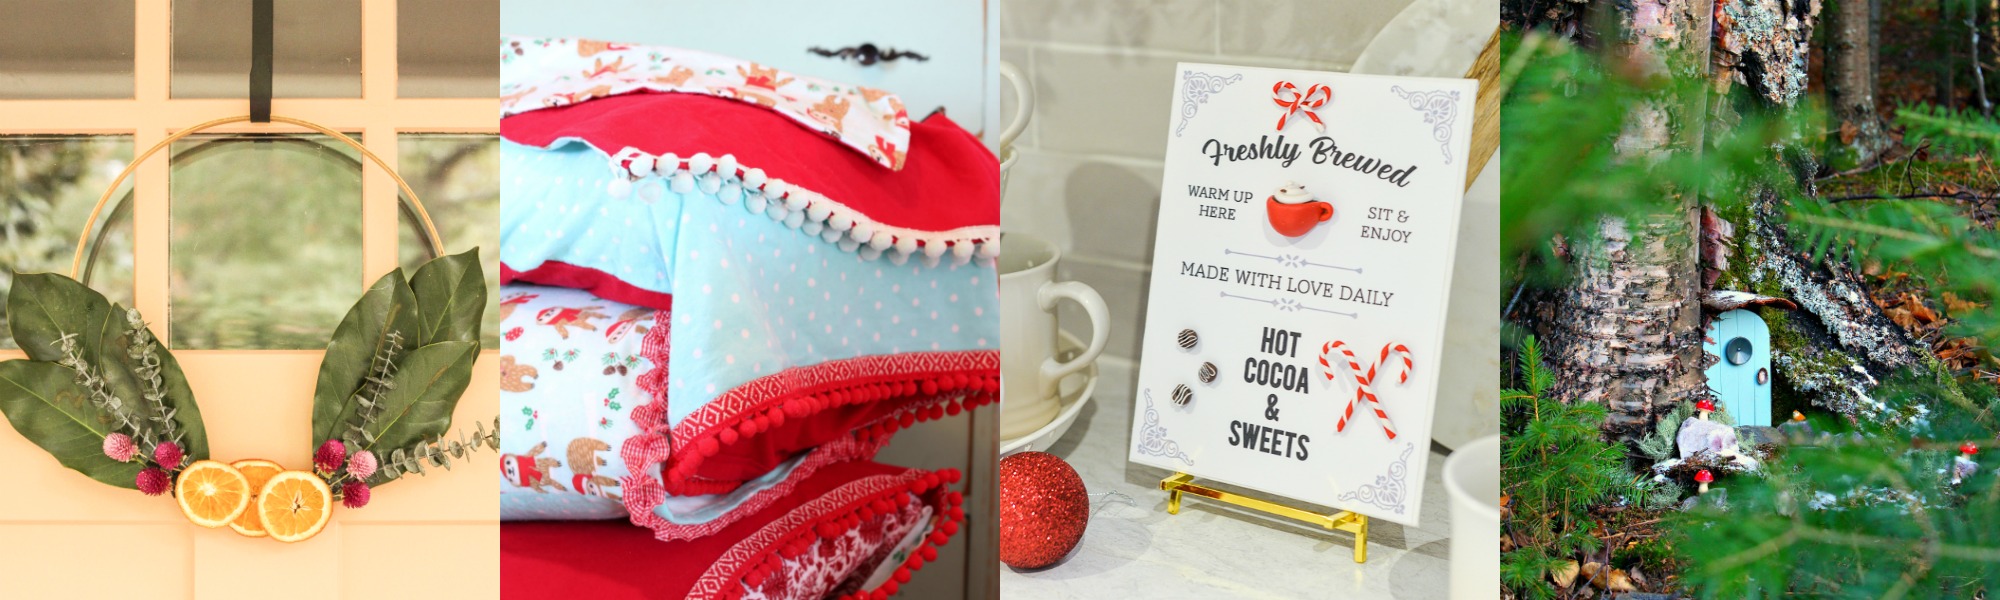
DIY Orange Hoop Wreath at Cassie Bustamante
Easy DIY Christmas Pillow Case at The Tattered Pew
3D Hot Cocoa Sign and Printable at Rambling Renovators
DIY Elf House at Dans le Lakehouse
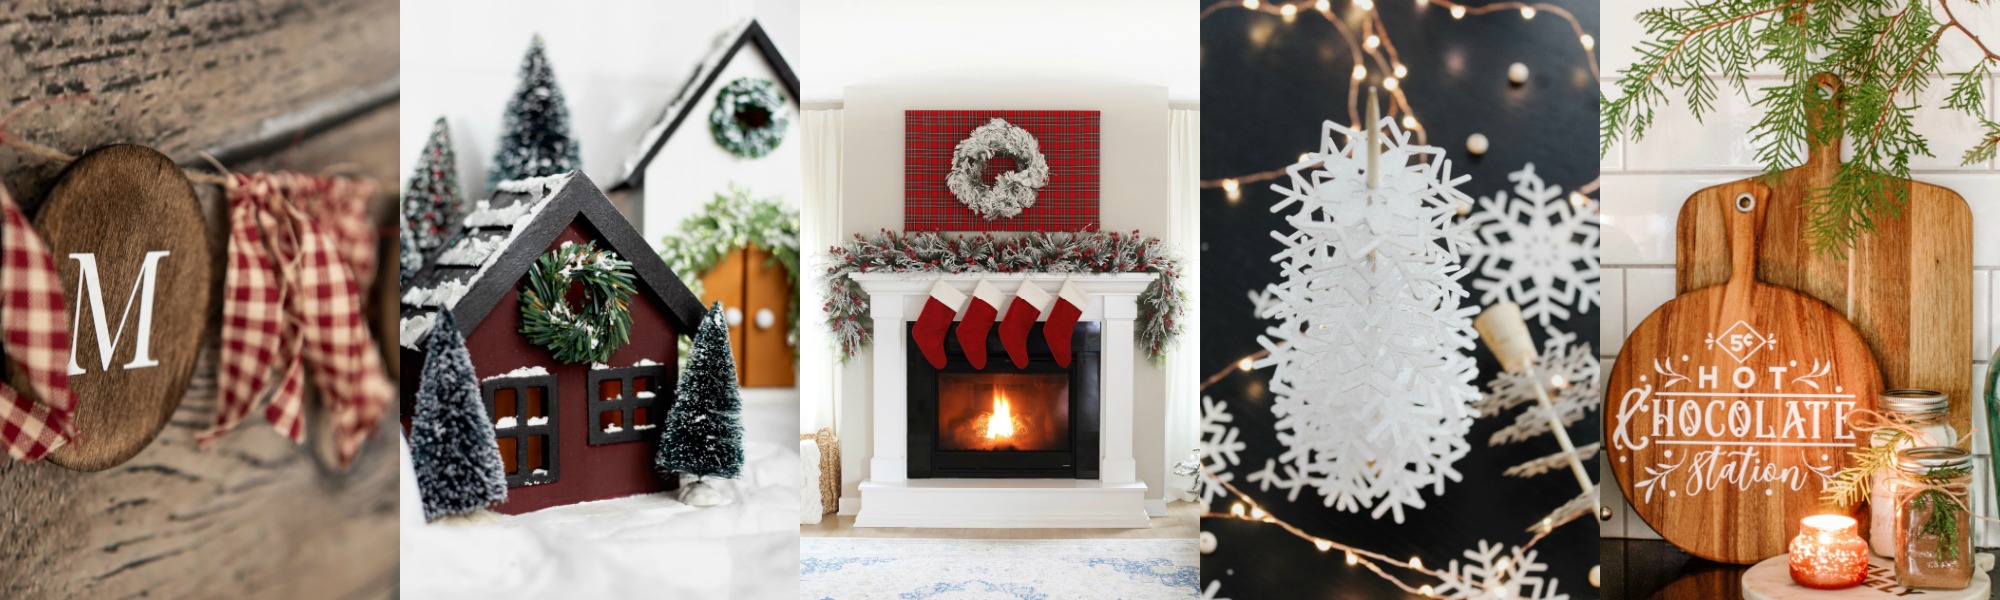
Farmhouse Style Holiday Wood Banner at Home Made Lovely
Joanna Gaines Inspired Christmas Village at Fynes Designs
Christmas Canvas at Two Twenty One
Modern Whimsical Snowflake Christmas Tree at This is Simplicite
DIY Holiday Cutting Board at Joanna Anastasia
You may also like these posts…
these turned out so pretty- love the design you added to them!
Thanks so much Cassie!
Love how you added the texture with the glass. What a great idea! Pinned
Thank-you! I love adding all the little details.
SO pretty Jenn! Love it✨
Thanks girls!!
Jenn these are so pretty and you are so creative to add the designs! Pinned!
Air dry clay is my fav, so affordable. I love the glass rolling idea for texture! awesome craft idea Jenn