
I think that it is important to have somewhere in your home to display your children’s favorite creations. Maybe you still use the refrigerator door or maybe you have created a whole wall for this. Whatever the case may be, it is a place that you can put up your child’s work, admire it, and show them that you are proud of their achievements. We have a few different spaces for this throughout our home but once this space is filled, it is filled. For new artwork to go up, old artwork must come down. Some of it is then stored away in our artwork bin but many pieces are ready to be tossed after they have had their moment of glory.
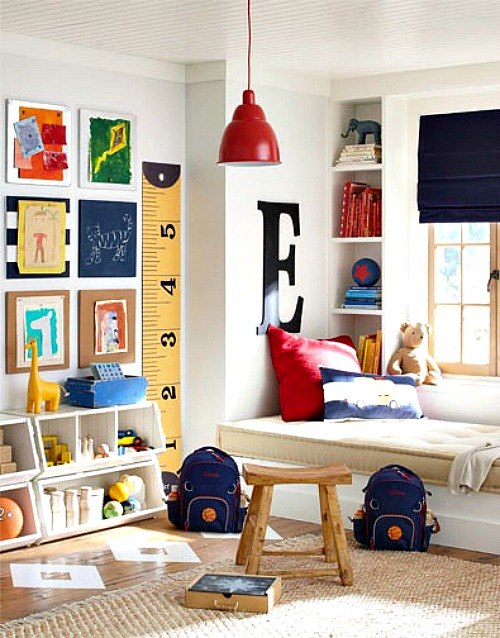
An art wall doesn’t have to be fancy or cost a lot of money to put together. You can simply use some sticky tack to temporarily attach the art to the wall for an instant colorful touch!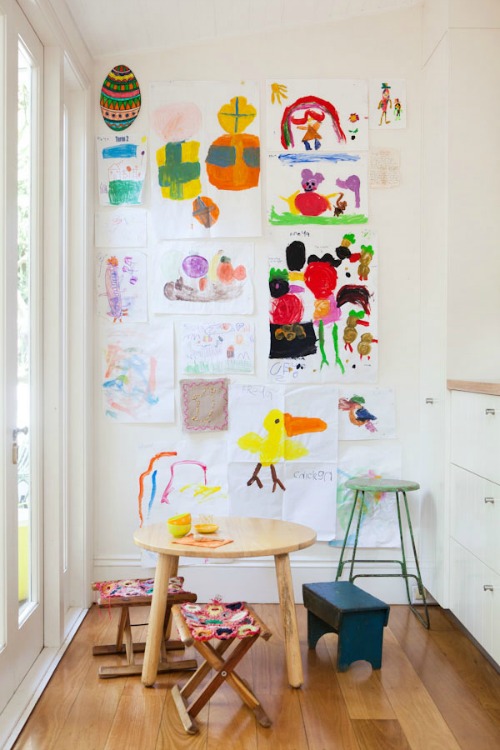
{source: Fai Blessed}
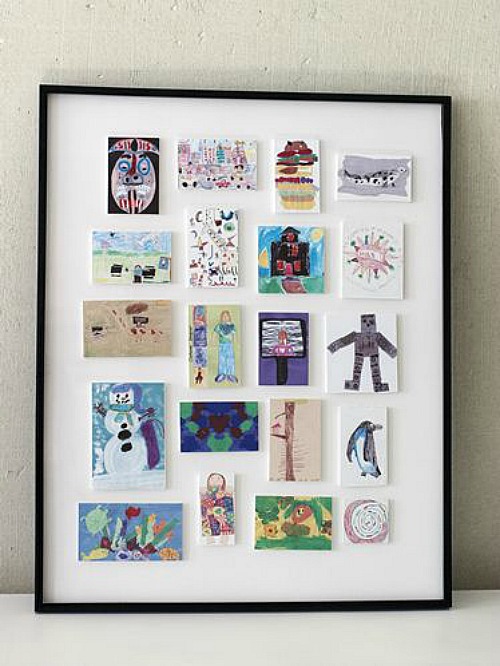
For favorite art that you would like to keep around for a longer time, try framing it with simple, inexpensive frames. An art shelf is another great way to display frames that can easily be changed around as new creations arrive!

{source: Pinterest}
If you tend to change your artwork frequently, try using wood pant hangers {these ones are from Ikea} to hang your kids’ creations for a fun look.
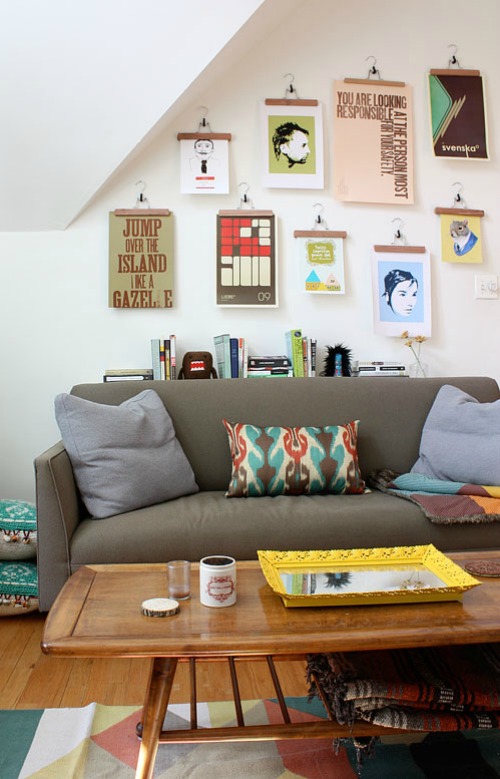
{Source: Apartment Therapy}
This easy DIY wood and wire display is another beautiful option to display and easily change up your art.
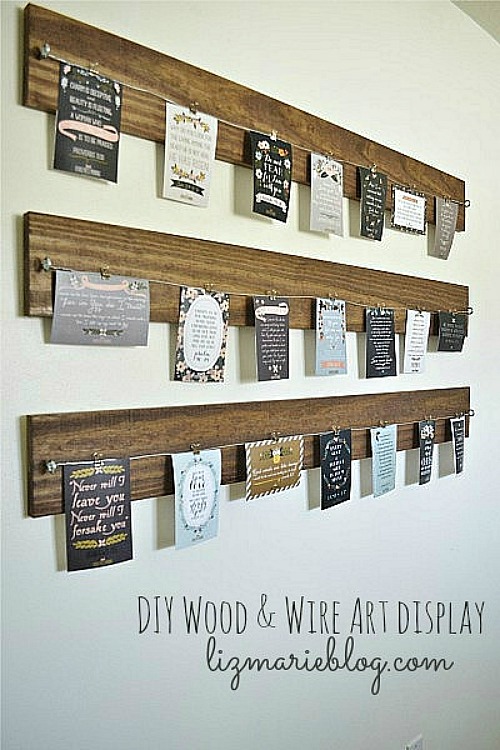
{Source: Liz Marie Blog}
Clipboards can be painted or covered in scrapbook paper to match any decor and, again, provide a quick way to change things up {and old artwork can even be kept underneath!}
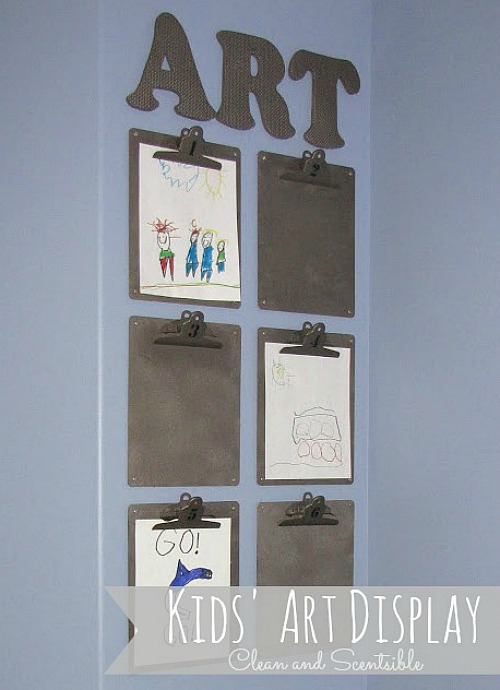
{Source: Clean and Scentsible}
Group smaller cork boards or magnetic sheets together to form an interchangeable art display. Try painting your cork boards or covering them with fabric if you are looking to add a little more color to your space.
{source: Pottery Barn}
Add some chalk paint to the wall beneath your art gallery for a more creative fun!

Or go totally digital, and use this template to create your design and then print it out as one photo. You could do this once per year and then just keep your photos from past years in the frame as well for storage.
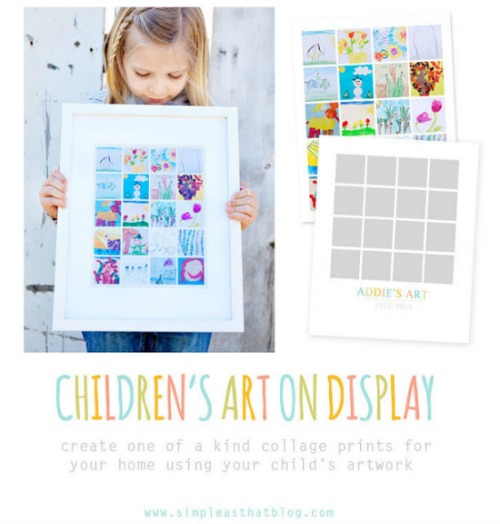
{Source: Simple As That}
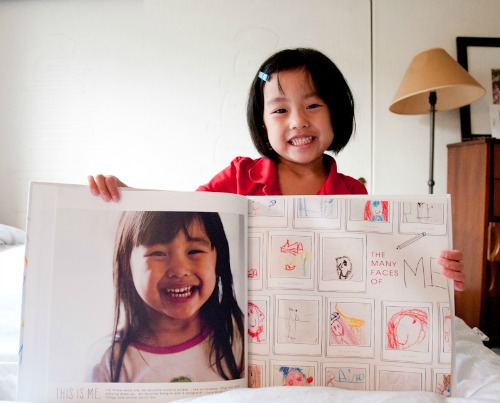
And if you have even more artwork photos, create your own coffee table book. You could combine photos of your children holding or creating their artwork and even add some descriptions of what they were making.
- For anything that you will be keeping, make sure to label who made the project, their age and/or grade, and any other information that you don’t want to forget. You may think that you will always remember but {trust me!}, it eventually all starts to blend together! Alternatively, you can take a photo of your child holding their artwork to help keep track of who made what!
- If you have a hard time throwing things away, try keeping two plastic bins: one for the current school year and one for long term keeping. I have a clear, flatter bin that I use of the current year, and a larger Rubbermaid bin that I use for the long term storage. At the end of each school year, spend some time looking back at everything in the current bin with your child and show them how much they have improved. It is a fun way for your kids to reflect back on their past school year and it is often much easier to toss some of the work once you see how much has accumulated throughout the year. Put everything that you still want to keep into the long term storage bin.
- Get your children involved in what they want to keep and what they don’t want to keep and come up with some criteria for what you will keep versus what you will throw away. Sometimes there is something that they have created that may be very special to them that does not look quite as special in your eyes. There is nothing worse than having them ask you for their favorite project two weeks later when it has already been long gong in the garbage! Learning to throw things away is also a great way to teach your kids that we do not have to keep everything to still remember.
- Go digital. Take photos of their larger artwork or 3-D creations or scan 2-D artwork. Often, my kids are much more willing to part with something once they know that I have a photo for them to look back on. Keep a separate file folder on your computer just for your children’s art so that it is easily accessible. Once they are scanned, you can use the images to create calendars, note cards, magnets – the possibilities are endless!
- Make a video! Have your child show off and explain their artwork on a short video. Keep all of the clips together in a file on your computer {and of course you could always have it made into an actual video once you have enough}. How cute would this be to look back on?
What do you think? I’d love to know some of your tips and tricks to avoid being overloaded by artwork!
Want to stay connected? You can always find me here…


Thank you so much for sharing my children’s art collage templates! 🙂 Love this roundup…I’m off to pin it! 🙂
Love this. And I totally agree about dealing with it as you go instead of putting it off and facing a mountain of it.
Love this roundup! I need to do more with my kids art–some is in an album, and just a few things up on the wall
Love these ideas! I’m working on this in my own house right now so this was perfect inspiration!
I LOVE all these ideas! This is one of those things I’ve wanted to be so organized with, but haven’t. Thank so much for sharing. Happy Monday to you!
Love all these ideas…my “kids” are 30 and 32 but I still have framed artwork they did when they were in elementary school. In fact I just presented my daughter a framed “etching” she did that is in the perfect colors for her law office…fun for her, fun for me. In my school, I have ready made mats (without glass) leaned against the wall to easily change out great looking art that my students do!
Great collection! Stop by my Friday’s Five Features and link up this post (and others)! http://diy-vintage-chic.blogspot.com/2013/08/fridays-five-features-no-3.html
Beautiful ideas! I’d love it if you’d link up to The DIY’ers! http://homecomingmn.blogspot.com/2013/08/the-diyers-and-weekend.html
Great ideas I can’t wait to make a wall like this in our home! Thanks for all the inspiration!
Nice post, like it.I want to start a page as your ans recently I asked a web design company ELCO PLANET (www.elcoplanet.com) to develope the page for me.. I was just interested for web hosting..I can see your blog , can you please advice me about web hosting provider.. have you ever heard for http://www.elcoplanet.com offering hosting, alpha reseller hosting… ? thanks a lot
I love all these ideas! Thanks so much for putting it together, Jenn!
I encountered this same problem a few years ago, please check out my post
http://keepinkreative.blogspot.com/2011/11/displaying-kids-artwork.html
I have expanded my supersize clothespin collection and love the 3M command strips, no need for nail holes.
I love those hangers, but I may need to think about doing making some of those mini art prints this year! They come home from school with SO much art! Thanks for all the great ideas Jenn!