{NOTE: I did up a separate post on the Top Organization projects so these have been omitted here}
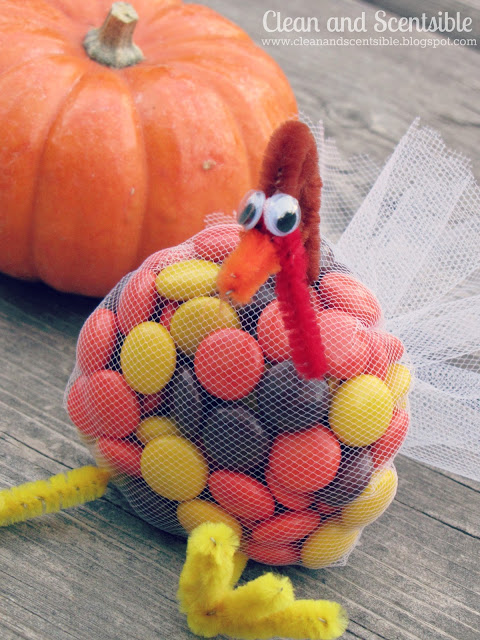
No. 12 – Turkey Treats
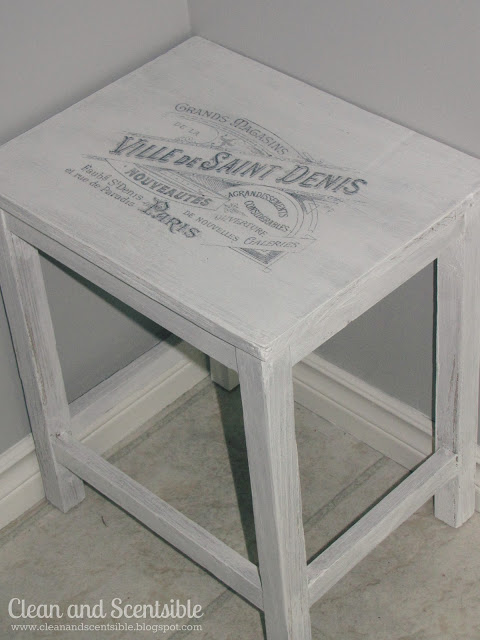
No. 11 – Easy Wax Paper Transfer
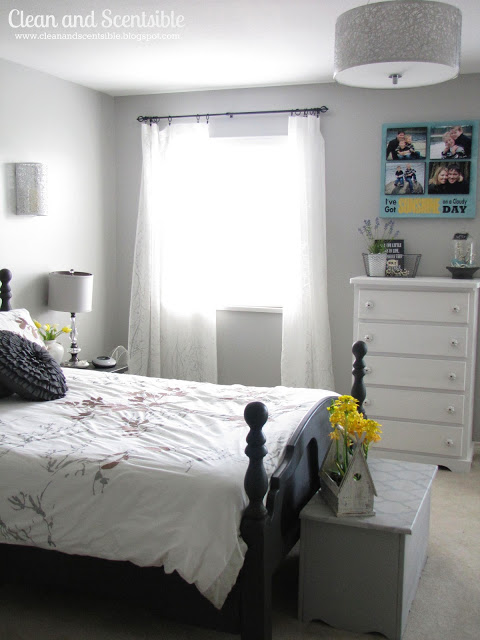
No. 10 – Master Bedroom Makeover
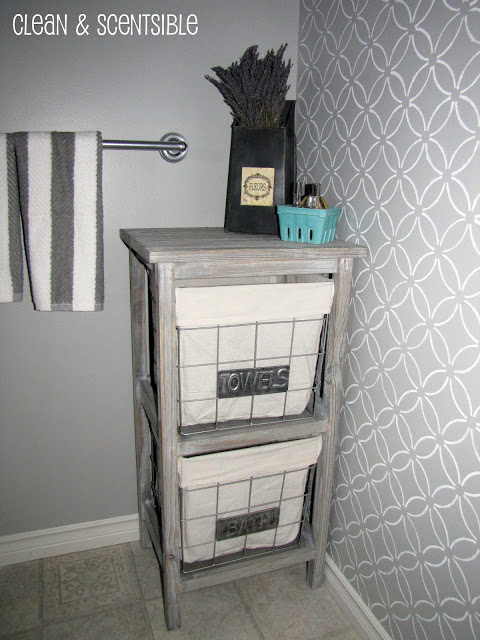
No. 9 – Stenciled Bathroom Wall
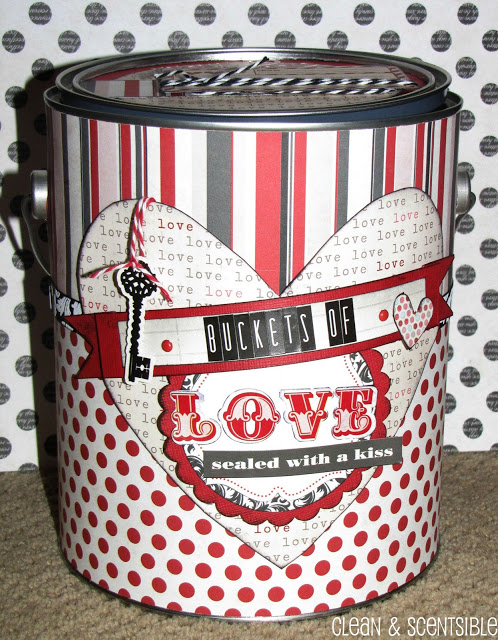
No. 8 – Buckets of Love
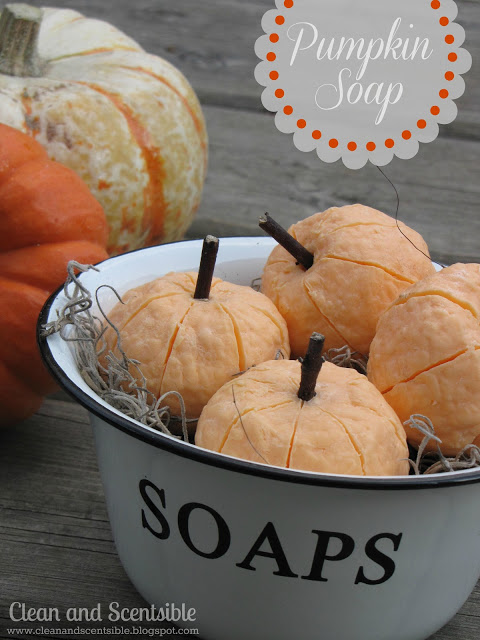
No. 7 – Pumpkin Soap
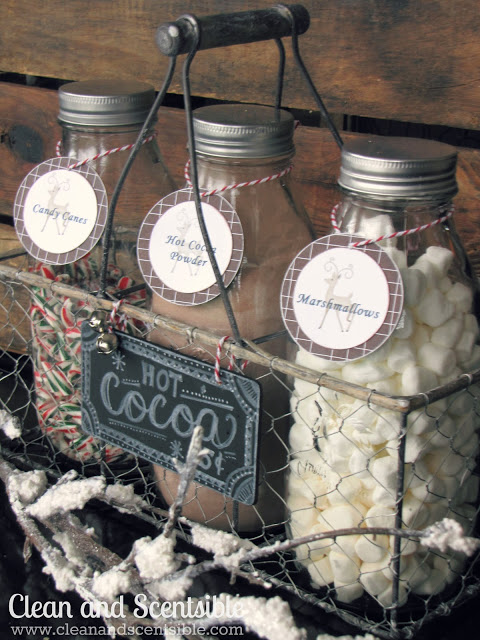
No. 6 – Candy Cane Hot Cocoa Bar
No. 5 – Rain Gutter Bookshelves
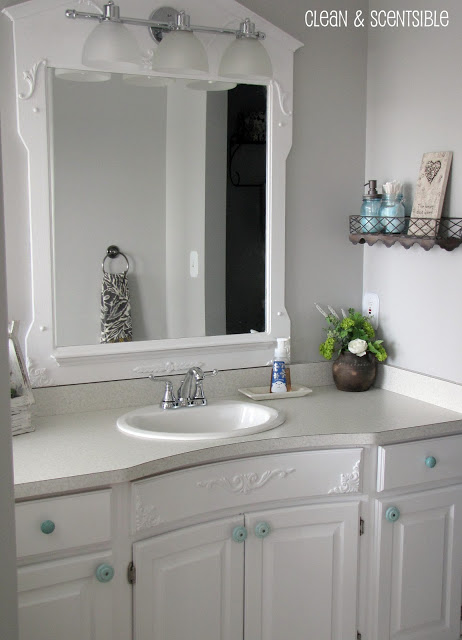
No. 4 – Master Bathroom Makeover
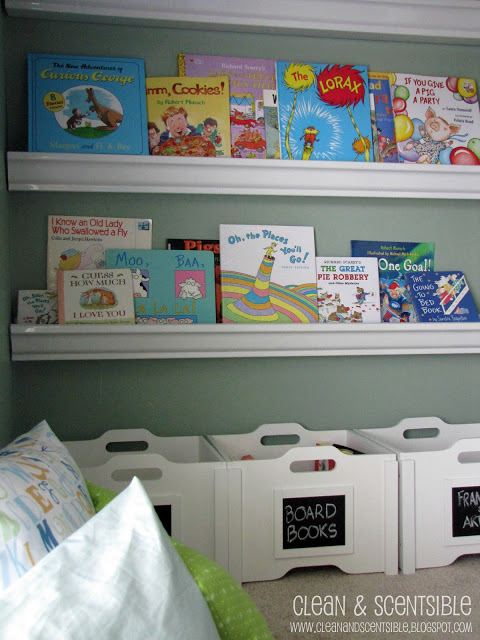
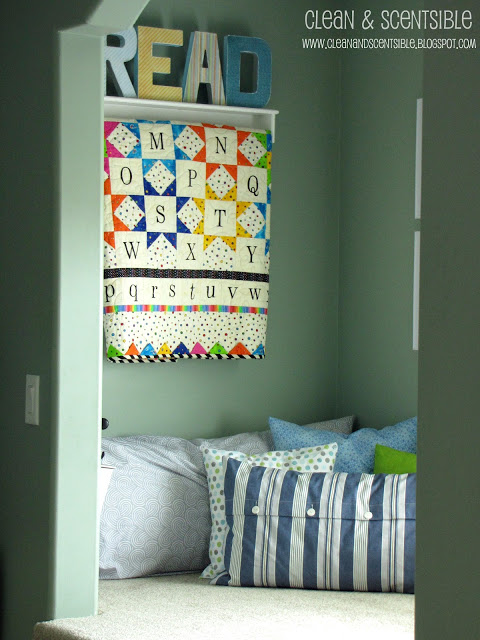
No. 3 – Our Reading Nook
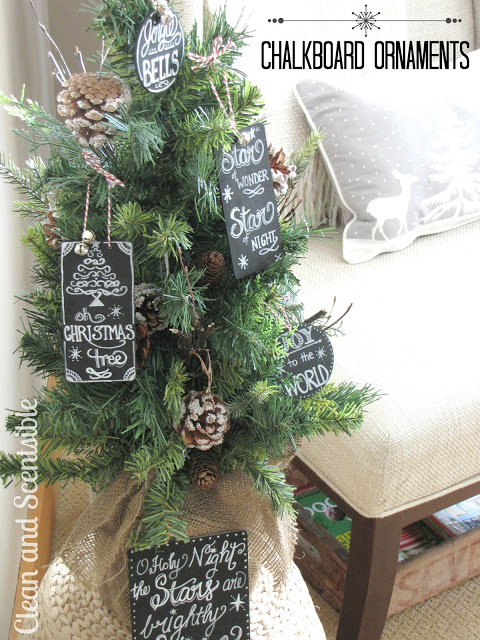
No. 2 – Chalkboard Art Ornaments
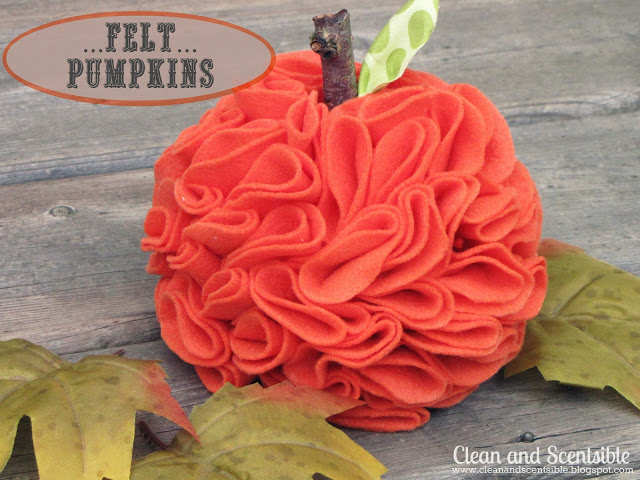
And the most commented post of 2013 was…
No. 1 – Felt Pumpkins
Thank-you SO MUCH to all of you that support this blog, take the time to comment, and keep me inspired to create more! This has definitely been an exciting journey for me and I look forward to a fabulous 2013 with you!!
I linked up with Uncommon, Whipperberry, A Bowl Full of Lemons, Home Stories A to Z, Today’s Creative Blog, I Heart Naptime, Be Different Act Normal, Cheerios and Lattes, Tatertots and Jello, Design, Dining, and Diapers, Tidy Mom, The Frugal Girls, Delightful Order, Live Laugh Rowe, The Shabby Creek Cottage, Stone Gable, Not Just a Housewife, The 36th Avenue, Savvy Southern Style, My Uncommon Slice of Suburbia, Craft-O-Maniac, Under the Table and Dreaming, Alderberry Hill, Project Inspire, Funky Junk and Be Different Act Normal.

Oh, you had so many great posts! I love this recap. I missed the turkeys they are super cute. Happy New Year!!
Karen
Love them all you sweet talented friend! Wishing you the best in the new year!
Take care,
Trish
Lots of fun projects! Loved the organizational ones, too. Looking forward to 2013.
Happy New Year!
Great projects in your 2012 favorites. Especially loved the reading nook and the chalkboard ornaments. Visiting from The Girl Creative. Happy New Year.
Joy
It was a great 2012! Love all the projects….but the felt pumpkins are my favorite!
Happy happy New Year to you and I hope you had a wonderful Christmas!
blessings,
karianne
Great projects. I’d love you to come link this up at my Pin Me Linky Party.
You had some great projects in 2012! Love the bathroom make over & the chalkboard ornaments!
Beautiful projects!
Wow! These are some fabulous projects and great pics too. I’d love to have you link this us to Titus 2 Tuesday this week on Cornerstone Confessions.. I hope to see you there.
Kathy

You have so many beautiful projects from this year! I still love your felt pumpkins and the wax paper transfer table is beautiful. Here’s to another year and more beautiful projects 🙂
That stenciled wall is amazing!