Well, I have decided to divide my 2011 “Top 10” lists into two posts this year – one for organization projects and one for crafts and other projects. 2011 was a good organization year for me. Although I didn’t complete everything that I was hoping to {my nasty garage pops into mind!}, I am happy to say that everything that I did organize has actually remained that way! It really does pay to purge!!
So, here are my favorite Top 10 organization projects of the year {in no particular order!}:
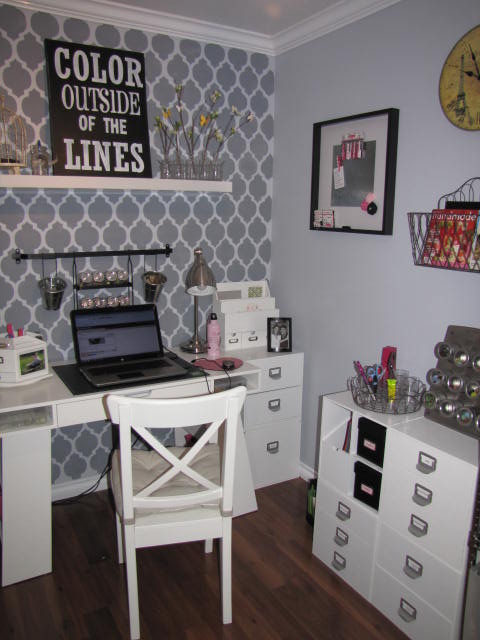
1.My craft room. This was actually the project that started my whole organization craze and is probably my favorite room in the house.
2. The laundry room. Although it is still organized, there is still usually at least one pile of clothes on the counter. {Oh, how I hate putting away laundry!}

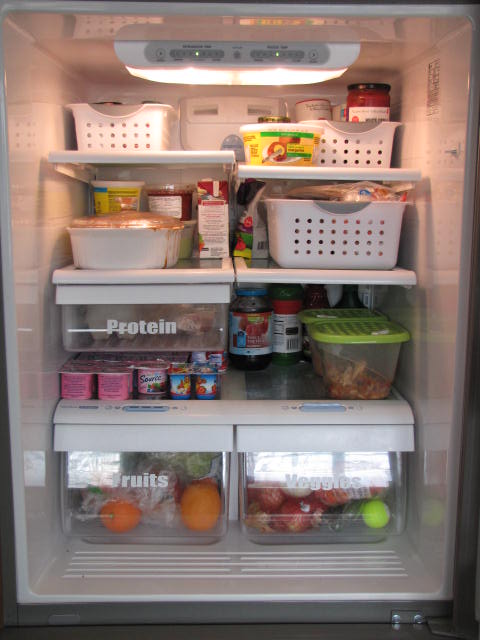
3. The fridge was another one of my favorite projects. This one does require a little upkeep but I really do like having the bins and I love the vinyl!
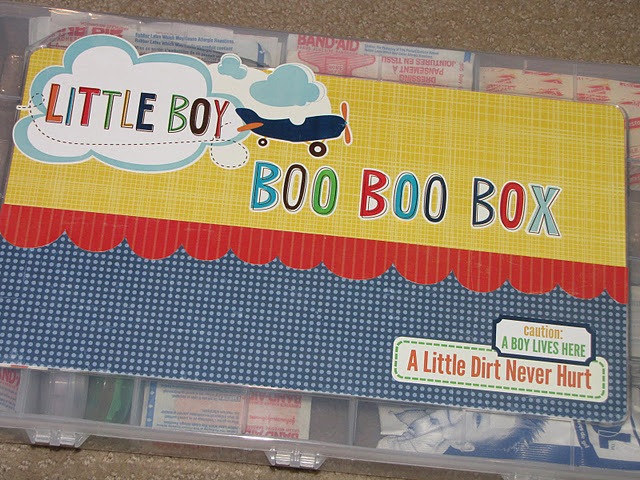
4. If you have kids, I am sure you have a ton of first aid gear lying around the house. Our boo boo box is a great way to organize everything and it is easily portable.
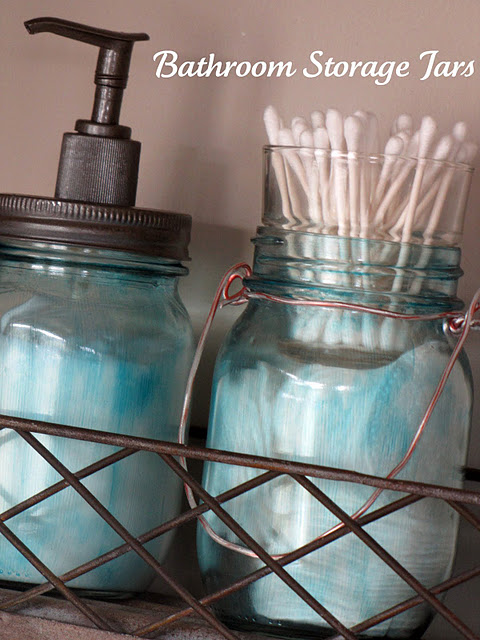
5. Make some cute {and functional!} bathroom storage jars.
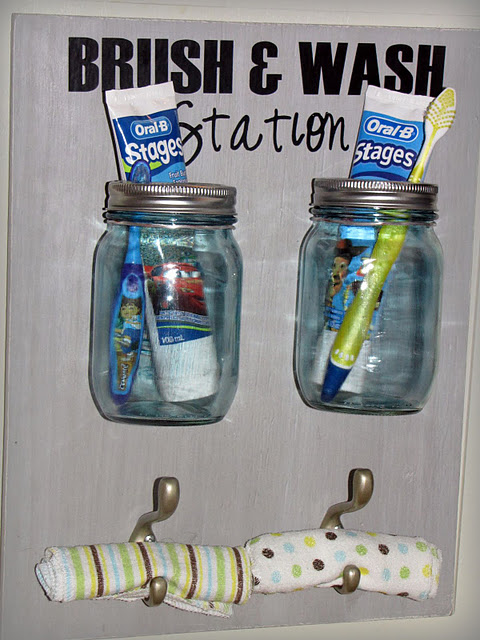
6. And to organize those kids in the bathroom, make them their own Brush and Wash station. {This has actually worked amazing well!}
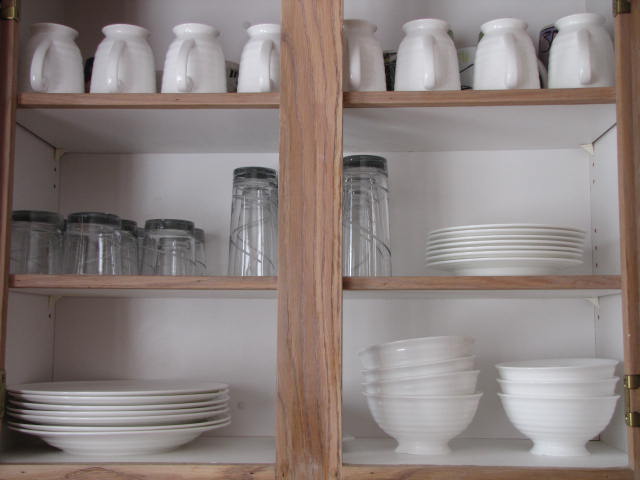
7. Organizing the kitchen cabinets was one of my biggest purging areas. I have not missed one thing that I gave away and the cabinets have actually stayed organized with very minimal effort.
8. Organize all of those photos with a fast and easy way to scrapbook.

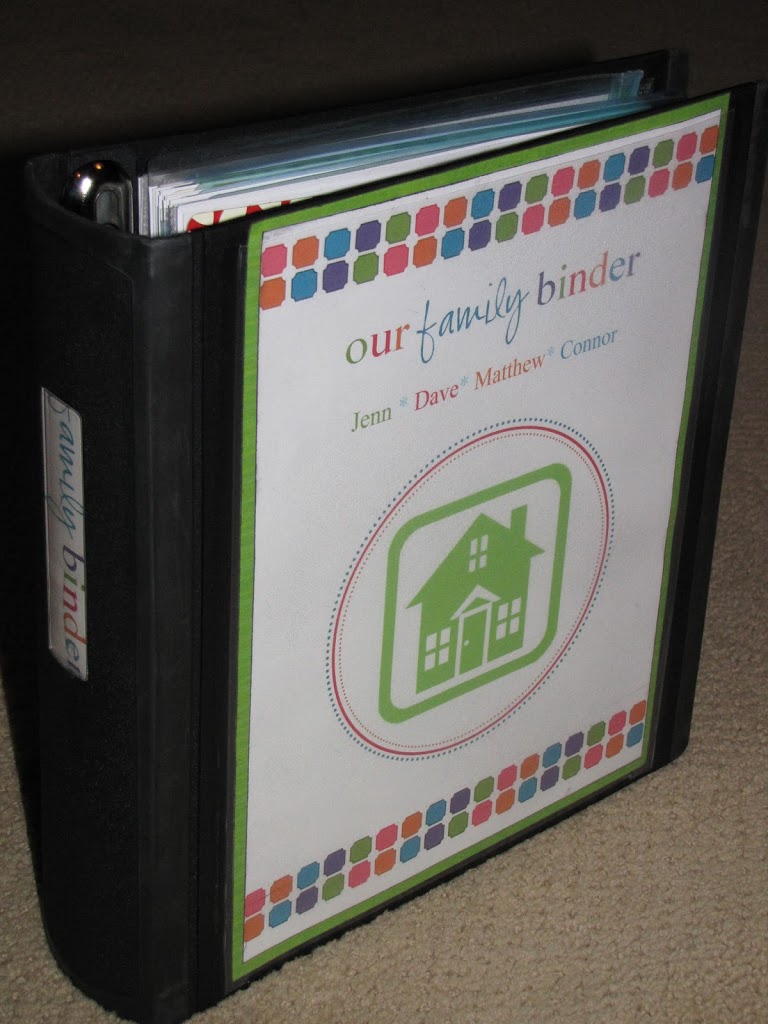
10. And by far the most viewed organization post {with almost 40,000 page views mostly courtesy of Pinterest!} is our family binder.
Well, hopefully that gives you some organization ideas! Organizing can sometimes be a daunting task so break it down into small, manageable projects. If something is well organized {and you really have gotten rid of those extra items that you don’t need!} it really does not take much effort to maintain. I’m excited to keep working my way through the house in the year to come. And who knows? Maybe I will even tackle that garage!
Happy organizing!!!
I linked up with House of Hepworths, Southern Lovely, Skip To My Lou, 30 Handmade Days, Oopsie Daisy, Blue Cricket Design, Home Stories A to Z, Tip Junkie, A Bowl Full of Lemons, My Uncommon Slice of Suburbia, Today’s Creative Blog, Uncommon, Thrifty Decor Chick, Sumo’s Sweet Stuff, Craft-O-Maniac, CRAFT, My Crazy Beautiful Life, Passionately Perfect, Positively Splendid, I Heart Naptime, Be Different Act Normal, Lolly Jane, Young and Crafty, Too Much Time on my Hands, Junk in Their Trunk, Tatertots and Jello, Organizing Junkie, Whipperberry, Tidy Mom, The Shabby Nest, Fingerprints on the Fridge, The 36th Avenue, Delightful Order, The CSI Project, Chic on a Shoestring, The Shabby Creek Cottage, Crafty Scrappy Happy, Gluesticks and Somewhat Simple.
I linked up with House of Hepworths, Southern Lovely, Skip To My Lou, 30 Handmade Days, Oopsie Daisy, Blue Cricket Design, Home Stories A to Z, Tip Junkie, A Bowl Full of Lemons, My Uncommon Slice of Suburbia, Today’s Creative Blog, Uncommon, Thrifty Decor Chick, Sumo’s Sweet Stuff, Craft-O-Maniac, CRAFT, My Crazy Beautiful Life, Passionately Perfect, Positively Splendid, I Heart Naptime, Be Different Act Normal, Lolly Jane, Young and Crafty, Too Much Time on my Hands, Junk in Their Trunk, Tatertots and Jello, Organizing Junkie, Whipperberry, Tidy Mom, The Shabby Nest, Fingerprints on the Fridge, The 36th Avenue, Delightful Order, The CSI Project, Chic on a Shoestring, The Shabby Creek Cottage, Crafty Scrappy Happy, Gluesticks and Somewhat Simple.

I love all your organisation posts Jenn… thanks for the yearly review. I feel so inspired now that I may just tackle my own fridge.
Happy New Year.
Hi Jenn, I loved your Top 10 list! I’m inspired to do some decluttering now too! I like the bins in the fridge and your work space is awesome! I’d like to invite you to share your Top 10 at my party…going on now! http://theshadyporch.blogspot.com/2011/12/rock-n-share-9.html
oh wow! LOVE that craft room!!!
–Katie
http://www.blah2beautiful.blogspot.com
Creatively Living
I LOVE your craft room!!
Feel free to link up to my 2011 Year-in-Review party here: http://theterpblog.blogspot.com/2011/12/2011-looking-back.html
Thanks!
Great ideas! Boy, do I love organization! Happy New Year!
Karah @ thespacebetweenblog
Love this post and just started following you!
Wow! So many great ideas!! I’m in love with your laundry room and the “brush and wash” station is genius!! Thank you so much for sharing 🙂
Beautiful! I love your craft room! I would love for you to come link up today over at Passionatleyperfect.com
I love your organization ideas… and love the stencil in your craft room (I just ordered that one!). Found you on The Shabby Creek Cottage… I noticed that you are from Vancouver too! I live in Vancouver with my husband, daughter and son. I started my blog 4 months ago and have been enjoying the creative outlet!! Now following you. 🙂
Kathryn @ http://www.uglyducklingtransformations.wordpress.com
Love your craft room and I can say you organized way more than I did this year!
PS. Putting away laundry is one of the worst chores ever! If the hubby would allow it I swear I would pay someone to do that for me!
Love all these ideas! Especially the laundry room ideas I am so doing that!
You are one organized gal! Love your craft room stencil wall! Wishing you a fabulous New Year!
Kelly
Love your craft room, your laundry room, your entry way, your kitchen cabinets, EVERYTHING! Would love love love for you to share this at my best of 2011 party going on now http://space46.blogspot.com/2011/12/best-of-2011-made-up-loved-linky-party.html. Happy new year! My
So jealous of that craft room!!!! It’s awesome!!!
Lots of great ideas! Loving your craft room!
Wow I love it all!! Love the stenciled craft room…awesome!! I would love for you to come share this at our link party…junkintheirtrunk.blogspot.com/2011/12/link-it-up-wednesday-9.html
Very inspiring! Just became a follower, and I LOVE what I see! blog.customexcelspreadsheets.com
I am in love with your craft room! The colors are great & thats a really cool desk!
I can hardly choose a favorite! The brush and wash station is A-Dorable, but that craft room is amazing too! I would love for you to link up at my party today:)
http://kim-toomuchtimeonmyhands.blogspot.com/2011/12/get-schooled-saturday-4.html
Sharing this awesomeness on COM-FB. winks, jen
All of these posts are great. I hope that you wills tare them at my link party, Some Good Stuff: http://some-good-times.blogspot.com/2012/01/some-good-stuff-1.html
Megan
I love your craft room. The walls are very nice.
All your projects are so great – It is hard to pick a favorite! I love your craft room and your boo boo box – so cute!
Amanda
everycreativeendeavor.com
I’d never considered organising my fridge but you’ve got my thinking about getting some baskets!
Karen x
I love organizing :). you should come over and link this to my Wednesday Pinterest party tomorrow. It’s perfect….lots of pin worthy ideas here. I am starting a series on organizing small spaces this month-starting with our pantry. I didn’t consider the fridge, but I might after seeing this.
Oh man! I want your craft room. I mean, I really want it! 🙂 I have those same white organization tubs… now if I could just get as organized as you! Well done my friend. Thank you so much for linking up to Oopsey Daisy! XOXO
I love all your organizing ideas and I adore your craft room. Who wouldn’t love to create in there. I host a home decor and organizing link party every wednesday and would love for you to join if you get the chance. http://organizeyourstuffnow.com/wordpress/?p=26529
You were featured this week at Get Schooled Saturday @ Too Much Time On My Hands!
http://kim-toomuchtimeonmyhands.blogspot.com/2012/01/get-schooled-saturday-5.html
Great organization ideas!! TFS!! Stopping by from Thirty Homemade Days linky party.
Here is what I shared this week: http://craftybrooklynarmywife.blogspot.com/2012/01/my-first-amp-cover.html