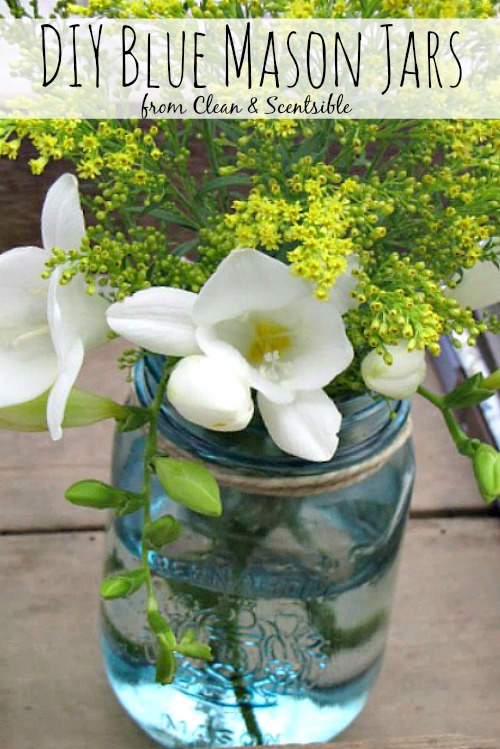
I LOVE those pretty blue, vintage Mason jars but have had no luck finding any around here. So… I was very happy to find out that they are an easy DIY project!
There are basically two different methods that you can use to create your own DIY Blue Mason Jars: mod podge and food coloring {like this tutorial from Craftberry Bush} or glass paint {like this post from Bridal Buzz}. The mod podge works fine if you will not be getting your jar wet {or just want something temporary} but I decided to go the glass paint route.
There are basically two different methods that you can use to create your own DIY Blue Mason Jars: mod podge and food coloring {like this tutorial from Craftberry Bush} or glass paint {like this post from Bridal Buzz}. The mod podge works fine if you will not be getting your jar wet {or just want something temporary} but I decided to go the glass paint route.
Materials:
- Mason jars
- glass paint {I used Vitrea 160 Lacquer Blue and the Vitrea 160 dilutant}
- Paint brush, rag or sponge to apply your paint. I used lint free stain pads to apply the paint and found that it gave the least amount of streaks.
- Mix up your paint and dilutant in a small container. I used about 4 tsp of dilutant and 1 tsp of paint but you can change this up depending on how dark you want your bottles. {Note: It will look much darker in the container than it does when painted on}.
- Using your pad, dip one of the corners in the paint and, starting at the rim, sweep the pad downwards in one stroke.

- Continue like this around the bottle until you are done and then sweep around the lip and bottom of the bottle.
- Place the bottles upside down on wax paper and allow to dry for 24 hours.
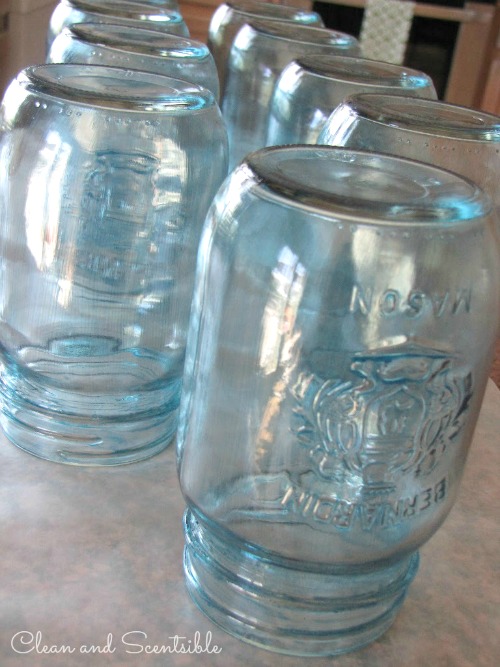
- After you have patiently waited, bake the bottles in the oven at 325F for 40 minutes to set the paint.
- Have fun decorating!
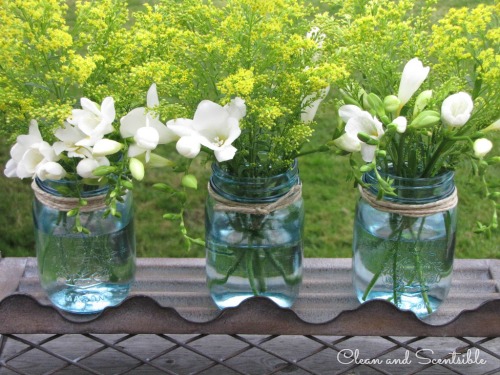
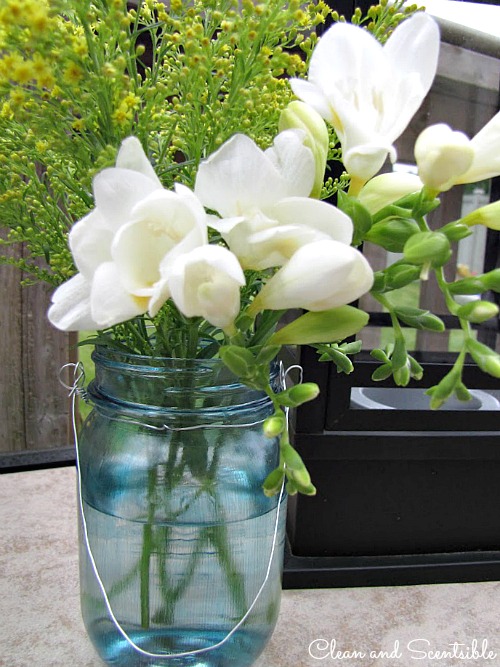
 The jars look really pretty in a window with the light reflecting through them. Add some wire or twine to the top of the bottle for a little extra touch.
NOTE: I have had a lot of questions regarding streaks. If the jars are filled with water, they appear virtually streak-free; however, if you fill them with a more solid, contrasting material, the streaks are a little more noticeable.
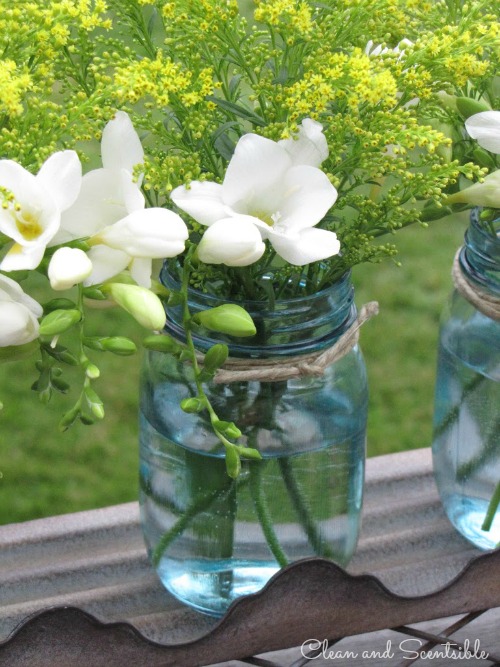
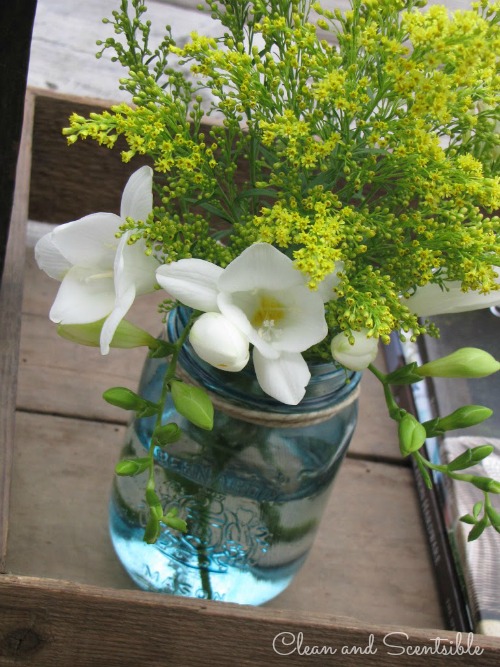
I bought some Freesia {which I love!} and I loved how they looked in the jars. I’m not sure what the yellow is that I added!
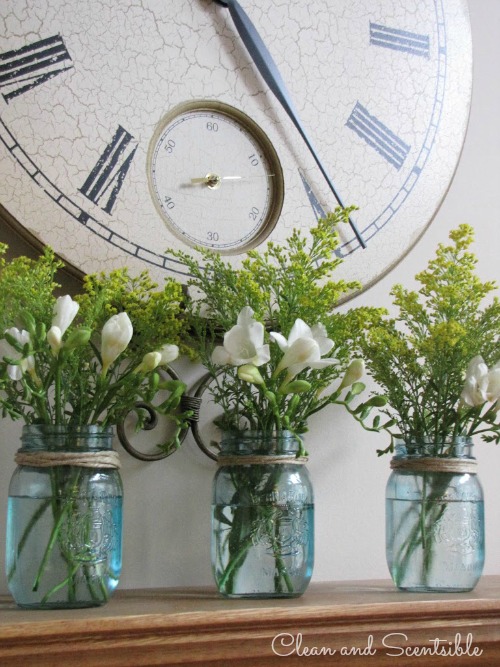
I added some thinner gauge wire to this one…
…and some thicker wire to this one.
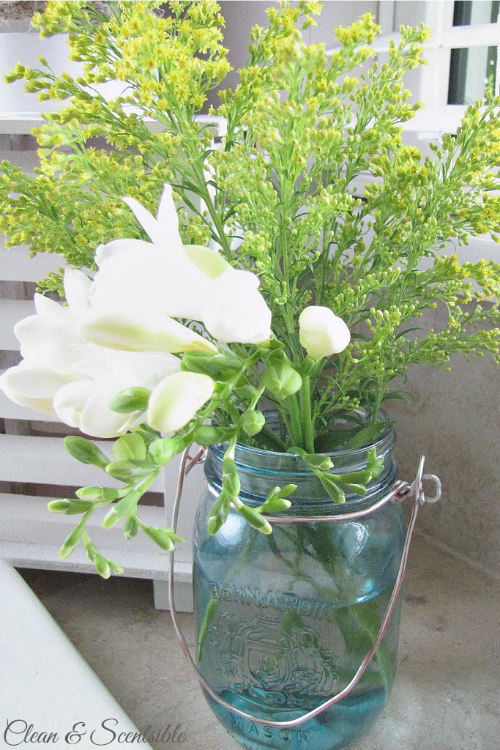
So what do you think? Thick or thin wire? I think I prefer the thick.
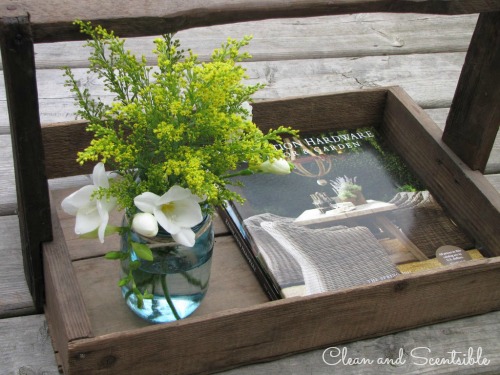
I had lots of fun playing around with where to put my jars. The rest of them I am saving for a few more bathroom organization projects – so stay tuned!!
Thick! very cute
I love the thick wire! Makes me want to go and tear through my parents canning jars… I know they have blue ones too.
I love those! That is so smart to make them blue yourself!
LOVE…you did such a great job!
I love those, too, and have only found one when perusing the thrift stores. Great job coloring them yourself!
oh soooo nice! I do have several of the green and blue jars, but think i’m going to try this on some smaller jars for my craft room! Thank you so much for sharing ~ Love your blog!
Thanks for sharing!!
I want to try this, what was the temp of the oven to bake it for 40 minutes?
They are so beauiful!!
Suzann ~xoxo~
I think those actually look better than the original turquoise mason jars. The subtle blue of yours is what I like. Where does one find the paint? Local craft store?
They turned out absolutely adorable…The blue you used was the perfect color…love them!!!
Fabulous! I love the way the blue jars look on display. I have been wanting some for myself. I am going to make these for sure! Sharing on facebook and twitter!
They are amazing! I really need to add this to my to do list!
OMG! I had no idea you could paint these! The blue ones have always been my favorite! How fun!
I’m a new follower and would love if you could check out my blog and see if it is something you would like to follow too!
http://breezypinkdaisies.blogspot.com
I’ve only seen this done on the inside…which means you can’t use it as a vase…putting it on the outside is fantastic! Thanks for sharing!
These are beautiful, Jenn! I like the thick wire the best!
These turned out soo beautiful!!
Brilliant and beautiful! Absolutely copy this!
I like the thick wire. This project is sooo adorable. The blue looks so crisp and clean with the white flowers…I absolutely LOVE it!
These are awesome! I recently compiled some of my favorite Mason jar ideas on my blog: http://allison-itsmylife.blogspot.com/2011/07/mason-jars-who-knew.html
These turned out so pretty. I really like the pale color you achieved.
wow..it looks so pretty. great tutorial..following you.
Love it!
What a great idea! So pretty…I’m partial to the thinner wire. =)
Love the blue. So much more character like that!
I would love for you to show this off at my Wickedly Crafty Saturdays! http://wiccanmakesometoo.blogspot.com/2011/07/wickedly-crafty-saturdays.html
Very cute ! I handpaint wine glasses all the time, I did Mason jars in red white and blue for the 4th of July, added stars and raffia ribbon. Also brushed over them with a antiquing glazes to give them an aged look. You should try this project sometimes. They are great for Memorial day the 4th or anytime you feel a little patriotic !
Love the jar…do you know by any chance what the greenry is? I have that in my flower bed and it just appeared. i do not recall planting that…and I do not even know what it is 🙂
What temperature do you use for the oven once you’re ‘baking’ the jars?
Thanks for posting this…I will be doing all of my jars shortly!
Two quick questions…
Do you know if these are these food safe?
Both of your cited tutorials take me to the same link for the mod podge version. Do you have the other one?
Thanks!
Great tutorial…and for such a beautiful result! LOVE mason jars!!
Thanks so much for linking to “20 Below Thursday”! And thanks for linking back to my party too 🙂
I like the thicker wire, but they’re all so cute! Great job!
Hi Jenn,
I have looked everywhere for these jars as well (am also a BC gal). Thanks for the tutorial – I like the thicker wire myself but they all look great! Thanks for the inspiration and I am now a follower. I hope you will pop over to my blog:
http://repeartreedesign.blogspot.com/
OMG! They look amazing!
I also made these (that I snagged from Craftberry Bush) and my post is scheduled but yours came out so clear! Mine are very streaked, it must be the rag technique! I’ll have to try again and I’ll refer to your “better” way….
Susan @ homeroad.net
Very pretty. I really didn’t know you could paint glass like this. Thanks for the tip! [saw you on someone’s Pinterest} 🙂
Featuring YOU over on my blog today. Love this. 🙂
Ginger
These are so pretty! I love ’em! I’m your neighbor over at Thirty Sixth Avenue…popping over to say hi! 🙂
These are awesome. I haven’t done any of the painted glass projects I’ve seen around because they aren’t water tight or the glass paint looked streaky. Your look awesome, though.
I found you through Made By You Mondays and am your newest follower. Come check me out and follow back, too, if you’re interested @ Carissa’s Creativity Space
I never thought of using glass paint. I made some blue jars with alcohol ink, which is water proof but not scrub-proof – I may have to get my hands on some glass paint now!
Hi Jen
Nice Job 🙂
and do not miss….
S
A
T
U
R
D
A
Y
S
H
O
W
O
F
F
WELCOME 🙂
Håkan ( The Roseman)
So nice to meet you Jenn!
I blog-hopped to find you when someone mentioned the DIY blue mason jars. I have a dear friend in Michigan who so thoughtfully sent me some on my birthday last year, and I adore them!!
Yours are amazing and I would love to give them a try!
Is that a paint that you just buy at a craft store or a Walmart?
I love the wire too..thick and thin wires are gorgeous!
Your flowers look fabulous in them!
So glad to have found you! Come and visit Jenn..Ill put the coffee on!! 🙂
Have a happy weekend!
Deborah xo
Oh and Im now following in friendship.
Deborah 🙂
(purehunnybee)
How many jars did you paint/how much paint did you buy? I’ve got 24 mason jars to paint for my wedding and don’t know how far one bottle will get me!
Hi Anonymous, Your email is set to No Reply and I have no way of contacting you so hopefully you get this. I did 10 jars and I still have lots left. I think you would probably be able to do all 24 with one bottle. If you wanted to go a darker shade, you might need a little more. Hope you have a wonderful wedding!
Jenn 🙂
thanks for the tutorial 🙂
Love this idea! Where did you buy your stain pads at? Thanks!
Love it! I did not want to use my real mason jars, so this is absolutely perfect!
I love this glass bottles. Thanks!…
The yellow flowers are Solidago. They are an Aster and last a long time. I love your idea and blog. Thanks so much for sharing.
I am doing 24 jars for my wedding and my colors are yellow pink and orange. My yellow ones turned out great and glossy looking! (They were the first ones I tried because Michaels was out of the other paint colors.) But my orange and pink ones look like a matte color, and I don’t like them as much. Did I just not use enough paint thinner the second time?
I love this project! After multiple trials with various paints (including mod podge) I bought the Vitrea 160 in turquoise. I also struggled with the application and was having trouble avoiding streaks. I finally tried applying the paint with gloved fingers then QUICKLY blotting it with a dry sponge to even the color and the outcome looks fantastic! I am using these as the centerpieces for my upcoming wedding to hold flowers. Thanks!!
I love this project! After multiple trials with various paints (including mod podge) I bought the Vitrea 160 in turquoise. I also struggled with the application and was having trouble avoiding streaks. I finally tried applying the paint with gloved fingers then QUICKLY blotting it with a dry sponge to even the color and the outcome looks fantastic! I am using these as the centerpieces for my upcoming wedding to hold flowers. Thanks!!
My mom is re-decorating her home and is going for the beachy blues and greens. She wants to use the blue mason jars as their drinking glasses, and I told her to save her money I found a DIY on making them! Do you think these would be safe for drinking out of (toxic paint)? Also, do you think they would be dishwasher safe?
These are beautiful! Thanks for the great ideas 🙂
These turned out beautiful! What a great idea Jenn!
Hey Jenn! I just posted this on my Google+! Thank you for the great idea! I want to invite you to my link party to link these up for other to see!
http://home-styled.blogspot.com/2013/03/link-party-show-your-style-sunday-1.html?m=1
These turned out so amazing! Pinned!
I’ve always wondered how to make these! Thanks for sharing. 🙂
Oh, Jenn, I love this! The set up is so springy and sweet! Love this idea of blue mason jars 🙂
These turned out so pretty! I love them!