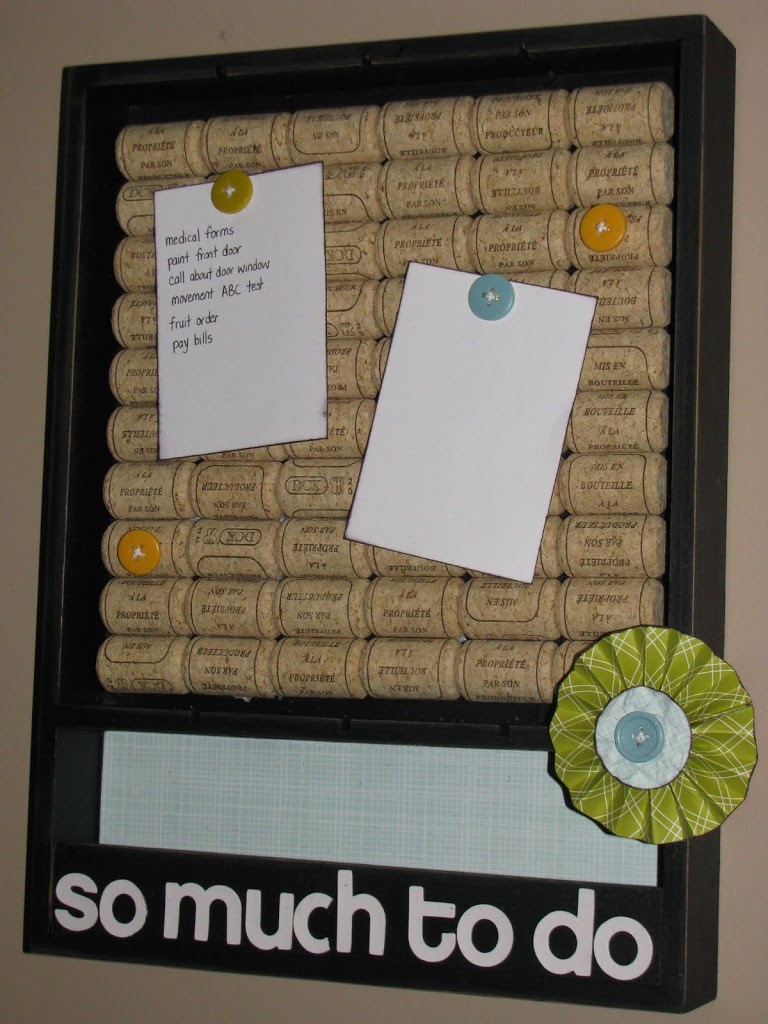
Since everyoneseems to be doing a Top 10 of 2010 post, I thought I better join in! My little ol’ blog didn’t really get up and running until September so most of my top viewed posts are Christmas items. I am pretty sure most of you are done with Christmas by this point! So…I thought I would post a few of my favorite projects instead. My Wine Cork To Do Board:
I actually ended up using this even more than I thought I would. It is hung right by my computer and I make a list each week of what I need hope to get done. {there are always at least a few items that get carried over to the next week!}TheCutting Board Menu Board.
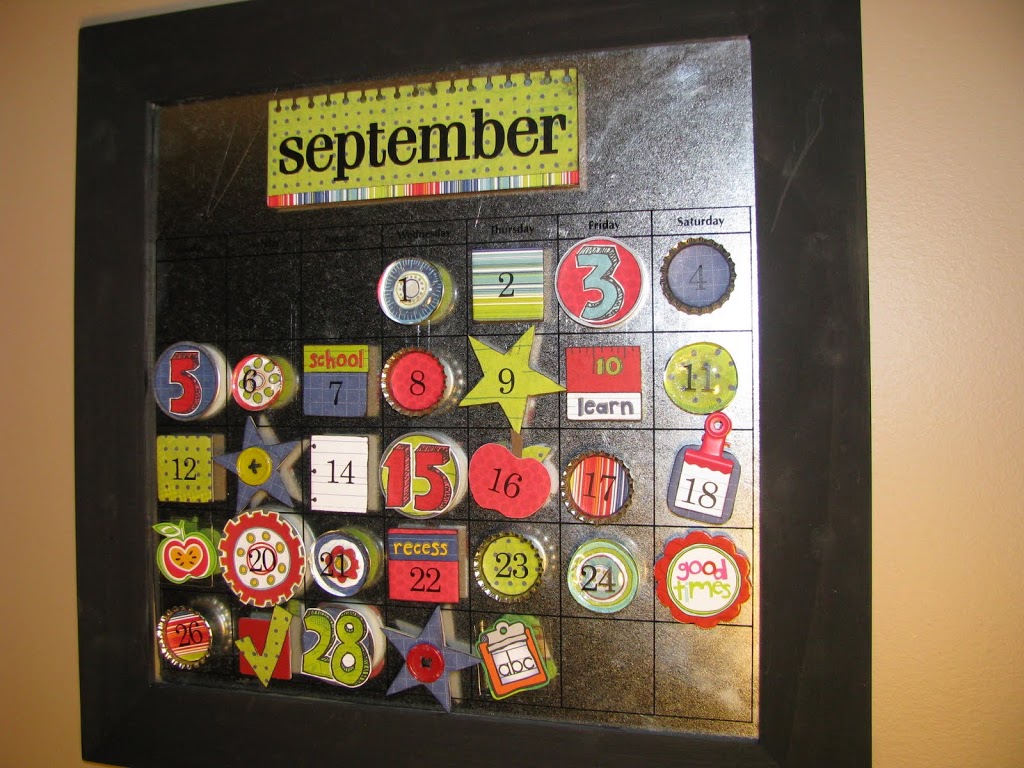
I must admit, planning our weekly menu is one of my weak points. I definitely notice that we eat much healthier though if I do this!Mymonthly magnetic calendars.
These have been really fun to do and are a really great way to use up all of those left over scrapbooking materials. That reminds me…I better get working on my January one! {You can always click on calendars under my labels to see the other months}Thecupcake liner topiary.
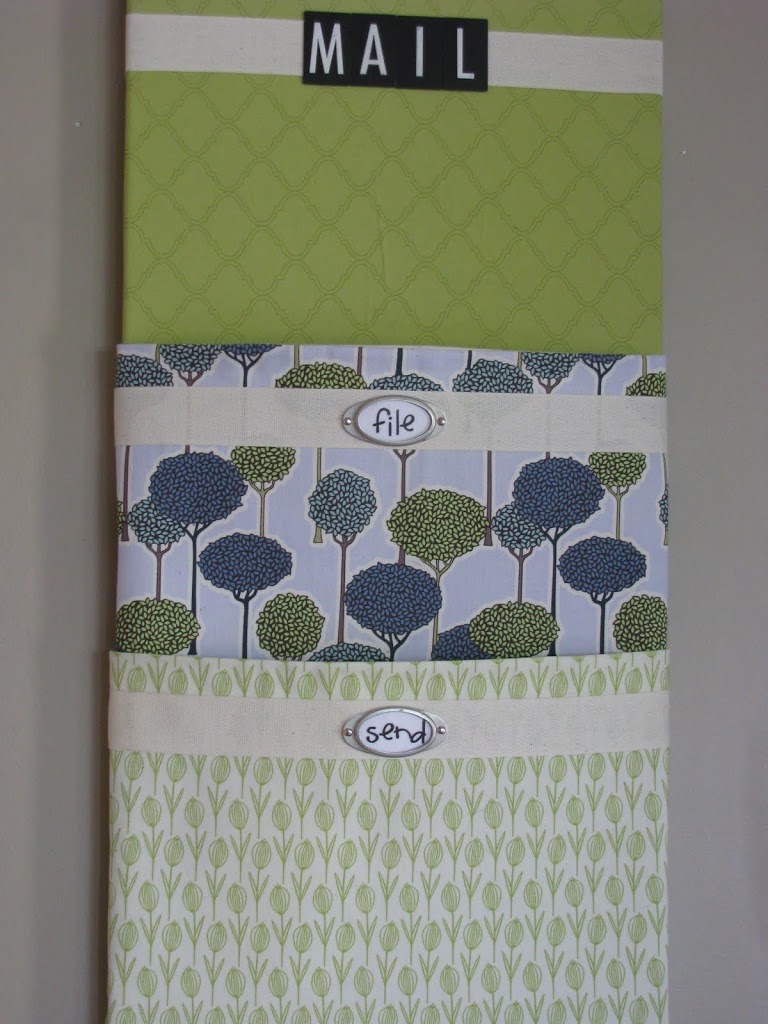
I LOVE how this turned out but it is definitely one of my more time consuming projects! My one piece of advice is to not put the cupcake liners too close together – you can always add more later!The mail organizer. {This was actually one of my first projects posted}
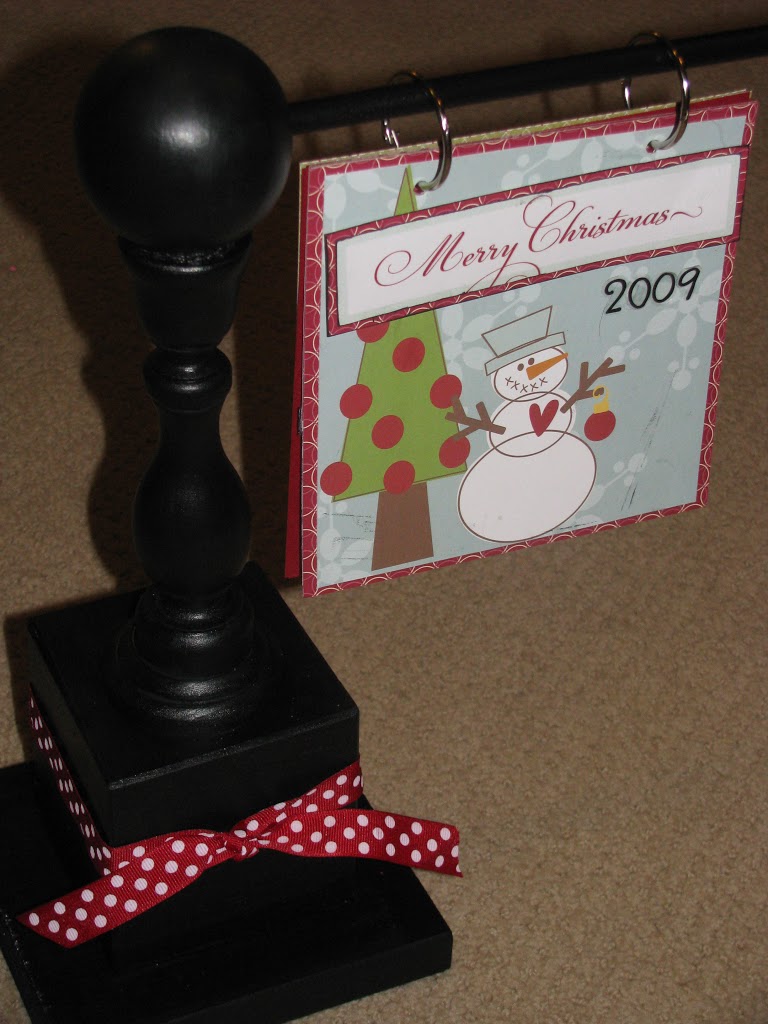
Since i am not a sewer {one day I will learn!}, it is rare that I get to do projects with fabric. I had a great time browsing the local quilt shop for some fabulous material. I like the way it turned out and it is so functional!DIY mini-album holder
My plan is to make a new mini-album each month {and switch out the ribbon!}Yarn Wreath
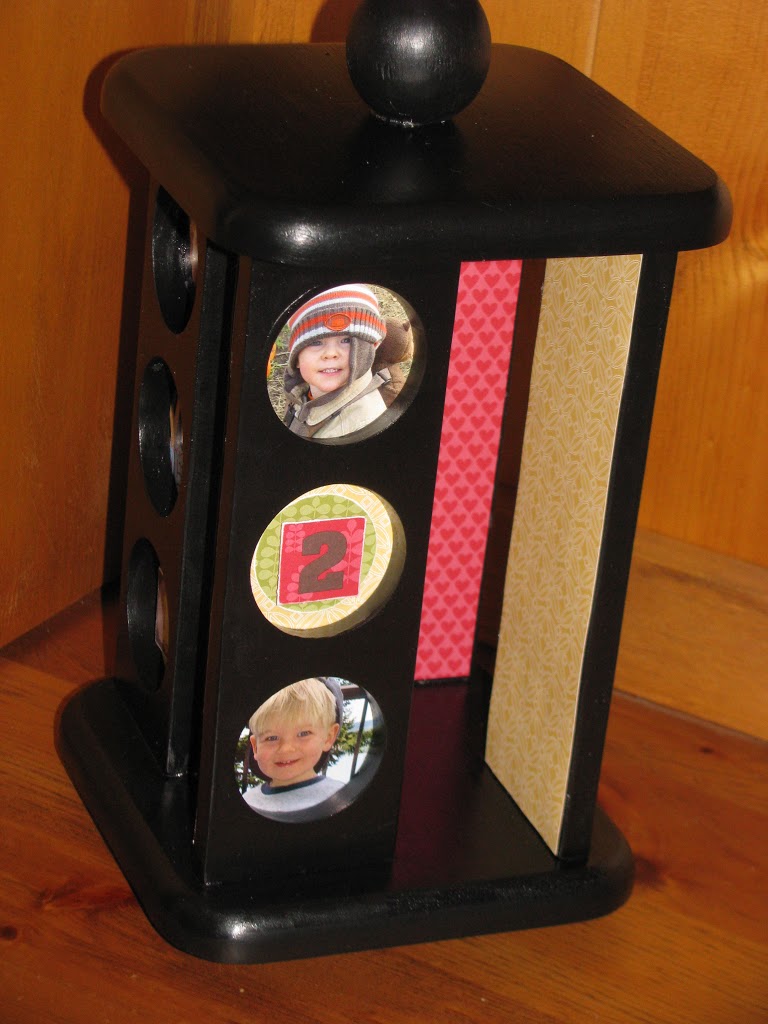
Okay, this is technically a Christmas project, but this would be so easy to re-create with different colours for different seasons.Spice Rack Picture Frame
It’s always fun to compare what your kids looked like when they were the same age. {Mine don’t look a whole lot alike!}And last but not least, thesecanvas projects.


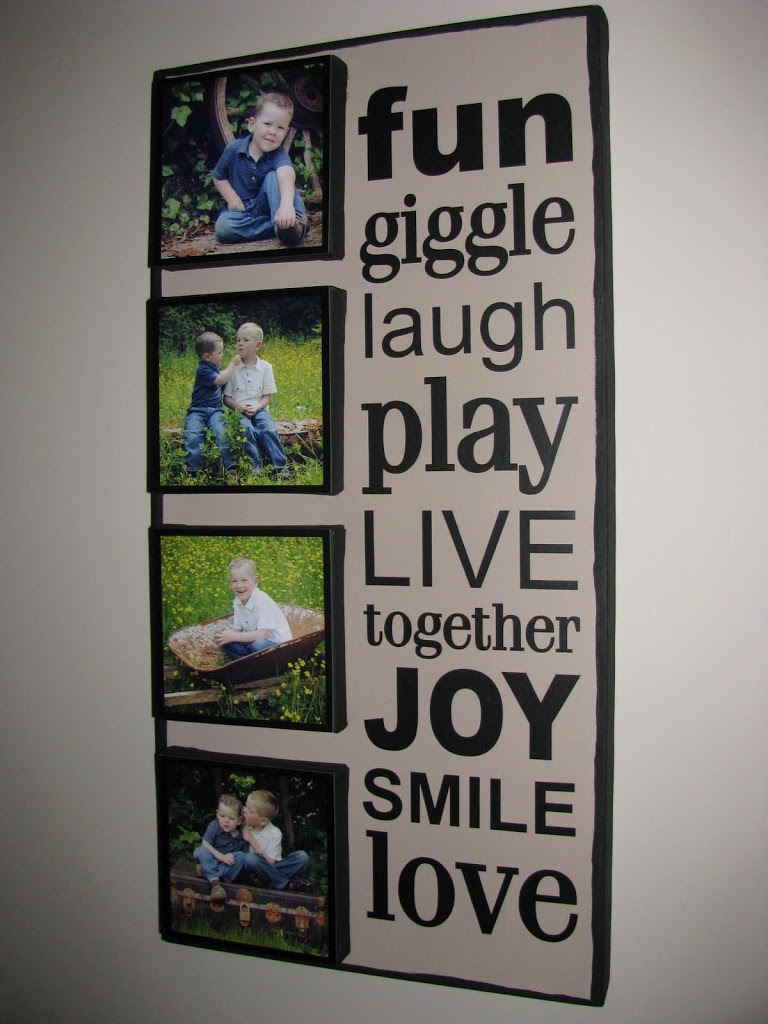
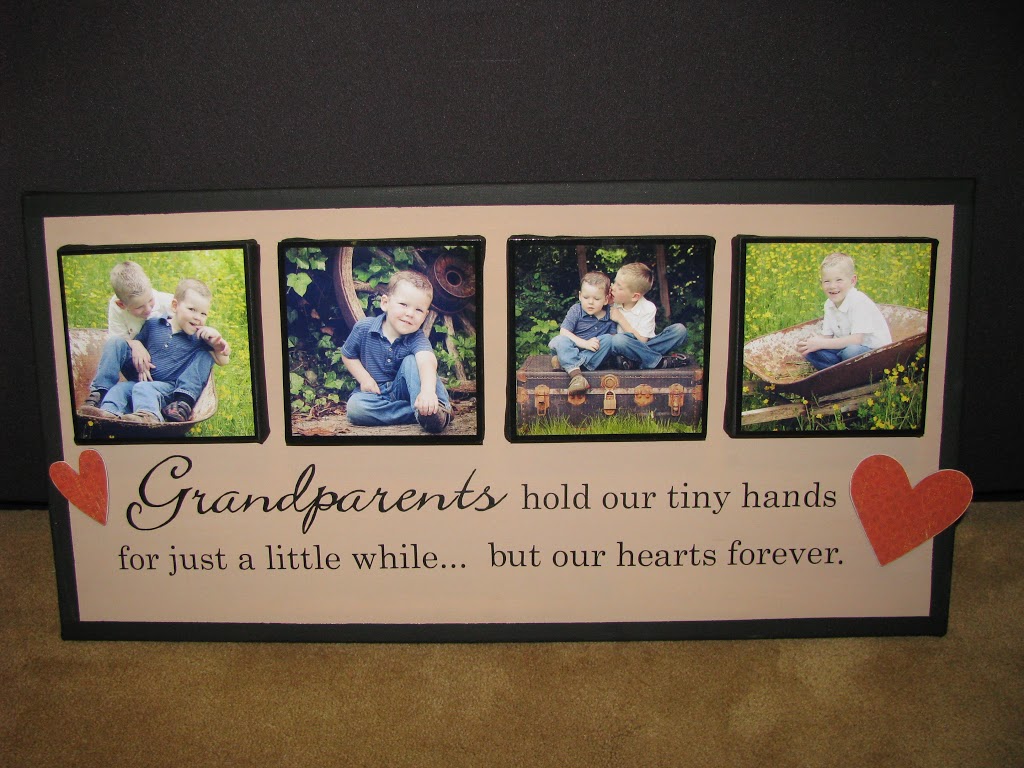


I’m a newish follower and missed some of these. LOVING the canvas projects!!
So very happy I found your blog! These projects are seriously ADORABLE! Stopping by from the Paisley Passions blog hop!
Wishing you a wonderful 2011!
– Meg
[Life of Meg]
http://www.megnificentlife.blogspot.com
GREAT stuff from 2010. Thanks for sharing on Thrilling Thursday @ Paisley Passions 🙂
Wow! you are very creative! your projects are so unique! love them all!
Cupcake liners?!? Oh my gosh… now that is creative! And it looks wonderful!
Donna
http://funkyjunkinteriors.blogspot.com/
http://www.RealDadReviews.com
Following your blog!
Please follow back!
If you could follow me on Facebook, that would be great!
http://www.facebook.com/RealDadReviews
Thanks
The Dad!
All of your projects are just beautiful and professional looking! I am a new follower for sure!
Great projects! I ADORE that mini album holder!