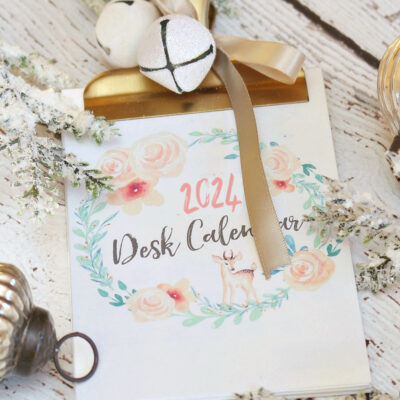
Add a pretty touch to your desk or home office with this free 2024 calendar printable! Print it out for yourself or put one together for a cute, inexpensive gift idea. 2024 Calendar Printable I’m super late this year, but the 2024 calendar printable is finally here! I was planning on skipping it this year, but had a lot…
Read More
Latest from the Blog
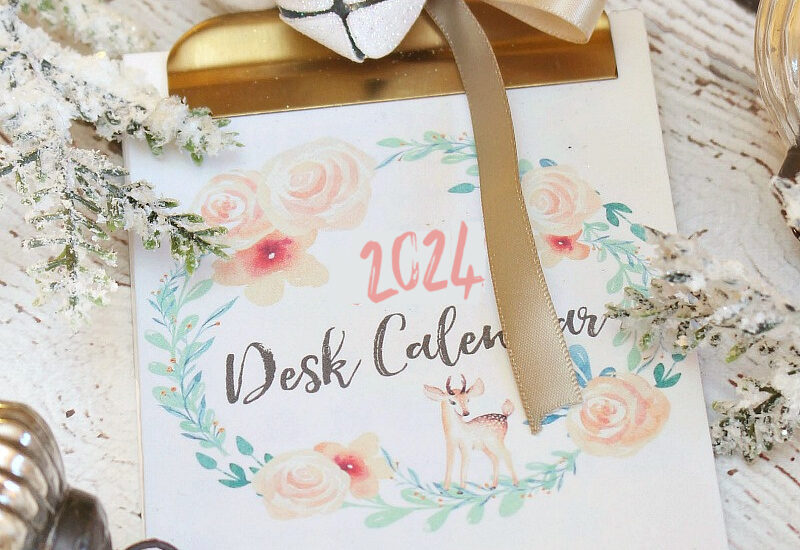
2024 Calendar Printable
January Decluttering Challenge – The Home Detox Diet
If you’re ready to make a change and get rid of all of that unwanted clutter in your home, start the year off with this January decluttering challenge! This home decluttering “detox diet” will help to jumpstart all of your decluttering and organization habits and set the tone for an ongoing organization plan! The Household Organization Diet 2024 officially kicks…
Read More
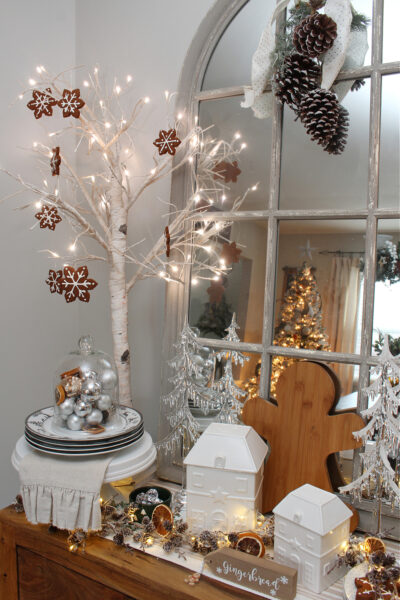
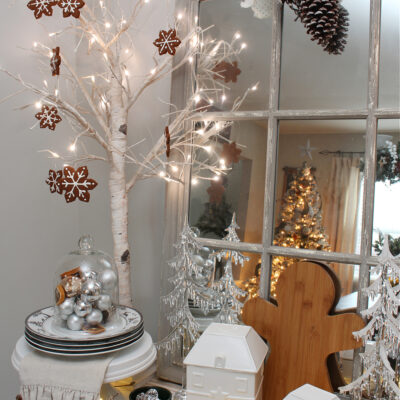
Faux Gingerbread Ornaments
These faux gingerbread ornaments are so easy to make and can be used year after year. Perfect to use for present toppers and other Christmas decor too! I love the look of gingerbread decor. There’s something just so cozy and nostalgic about it. These cute faux gingerbread ornaments smell amazing and can be used for many Christmases to come. There…
Read More
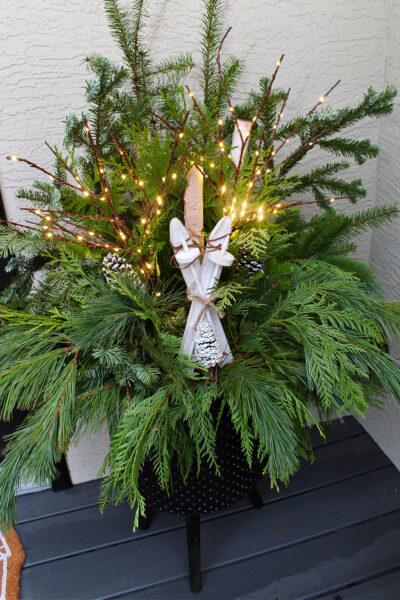
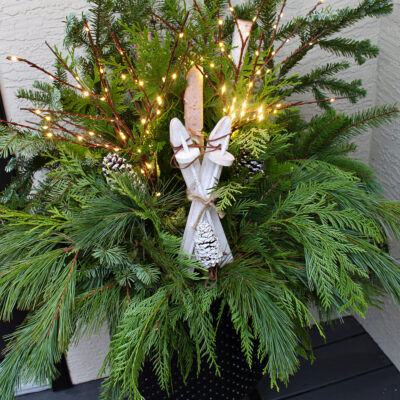
DIY Outdoor Christmas Planters with Fresh Greenery
Add a festive Christmas feeling to your front porch with these DIY outdoor Christmas planters! They can easily be customized with your favorite embellishments for your own personal creation! There’s nothing that says Christmas quite like fresh greenery! These DIY outdoor Christmas planters create such a warm and festive welcome and add that fresh Christmas scent. NOTE: This post contains…
Read More

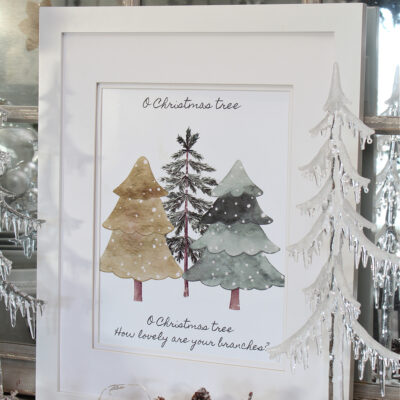
Free Printable Christmas Tree Art
This free printable Christmas tree art goes perfectly with almost any Christmas decor. Such an easy way to add a festive touch to your holiday home! Christmas Tree Art Christmas trees are definitely one of my favorite things when it comes to Christmas decor. Whether it’s a nice, full fir tree or a cute little Charlie Brown tree – I…
Read More
- 1
- 2
- 3
- …
- 319
- Next Page »